Getting Started with Zeet
Zeet streamlines the deployment and management of Apps & Infrastructure, providing seamless integration across various cloud providers and Kubernetes clusters. With robust features like CI/CD, Audit Logging for Change Tracking, Container Autoscaling, Centralized Logs & Metrics, and Crash Notifications, Zeet helps your team operate infrastructure better.
This guide is designed to help you deploy a real workload to your chosen cloud environment and get you acquainted with Zeet's capabilities.
Prerequisites
To get started with Zeet, you will need a cloud account with one of the supported providers by Zeet. You will connect your cloud account in the next step.
1. Create and Deploy a Project
You can create a new Project by navigating the Project Creation Menu. Here, you can create a new project in one of two ways:
Create a Project by selecting a Project Type - when you have your own source code you'd like to deploy.
Create a Project using a pre-configured Blueprint - when you're deploying open source software, or something that another team member has built constraints around.
Note: Blueprints are a way to pre-configured common deployment settings. Either path requires you to further configure your Project in the next step.
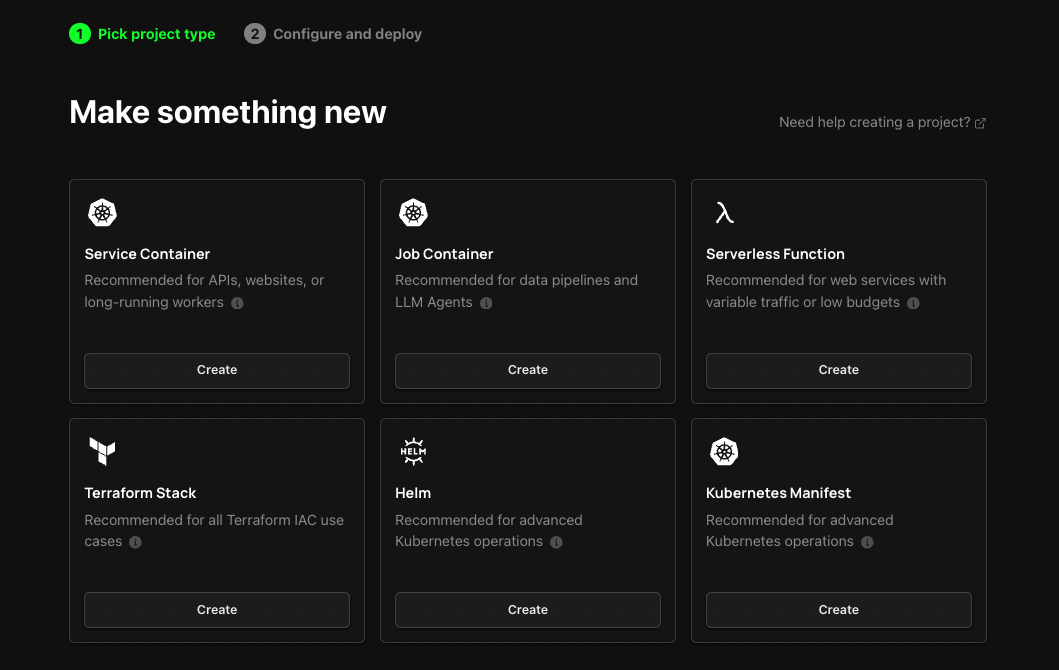
Next, you will be prompted to select a target Cloud Provider or Kubernetes Cluster, depending on Project Type you chose.
For detailed instructions on connecting your cloud account, refer to our documentation for specific providers.
2. Explore your Project and Settings
This step assumes that you chose a Service Container Project Type.
The exact features and UI will differ depending on the Project Type you choose to deploy, so take some time to explore the various settings and features available to you!
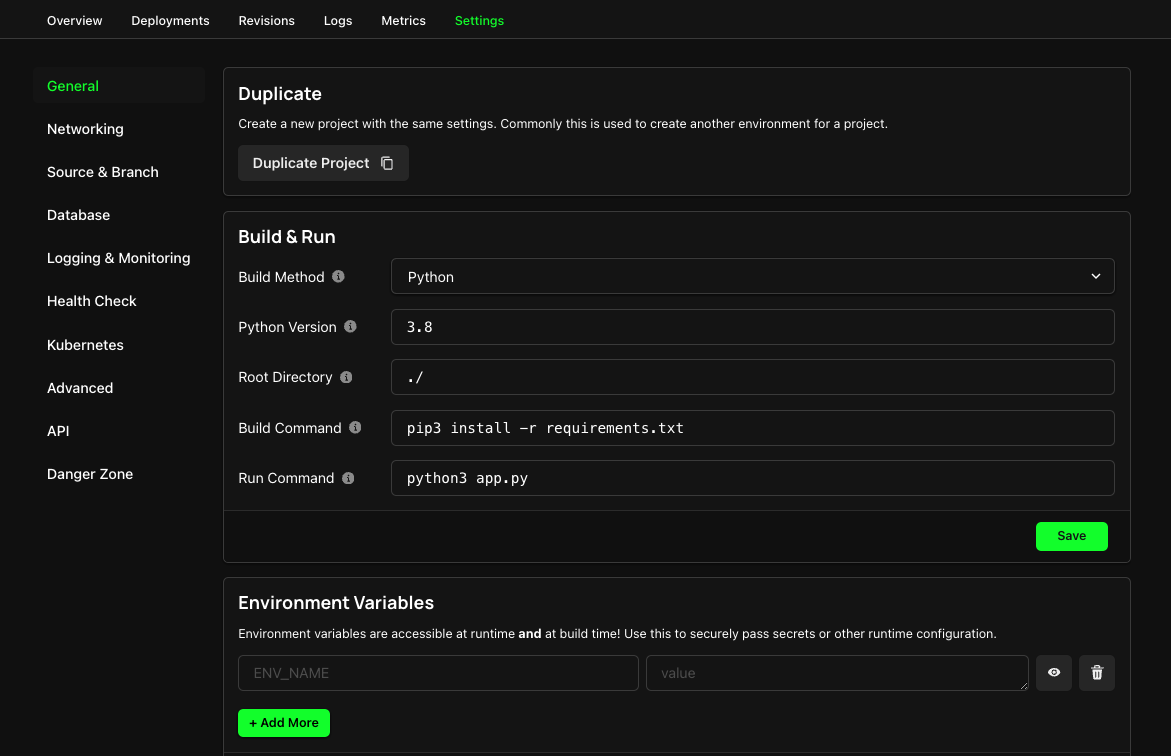
Once you have created and deployed your Project, click into the Project Detail page to see the following tabs:
Overview - This tab provides a quick glance at some important information about your Project, such as the Project status, public and private endpoints, as well as build and runtime logs.
Deployments - This tab provides a list of all the Deployments for your Project. You can view the details of each Deployment or quickly rollback to a previous Deployment.
Revisions - This tab helps you track changes in your Project's configuration. You can view the details of each Revision along with who made the change.
Logs - This tab shows you all logs for your Project's Deployments.
Metrics - This tab shows you all metrics for your Project's Deployments such as CPU, Memory, and Network usage.
Settings - This tab allows you to configure various settings for your Project. We encourage you to spend some time and explore the various settings available. Some things you might want to consider are:
- Adding a custom domain for your Project.
- Setting up autoscaling for your Project.
- Setting up log forwarding and metrics for your Project.
- Setting up preview branches for your Project.
3. Next steps to operate better
Now that you have a better idea of how Zeet Projects work, its time to make your Zeet dashboard a little more lively.
- Invite members to your Team.
- Enable notifications for your Team via Slack or Email and setup PagerDuty Alerting.
- Organize your Projects with Groups and Sub-Groups.
- Create Custom Blueprints to capture common patterns for your team to re-use.
- Explore more ways to interact with Zeet, such as our GraphQL API and CLI.