Managing Zeet Projects with the Zeet Terraform Provider
This guide outlines how to manage Zeet projects using the Zeet Terraform Provider. Whether you're deploying directly through the Zeet platform or using the Terraform CLI, this guide will walk you through the process step-by-step.
Understanding the Demo Project
For this guide, we're using a simple Terraform stack available in the zeet-tf-demo repository. This demo project is designed to provision a service container on Zeet, showcasing how to automate and simplify deployments using Terraform.
The prerequisites outlined are specific to this demo stack. You can use the demo module as a reference template to create your custom stack.
Prerequisites
Before beginning, you'll need to gather some information:
Team ID and API Key: Obtain these from the Zeet Dashboard under API settings. These credentials are required to authenticate and authorize the Terraform provider to interact with your Zeet account.
Cluster ID: Find this in the Zeet Dashboard under Clusters. The Cluster ID specifies the target cluster where your project will be deployed.
Additionally, ensure that you have Terraform version 1.4 or higher installed, as it's the minimum version required for
this guide. You can check your Terraform version by running terraform version in your terminal.
Deploying with Zeet
To deploy using the native Terraform capability within Zeet directly:
Step 1: Create a new Zeet Terraform Project
Navigate to New Project and select
Terraform Stackas the project type.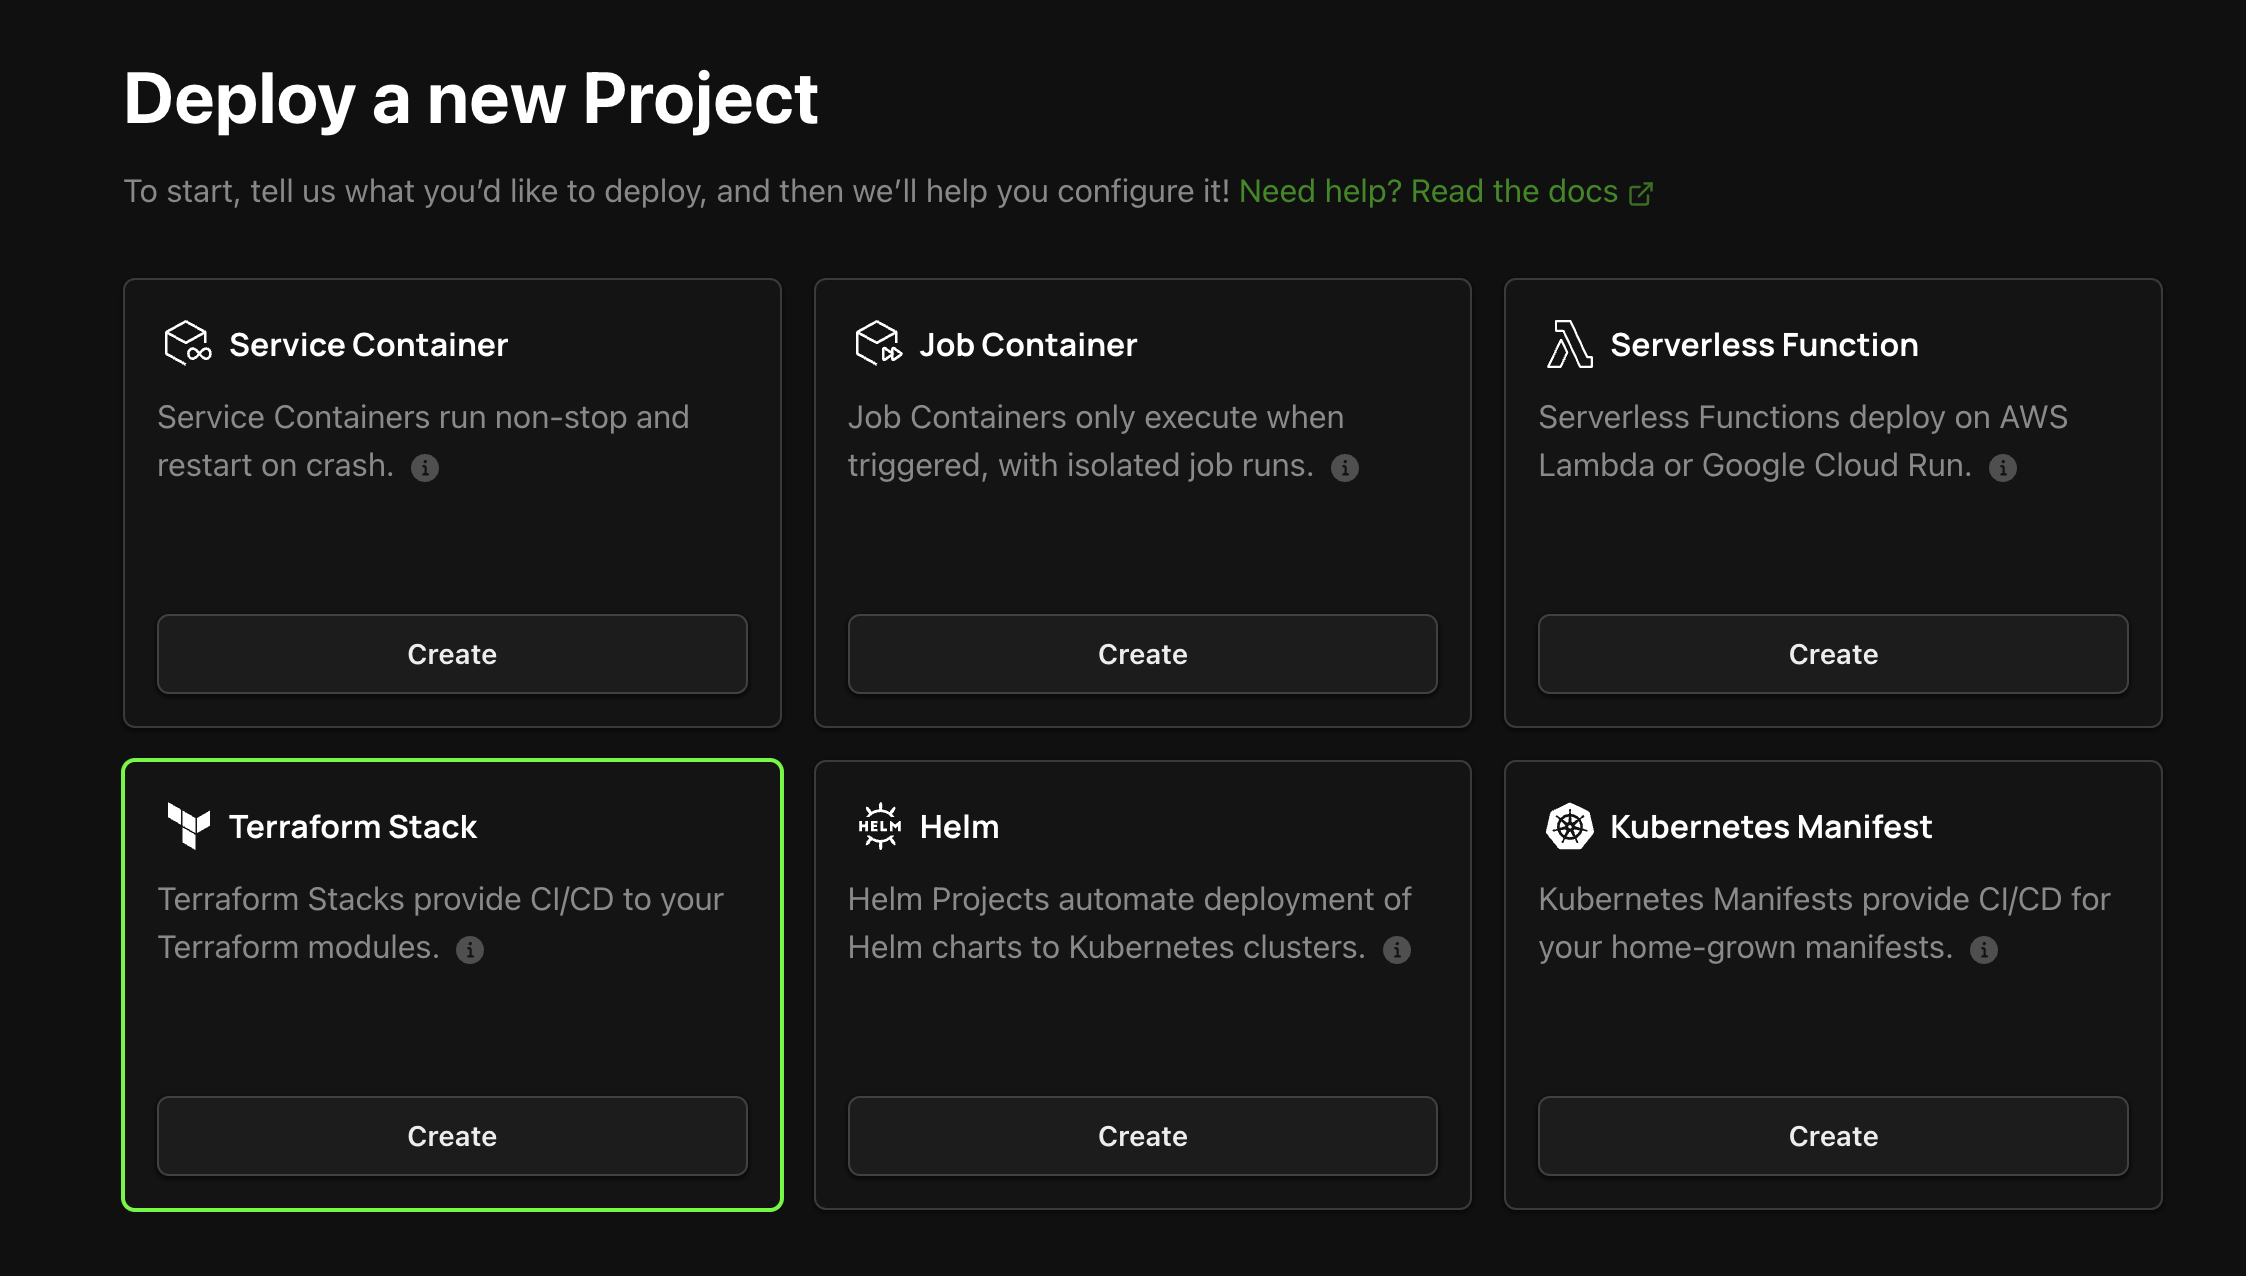
Enter the following source URL in Terraform format:
git::https://github.com/zeet-demo/zeet-tf-demo//container-deploy?ref=mainThis URL points to the specific folder containing the Terraform configuration for the demo project.
Create the necessary variables for your deployment.
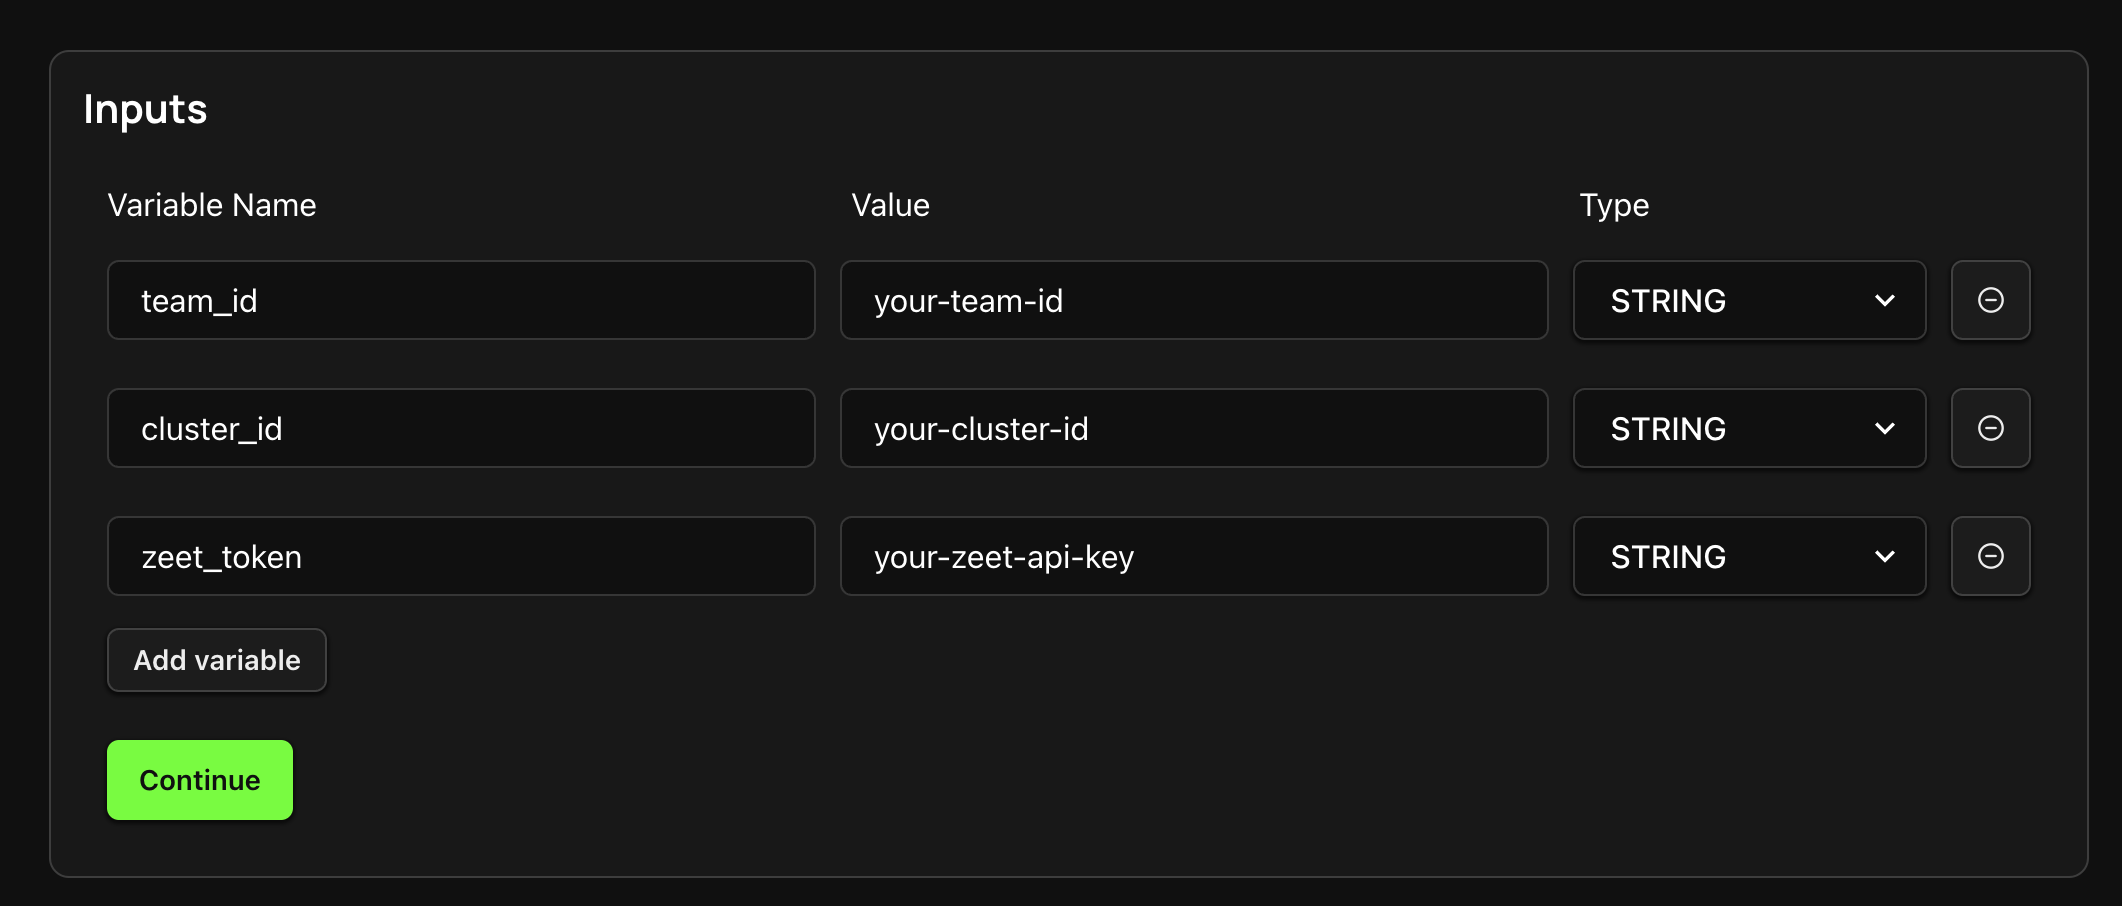
These variables are used to customize the deployment according to your specific requirements. In this demo, you'll need to provide values for the
team_id,api_key, andcluster_idvariables.Once the project is created, go to the project's settings and set the Terraform version to 1.4 or higher.
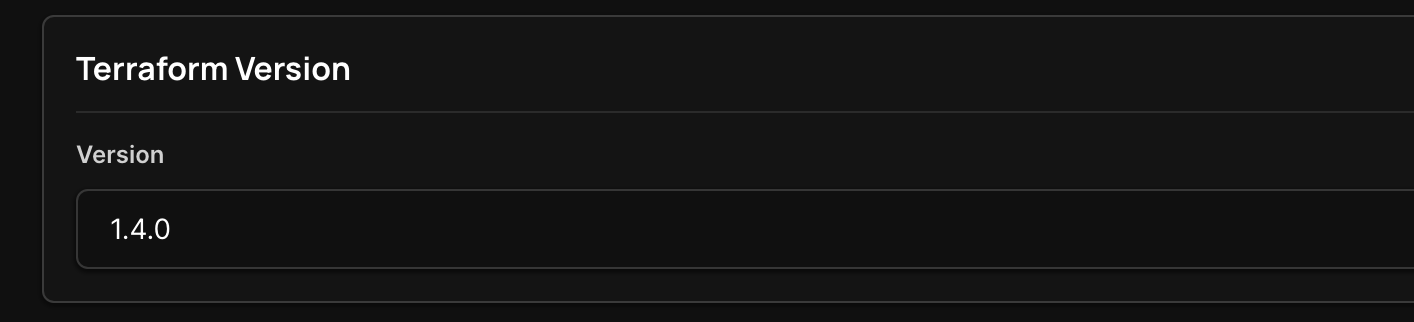
Setting the correct Terraform version ensures compatibility with the Zeet Terraform Provider and the demo project configuration.
Referencing the demo source, you can explore the Terraform configuration provided in the zeet-tf-demo repository. This configuration file defines the resources and their properties for deploying a service container on Zeet.
Step 2: Deploy the Project
Click the
Trigger Workflowbutton to initiate the deployment.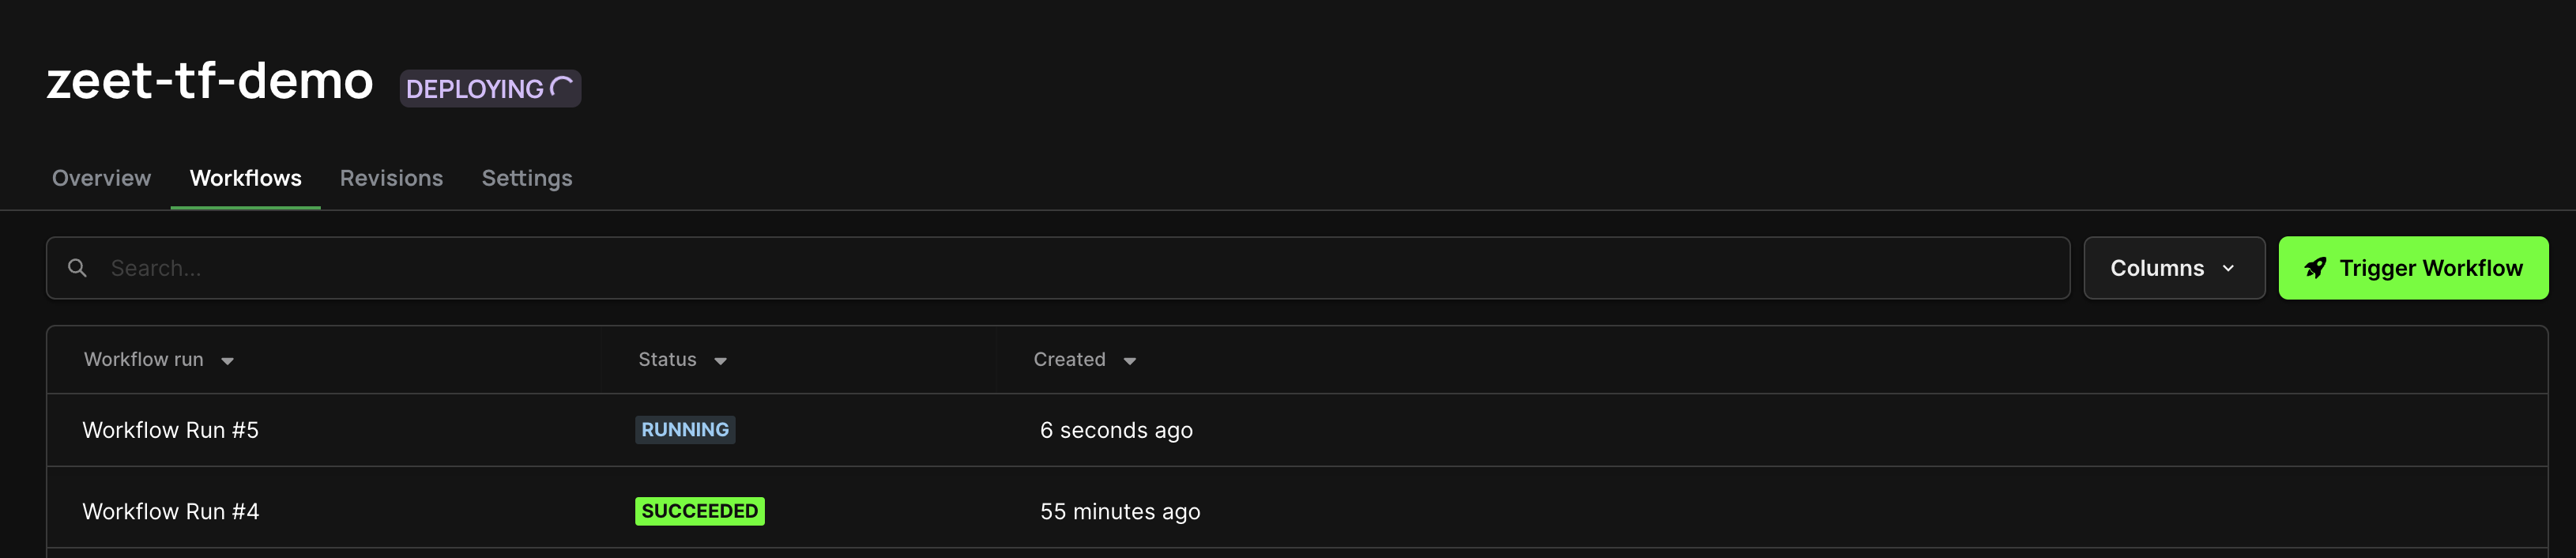
Triggering the workflow starts the Terraform execution process, which includes the plan and apply steps.
Follow the plan and apply steps to deploy your project.
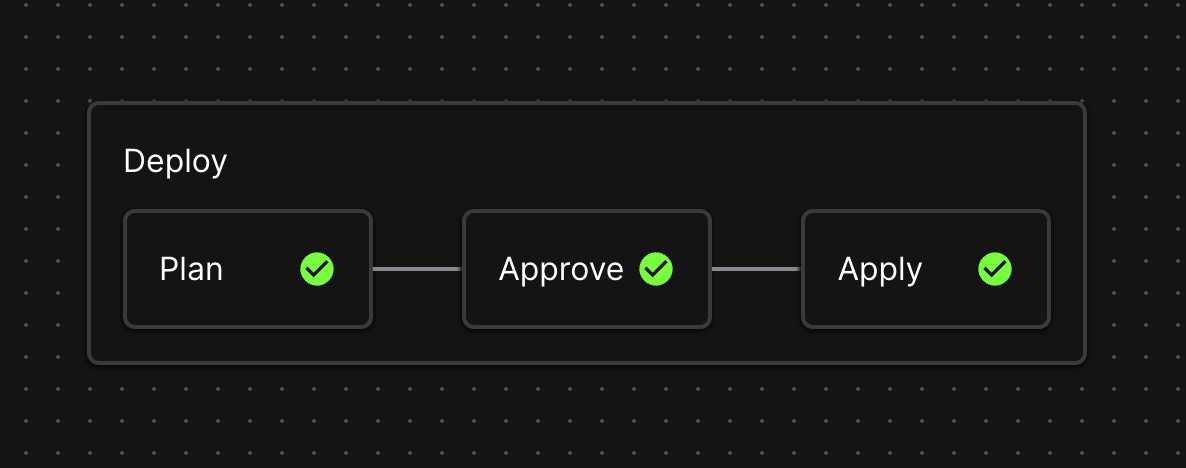
The plan step shows you the proposed changes that Terraform will make to your infrastructure. The apply step actually applies those changes and creates the resources defined in your configuration.
View the plan output to see the changes that will be made.
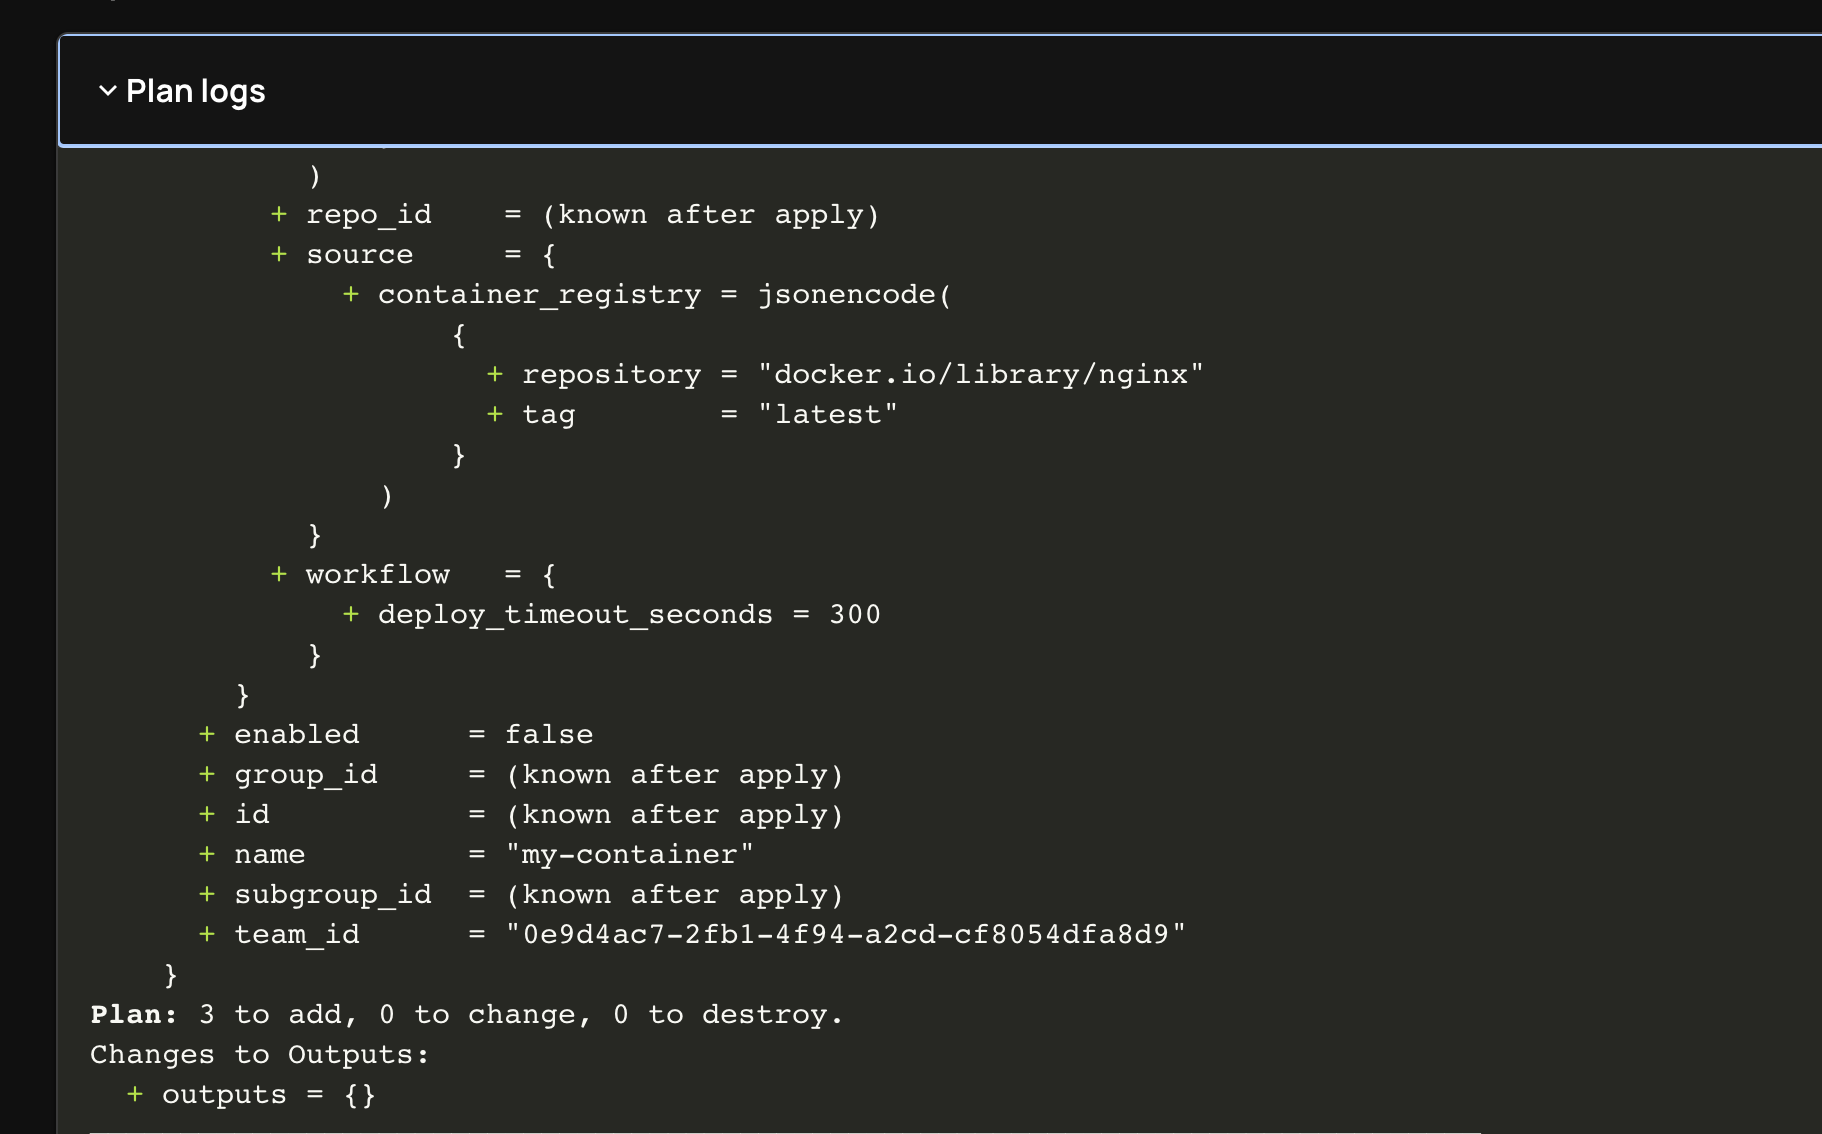
The plan output provides a detailed summary of the resources that will be created, modified, or destroyed. Review this output carefully to ensure it aligns with your expectations.
Approve the changes to apply and see the output of the stack.
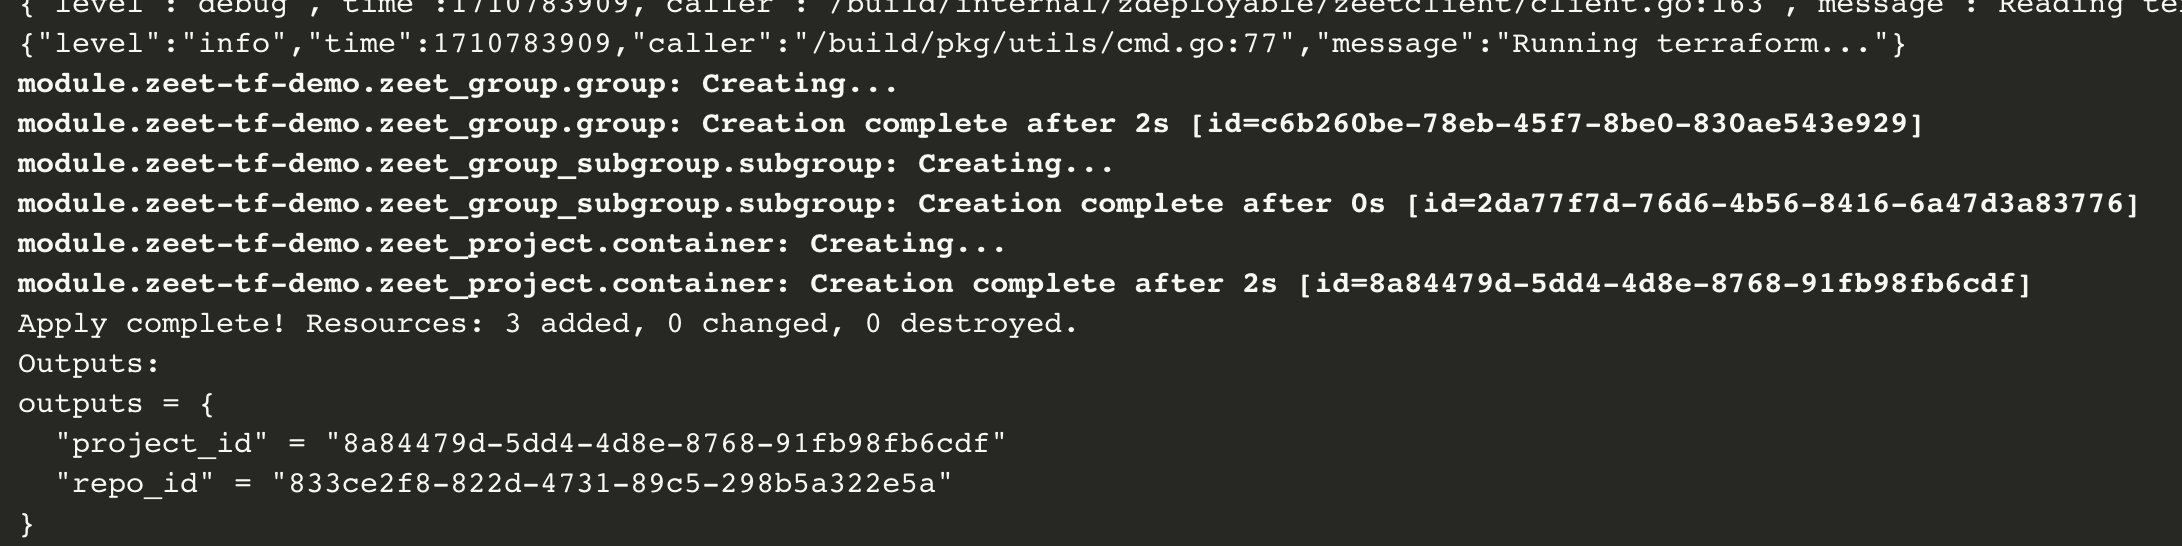
After reviewing the plan, you can approve the changes to initiate the actual deployment. The apply output shows the progress of the deployment and any relevant information.
Step 3: View the Deployed Project
Once the deployment is complete, you can view the deployed project in the Zeet Dashboard.
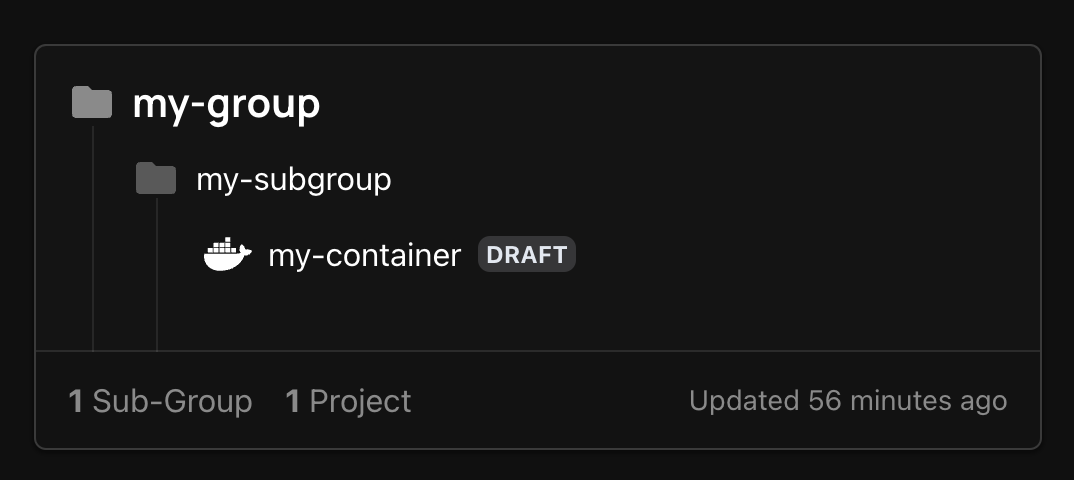
The Zeet Dashboard provides an overview of your deployed project, including its status, resources, and other relevant details.
The demo stack provisions a simple service container, under the
my-groupandmy-subgroup.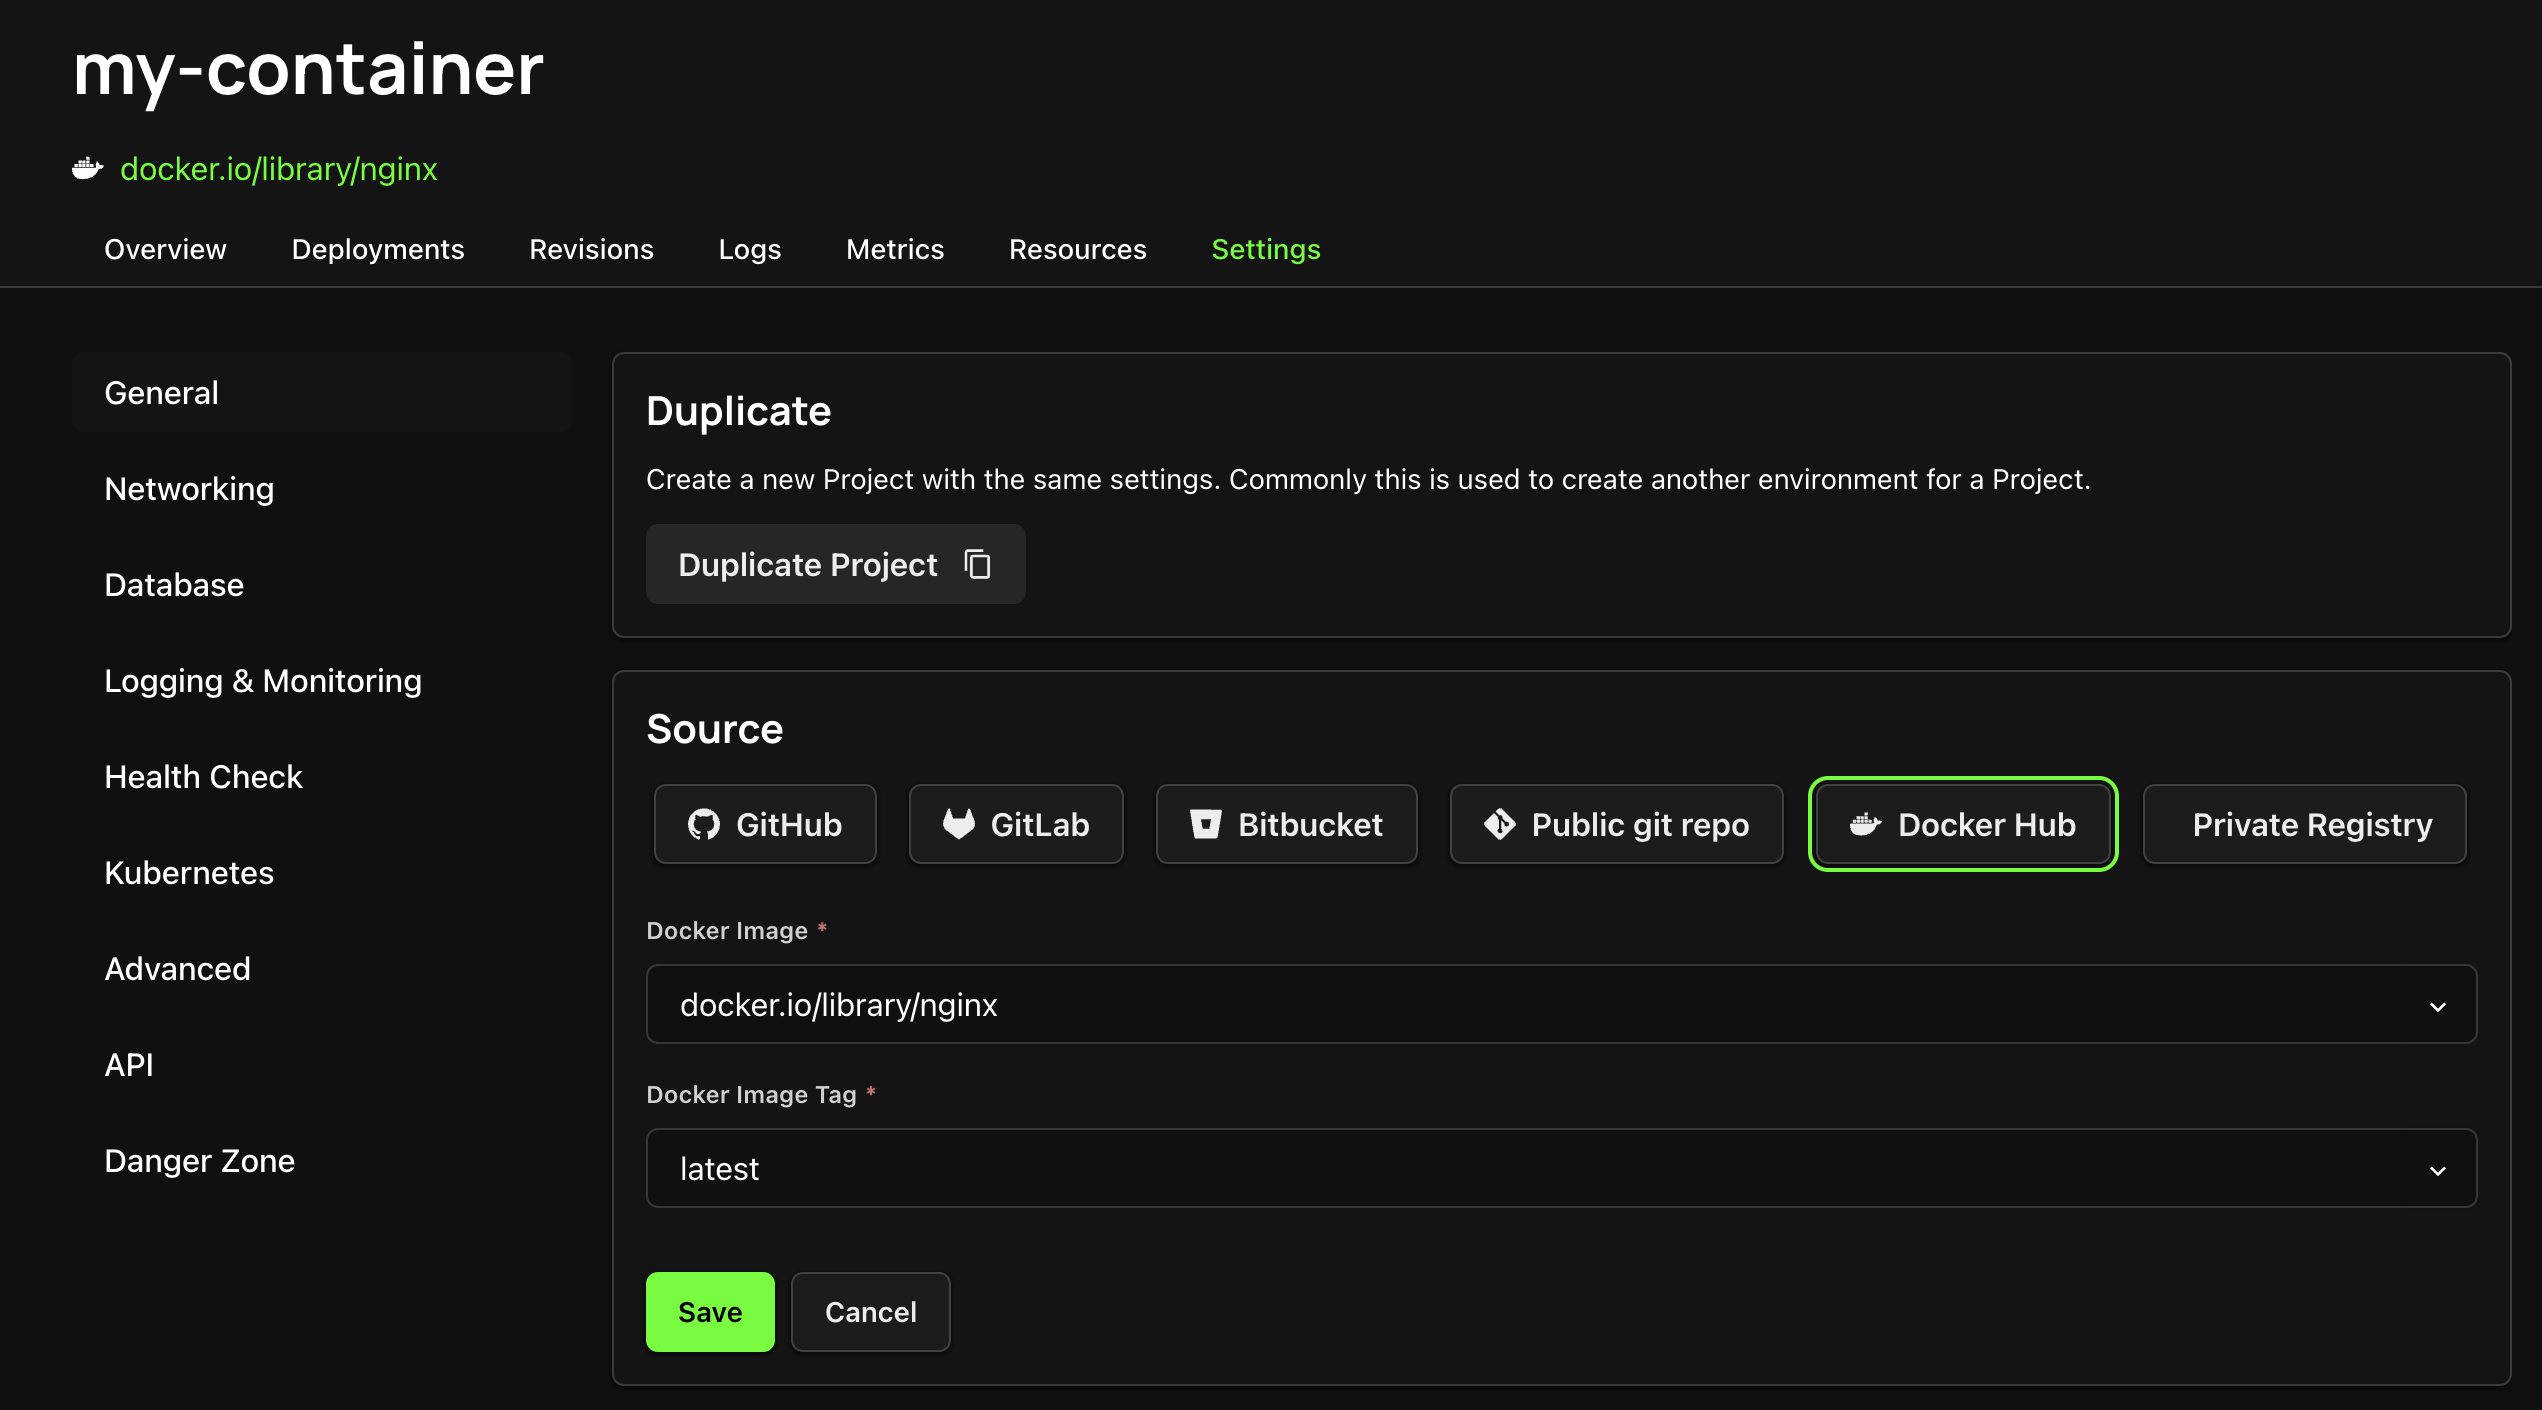
You can explore the project settings and configurations in the Zeet Dashboard to verify that the deployment matches your expectations.
Deploying with Terraform CLI
For users who prefer to manage their infrastructure as code through the command line, follow these steps:
Step 1: Setup a Backend
Choose a backend for Terraform state management, such as S3, Terraform Cloud, or another supported backend system. Configure this in your Terraform configuration file.
Here's an example of configuring an S3 backend:
terraform {
   backend "s3" {
      bucket = "my-terraform-state"
      key    = "zeet/terraform.tfstate"
      region = "us-west-2"
   }
}
The backend configuration ensures that the Terraform state is stored securely and can be shared across team members.
Step 2: Initialization
Run the following command in your terminal:
terraform init
This command initializes your Terraform project, downloads the required provider plugins, and sets up the backend for state management.
Step 3: Planning
Execute the following command:
terraform plan
The terraform plan command creates an execution plan, showing you what actions Terraform will perform based on your
configuration. It allows you to preview the changes without actually making any modifications to your infrastructure.
Step 4: Applying
To apply your configuration and create the resources, run:
terraform apply
Terraform will prompt you to confirm the actions. Review the plan output and enter "yes" to proceed. Terraform will then provision your Zeet projects as defined in your configuration.
Step 5: Destruction (Optional)
If you need to remove your infrastructure, use the following command:
terraform destroy
Terraform will show you the resources that will be destroyed. Confirm the action, and Terraform will terminate all resources defined in your configuration.
By following these steps, you can effectively manage your Zeet projects using the Zeet Terraform Provider, either directly through the Zeet platform or using the Terraform CLI. The Terraform configuration provides a declarative way to define your infrastructure, enabling reproducibility, consistency, and automation in your deployments.