Migrating Your Heroku Application to AWS
Heroku is a user-friendly PaaS, which offers simplicity but comes with steep cost scaling and opaque infrastructure. In contrast, AWS provides detailed infrastructure control and a more scalable pricing model, making it a preferred choice for those requiring transparency, customization, and cost-efficiency in their growing applications.
Zeet facilitates a seamless migration of your application from Heroku to any cloud provider, including AWS, without necessitating changes to your application. This guide covers the migration process, providing step-by-step instructions for a smooth transition to owning your infrastructure.
We will be deploying this Project from GitHub as a Container in a Kubernetes cluster. The Project will be setup with Zeet's CI/CD, logging, and monitoring.
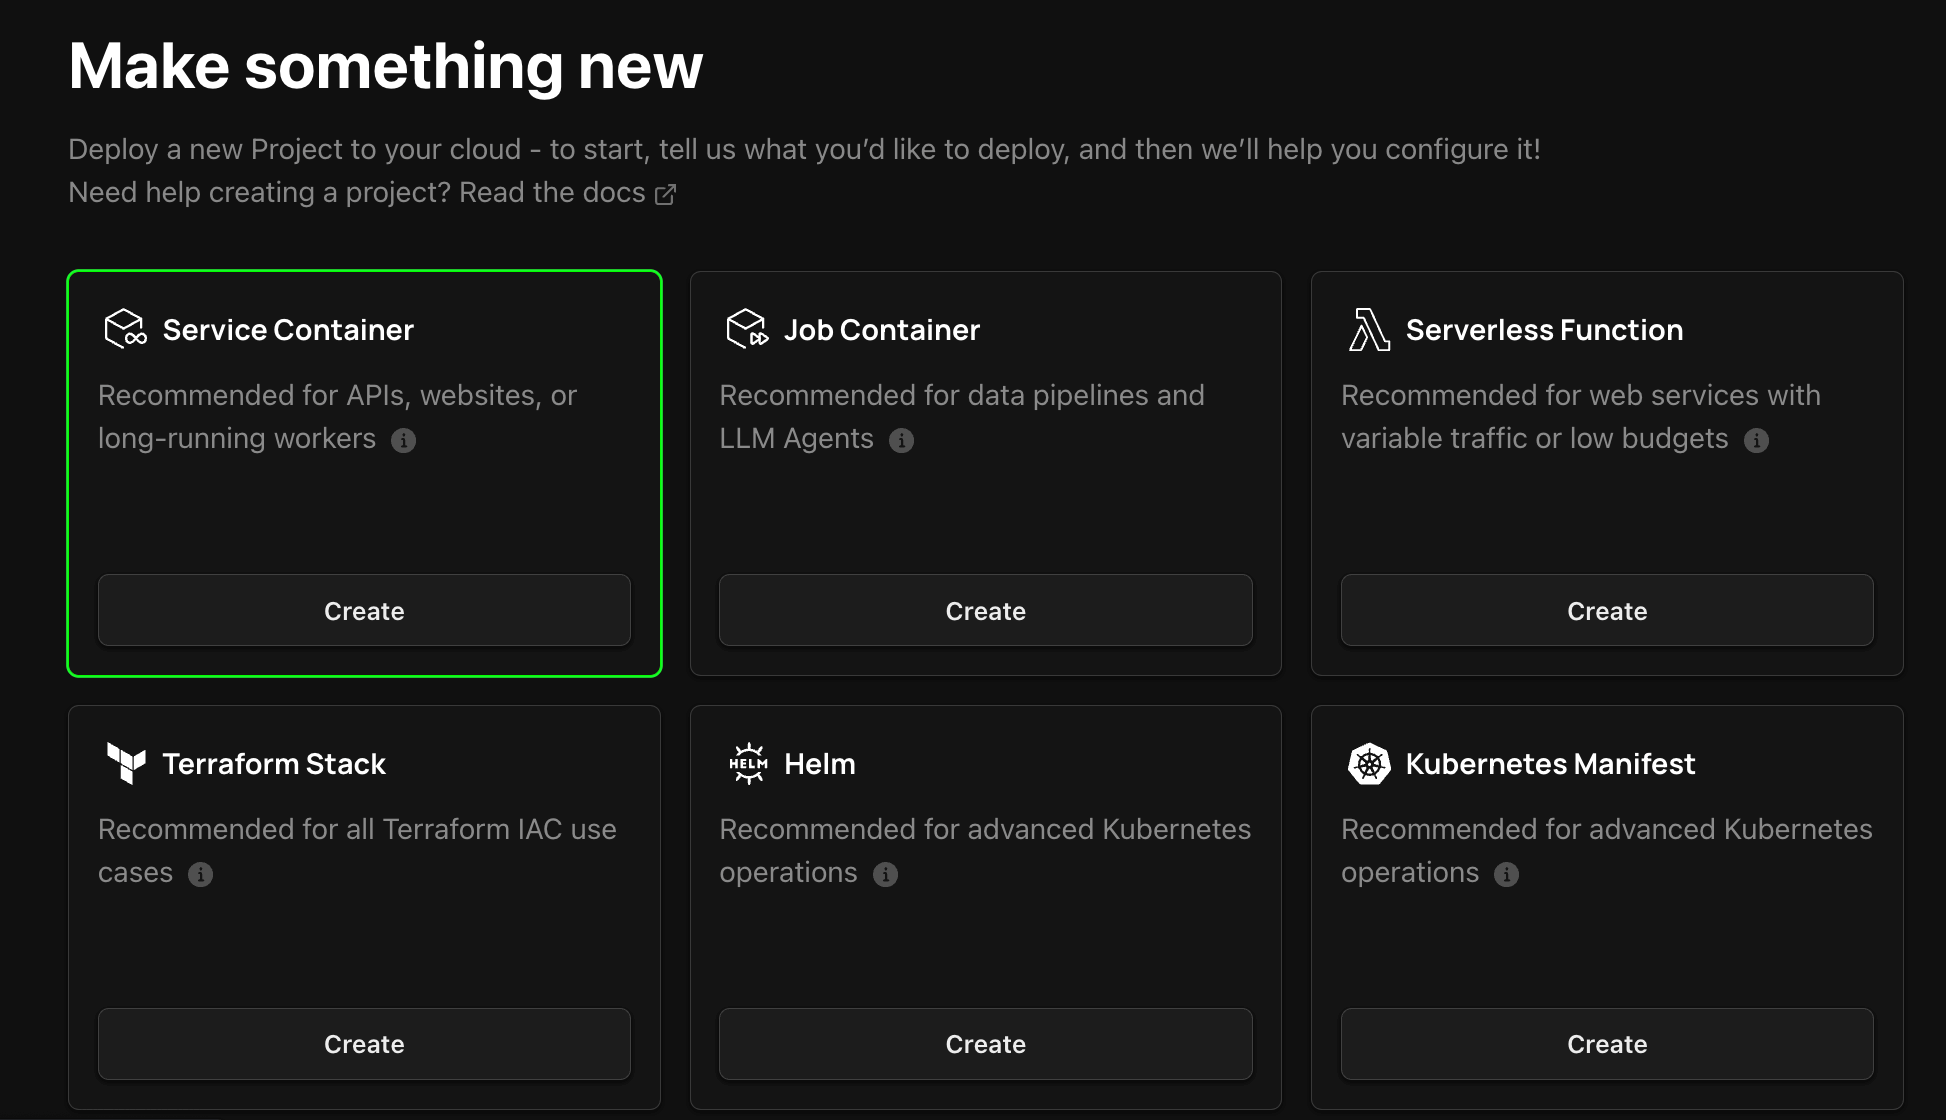
1. Select Service Container Project Type
We will be deploying the Heroku application as a Container in a Kubernetes cluster. To do this, we will be using the Service Container Project Type. You can find this in the New Project Menu.
2. Configure Project
1. Select Source
The first step in configuring your project for deployment is to select the source for your project. Connect your Zeet account with GitHub here if you haven't already and select the Repo to be deployed.
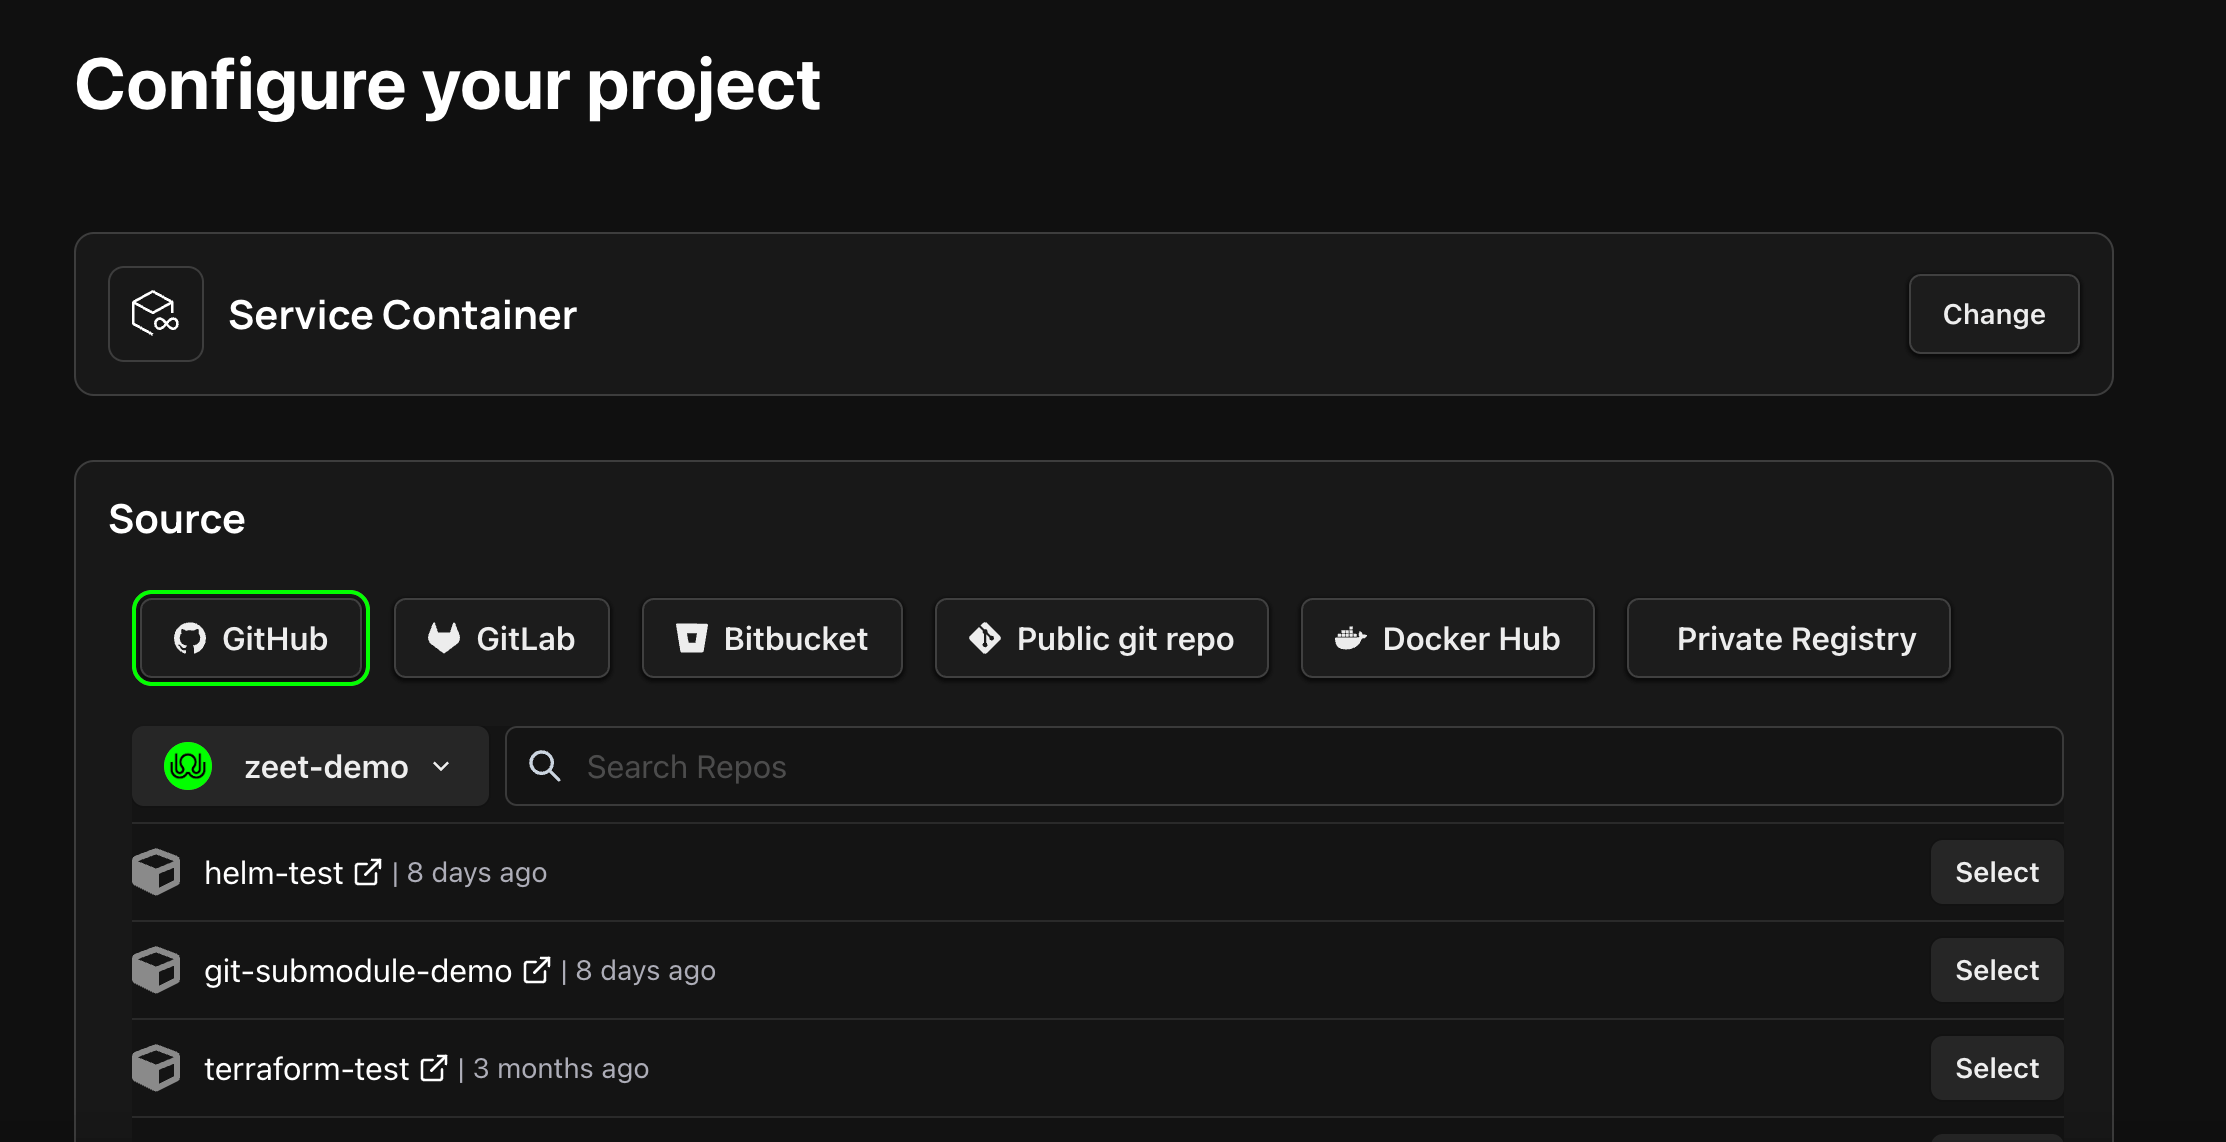
Note that this needs to be the same Repo you are using for your Heroku application.
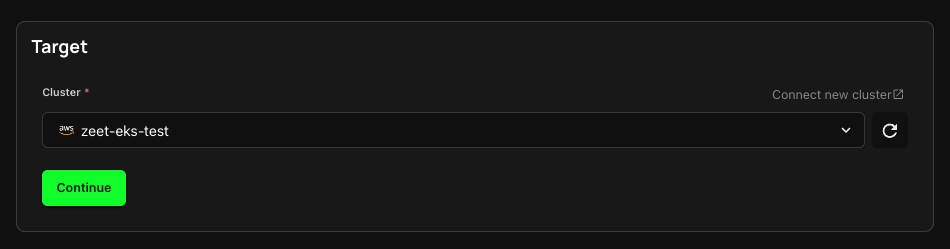
2. Select Deploy Target
The next step is to select the Deploy Target. The Service Container Project Type is used to deploy a Project as a Container in a Kubernetes cluster. If you don't already have a cluster linked to Zeet, you can create a new one here.
3. Configure Inputs
In this step, you can configure the Inputs to deploy your Project.
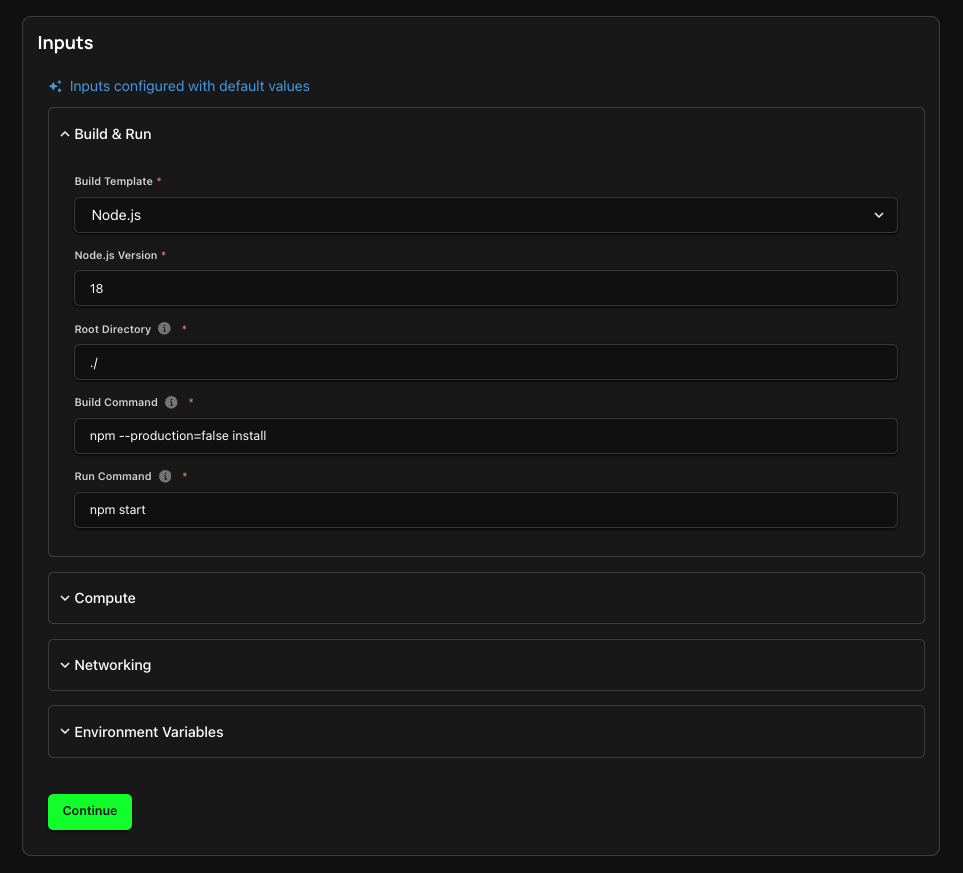
- Build & Run: Under Build Template, select the
Buildpacks (Heroku 18)build type and set the Run Command toherokuish procfile start web. Zeet uses Herokuish to emulate Heroku build and runtimes.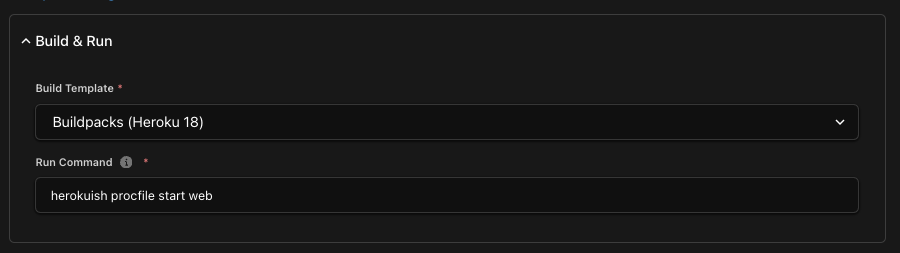
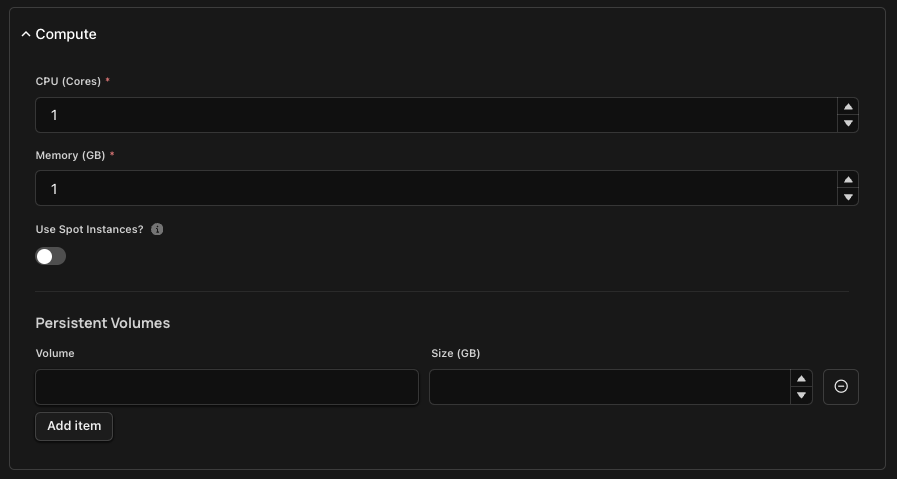
- Compute: In the Compute section, you can configure the resource requirements of your container (CPU, Memory, Disk) and also elect to use Spot instances.
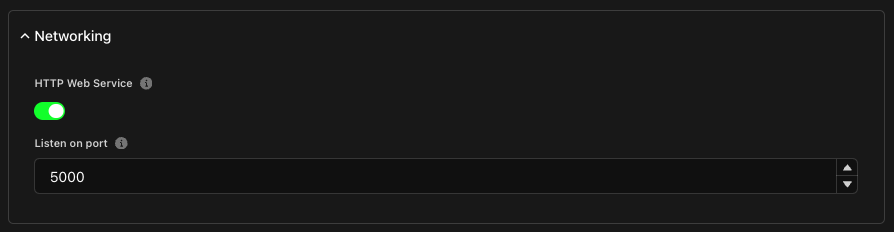
- Networking: Ensure that you have HTTP service toggle enabled and that you have the right Port exposed for your Project. In this case, since we are deploying a Flask application, we will expose Port 5000.
- Environment Variables: You can also configure any envvars required for your Project here.
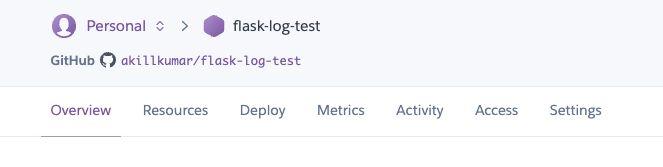
3. Deploy Project
With your project configured, give it a name and a place to live within your Zeet dashboard. You can then deploy your Project right away or save it as a draft to be deployed later on.