Milvus
Milvus is an open-source vector database optimized for efficient similarity search and real-time data analytics. Zeet's Milvus blueprint simplifies the provisioning of all underlying infrastructure, enabling a self-hosted solution within your own environment.
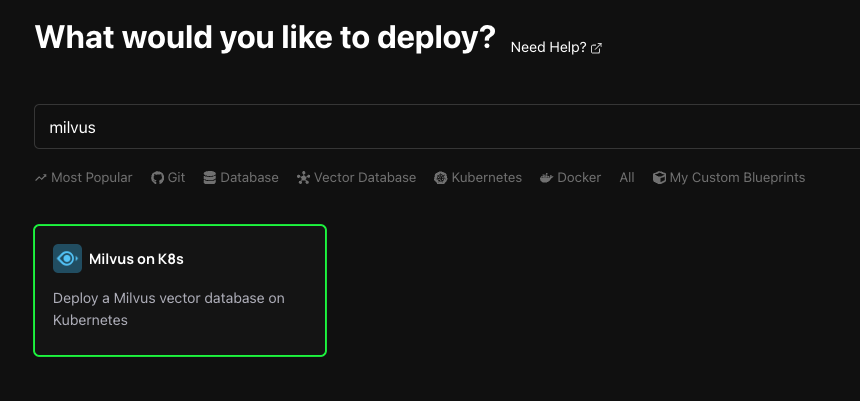
1. Select Milvus Blueprint
To get started, head over to the Zeet dashboard and navigate to the Create New Database menu. Here, select the Milvus Blueprint.
2. Configure Blueprint for Deployment
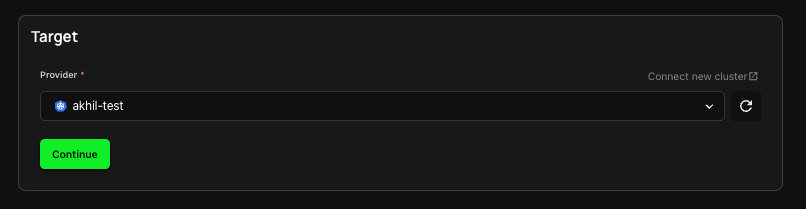
1. Select Deploy Target
The first step in configuring your deployment is selecting your Deploy Target. Zeet's Milvus Blueprint utilizes Helm under the hood to deploy Milvus directly into your Kubernetes cluster. If you don't already have a cluster connected, you can create a new one here.
2. Configure Inputs
In the Inputs section, you can configure your Milvus blueprint for deployment.
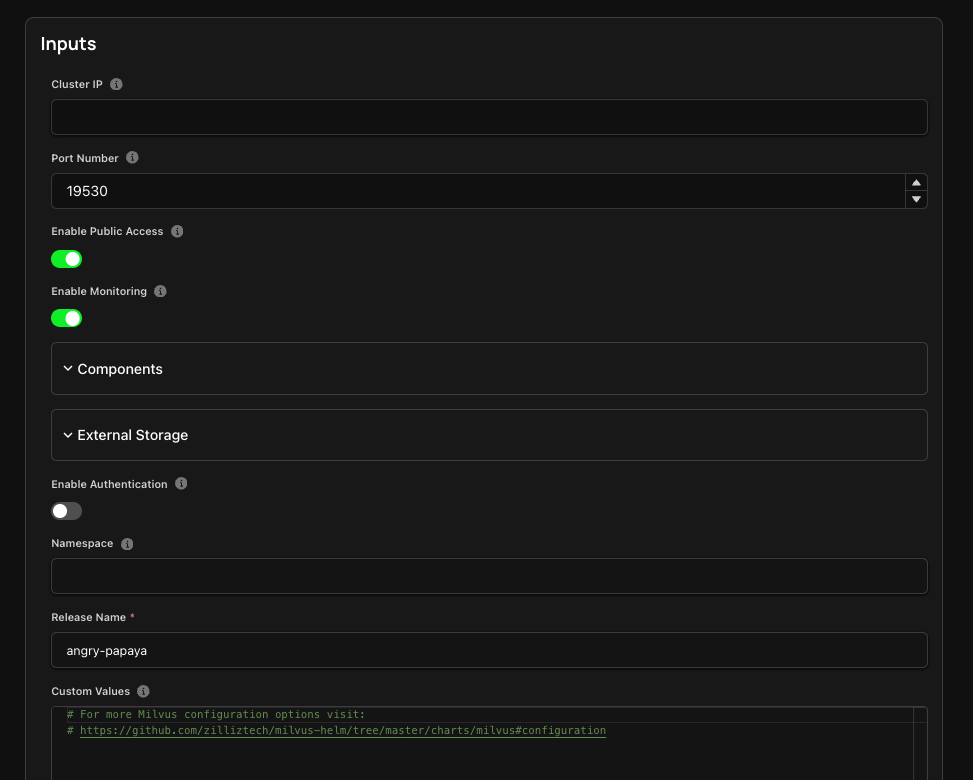
- Components: Inputs related to Milvus' Microservice Components.
- External Storage: Inputs related to Milvus' External Object Storage.
- Custom Values: You can optionally configure your Helm deployment here by providing custom YAML. Refer to Milvus's GitHub repo for more information about configuration options.
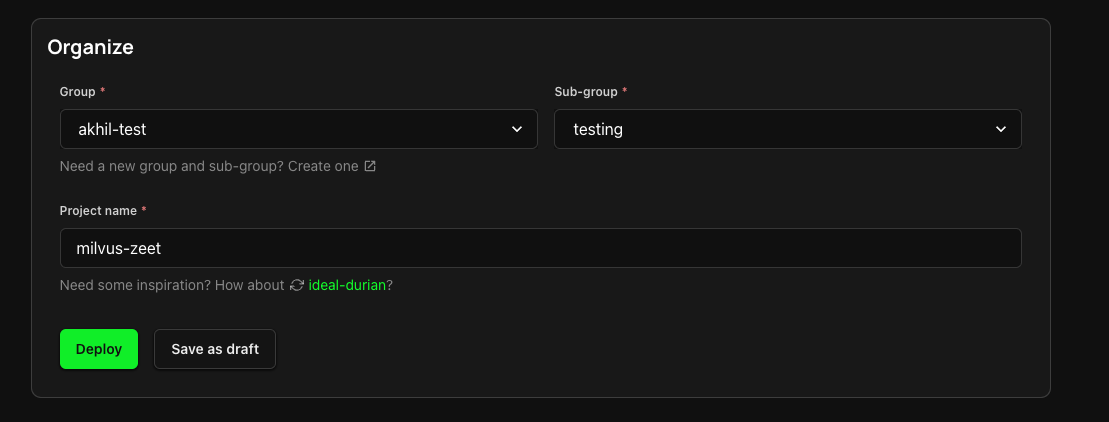
3. Finalize and Deploy!
You're almost done! Just give your Project a name and a place to live within your Zeet Dashboard. Pick the Group and Sub-Group, or create new ones and deploy your Project right away, or save it as a draft to deploy it at a later time.
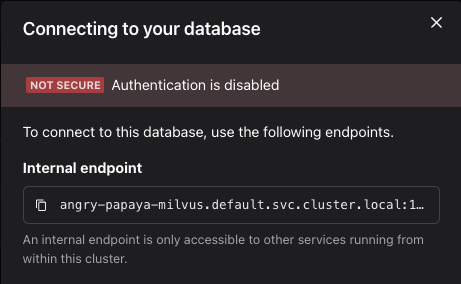
3. View Database Connection Information
Once deployed, you can click on the Connection Info button at the top-right corner of your Project details page to find the relevant connection information for your Milvus instance. You might use this information to connect to your Database for I/O operations.