Custom Blueprints
Blueprints offer an efficient method for packaging and sharing reusable infrastructure components. Zeet Admins can create custom Blueprints that bundle Terraform Modules, Helm Charts, and Kubernetes Manifests, complete with pre-configured settings for seamless deployment by Developers.
This guide covers how you can create a Custom Blueprint for your team to use.
Creating a Custom Blueprint
For this guide, we will be creating a new Blueprint that packages up a Terraform Module. We'll be using this Terraform Module for AWS RDS.
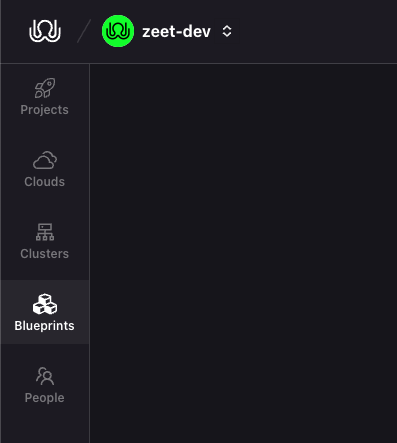
1. Navigate to the Blueprints tab
From your Zeet dashboard, navigate to the Blueprints tab from the side-nav.
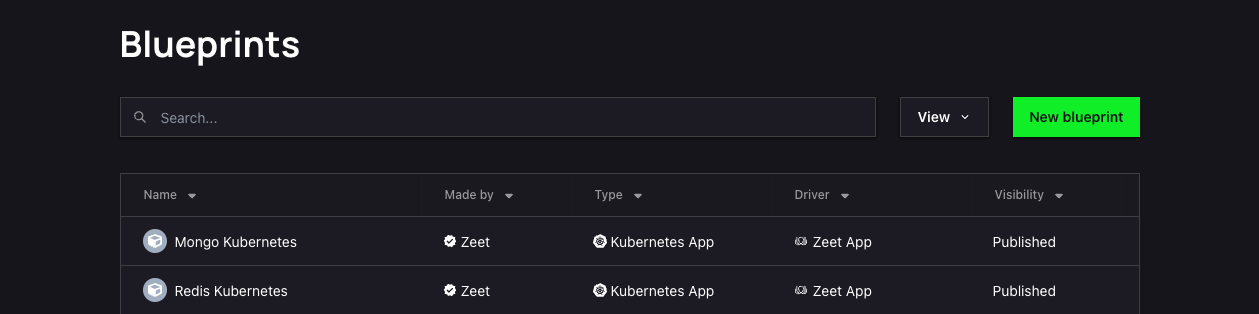
2. Create a new Blueprint
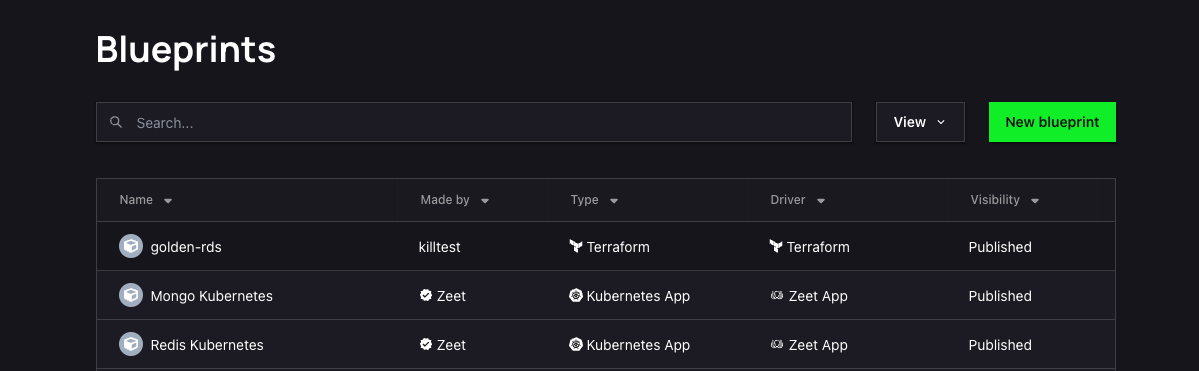
Here, you should be able to see all the Blueprints that are available for your team to use. Use the button to Create a new Blueprint
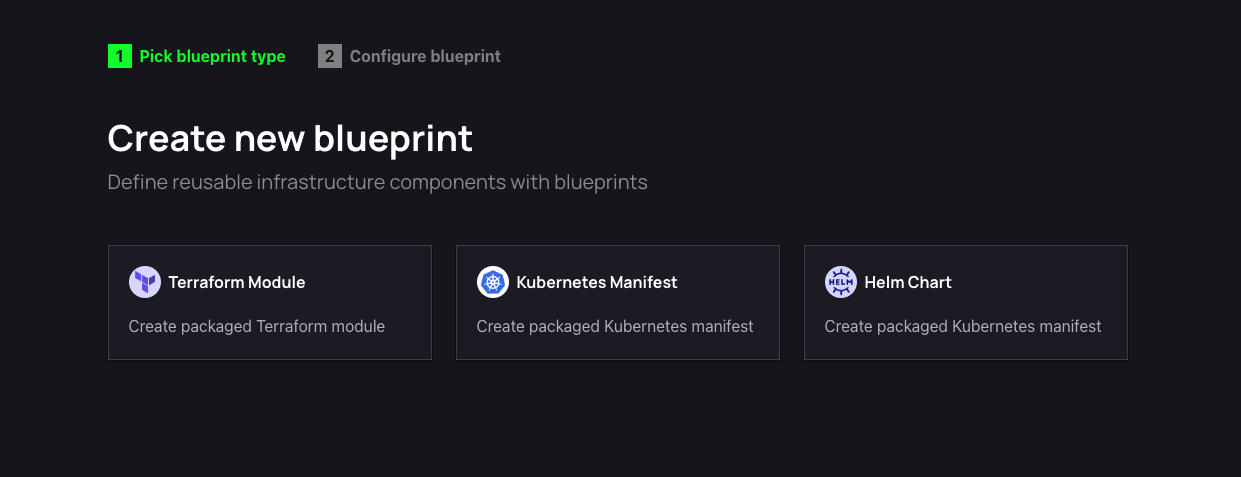
3. Select Blueprint Type
As mentioned earlier, you can create a Blueprint that packages up Terraform Modules, Helm Charts, or Kubernetes Manifests. If you're following along with this guide, pick Terraform Module.
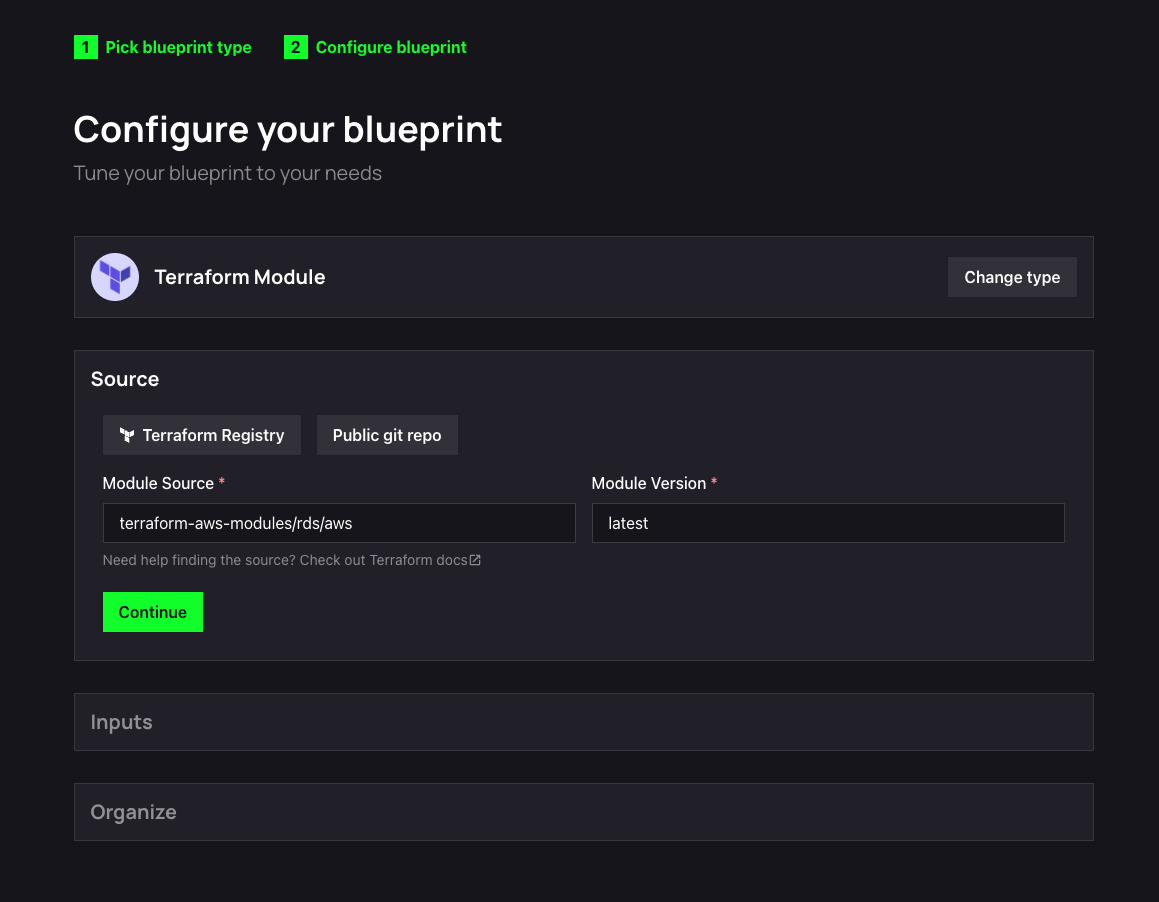
4. Configure Blueprint
Let's now configure our Blueprint with the RDS Terraform Module.
1. Select Source
To configure the Source for your Terraform Module, you have two options:
- Use the public Terraform registry
- Use a public Git repository.
If you choose to use a public Git repository, Zeet will scan for and deploy the main.tf if available. For this guide, since we are deploying the RDS TF Module, we'll be using Terraform Registry as our source.
If you are using a Module from Terraform Registry, you can find the Module Source and Version under the Provision Instructions section.
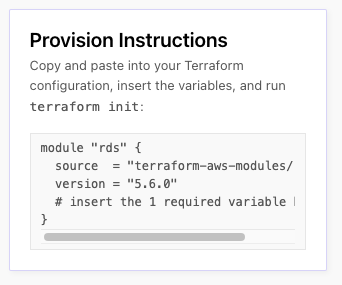
You can choose to use a particular version, or use the latest tag to always grab the latest version.
2. Configure Inputs
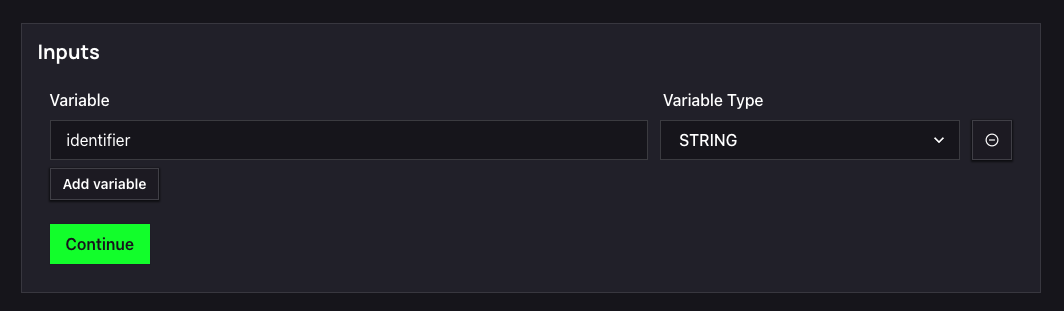
If the Terraform Module that you are packaging requires any Inputs, you can list them here. If you are using a Module from Terraform Registry, you can find the required and optional inputs for the Module under the inputs tab.
For the RDS Module, the only required input is identifier which is of type String.
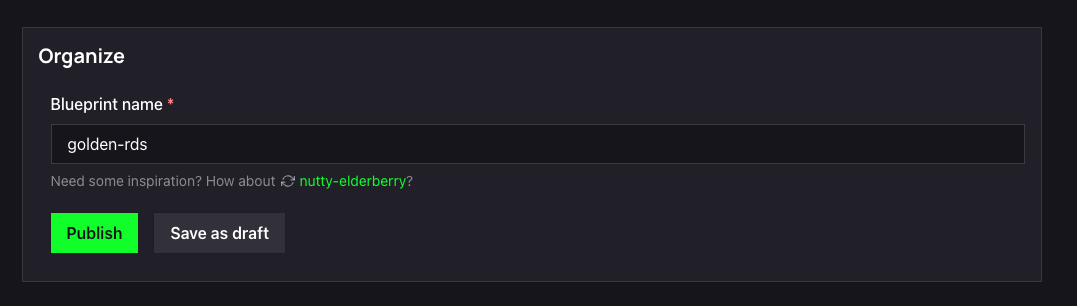
3. Organize
You're all set! The last step here is to give your new Blueprint a name and Publish it for your team to see and deploy! If you're not sure yet, you can save it as draft and come back any time to publish it.
5. Publish
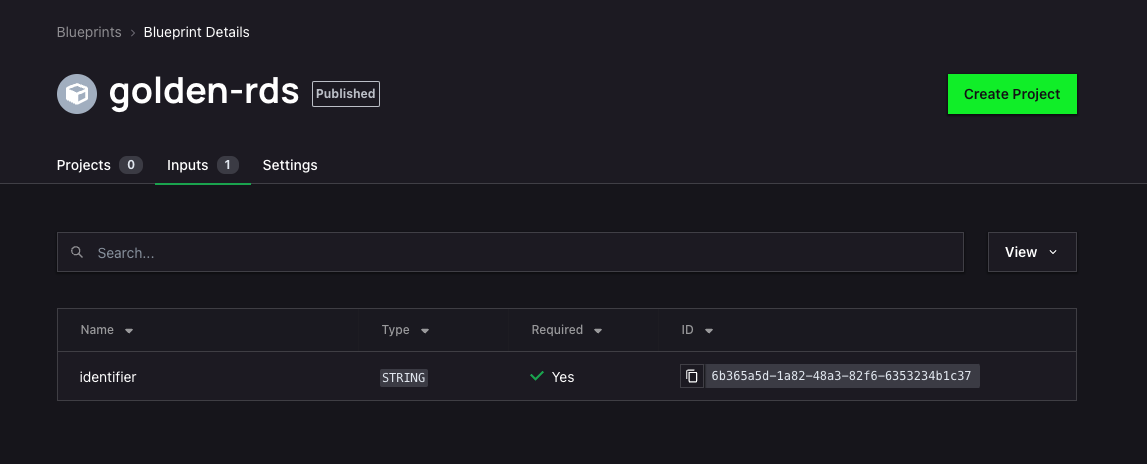
Once published, you should see your brand new Blueprint in the Blueprints tab.
Clicking into the Blueprint should show you the detail view, where you can see:
- All the Projects created using this Blueprint
- The Inputs previously configured for this Blueprint
- Settings for modifying or deleting this Blueprint
You can now deploy a new Project using this Blueprint!
Blueprint IDE
Zeet also supports crating and modifying Blueprints via the GraphQL API. Zeet also provides a "Blueprint IDE" to modify Blueprints and enable some advanced configurations for your Custom Blueprints.
You can use the Blueprint IDE by forking Zeet's GitHub repo.