Vultr
Vultr is a cloud hosting provider that boasts the latest hardware, providing users with a wide range of popular operating systems to choose from. With $250 free credit, users can easily deploy virtual machines and scale resources on demand, making it a versatile and cost-effective solution.
This guide shows you how to connect your Vultr account to Zeet and deploy your first project.
1. Setting up Vultr
Obtain API Token
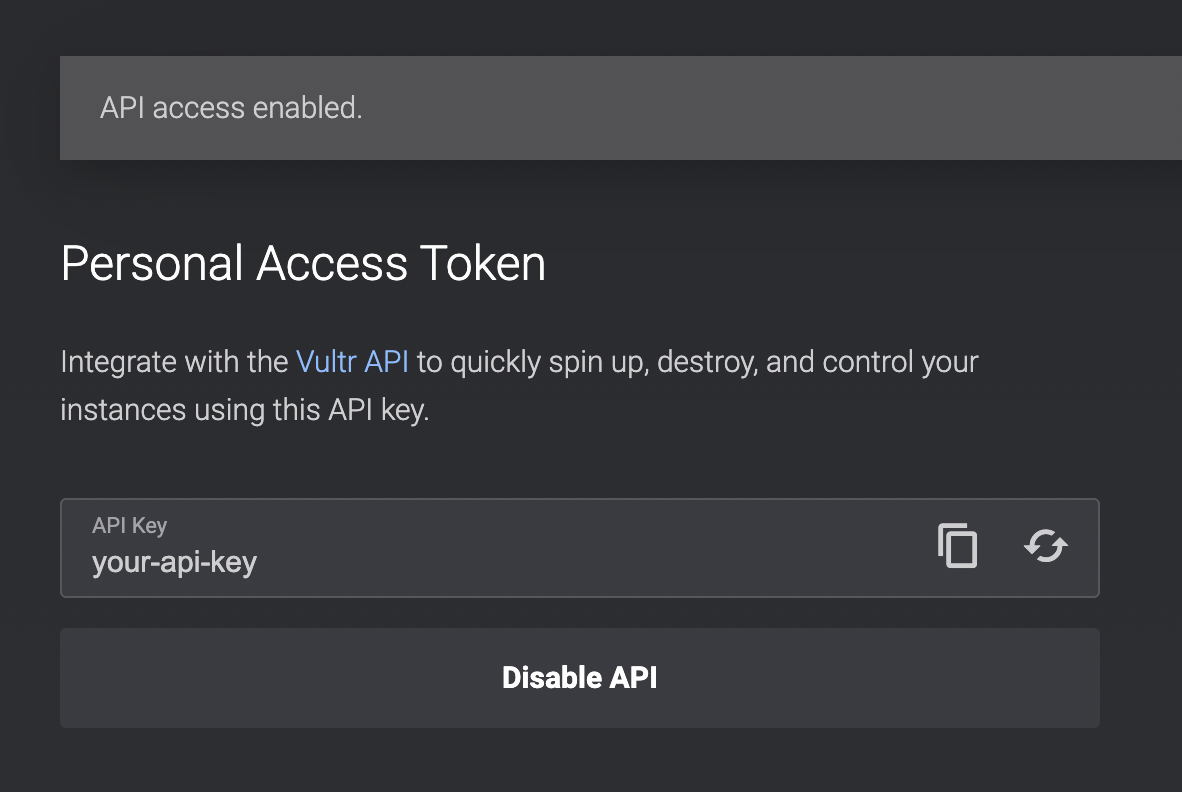
To connect your Vultr account to Zeet, you must first enable API and get your API Token (Personal Access Token). Navigate to the API Page of your Vultr Account and opt to "Enable API".
Once enabled, copy the generated API Token. You will need to plug this into Zeet later!
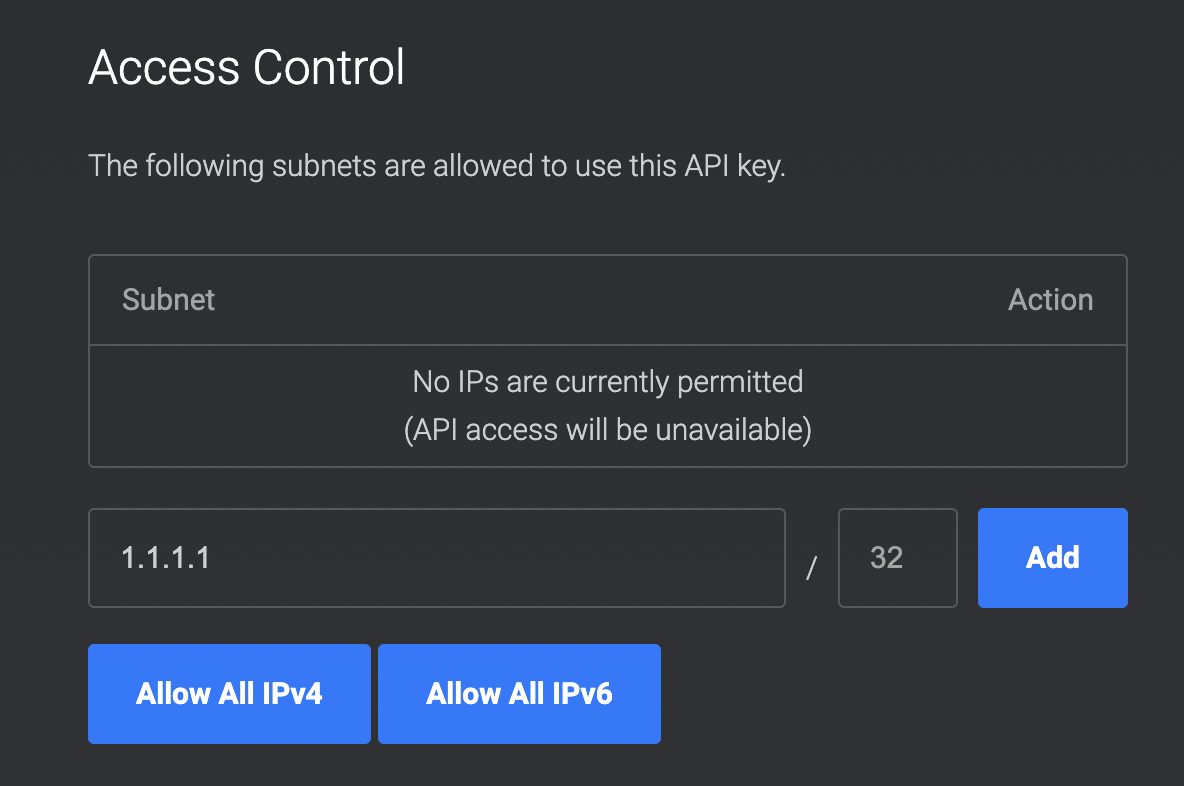
Allow IPv4 Access
In the same page, you should see an Access Control section. To allow Zeet to access your Vultr account, you need to "Allow all IPv4".
2. Connect Zeet with Vultr
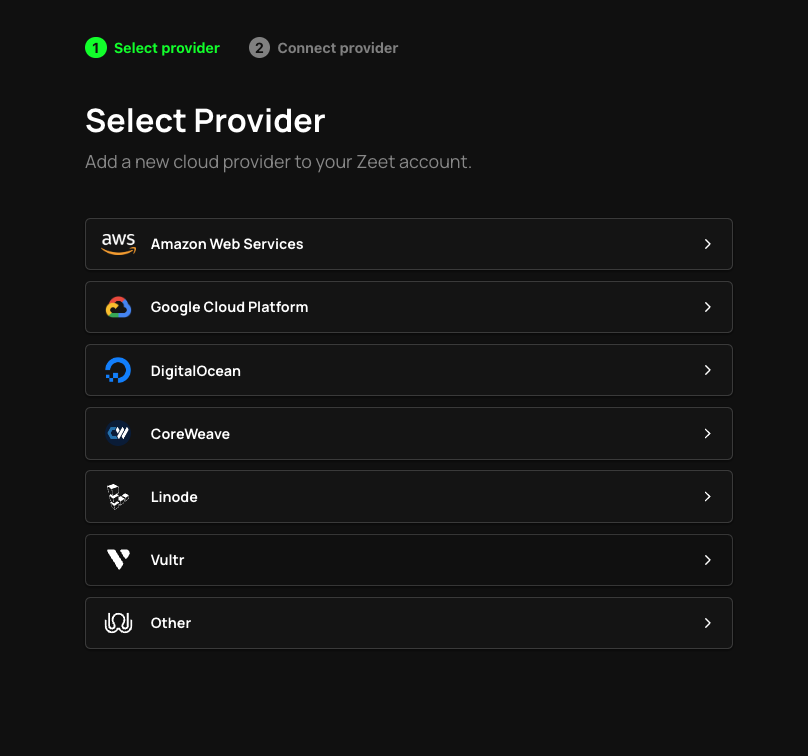
Now that you have an API Token that Zeet can access, its time to connect your Vultr account to Zeet. Navigate to your Zeet Cloud Console and select the Vultr option from the New Cloud menu.
Here, put in the API token you copied earlier and give your connected cloud a name to reference it easier in Zeet.
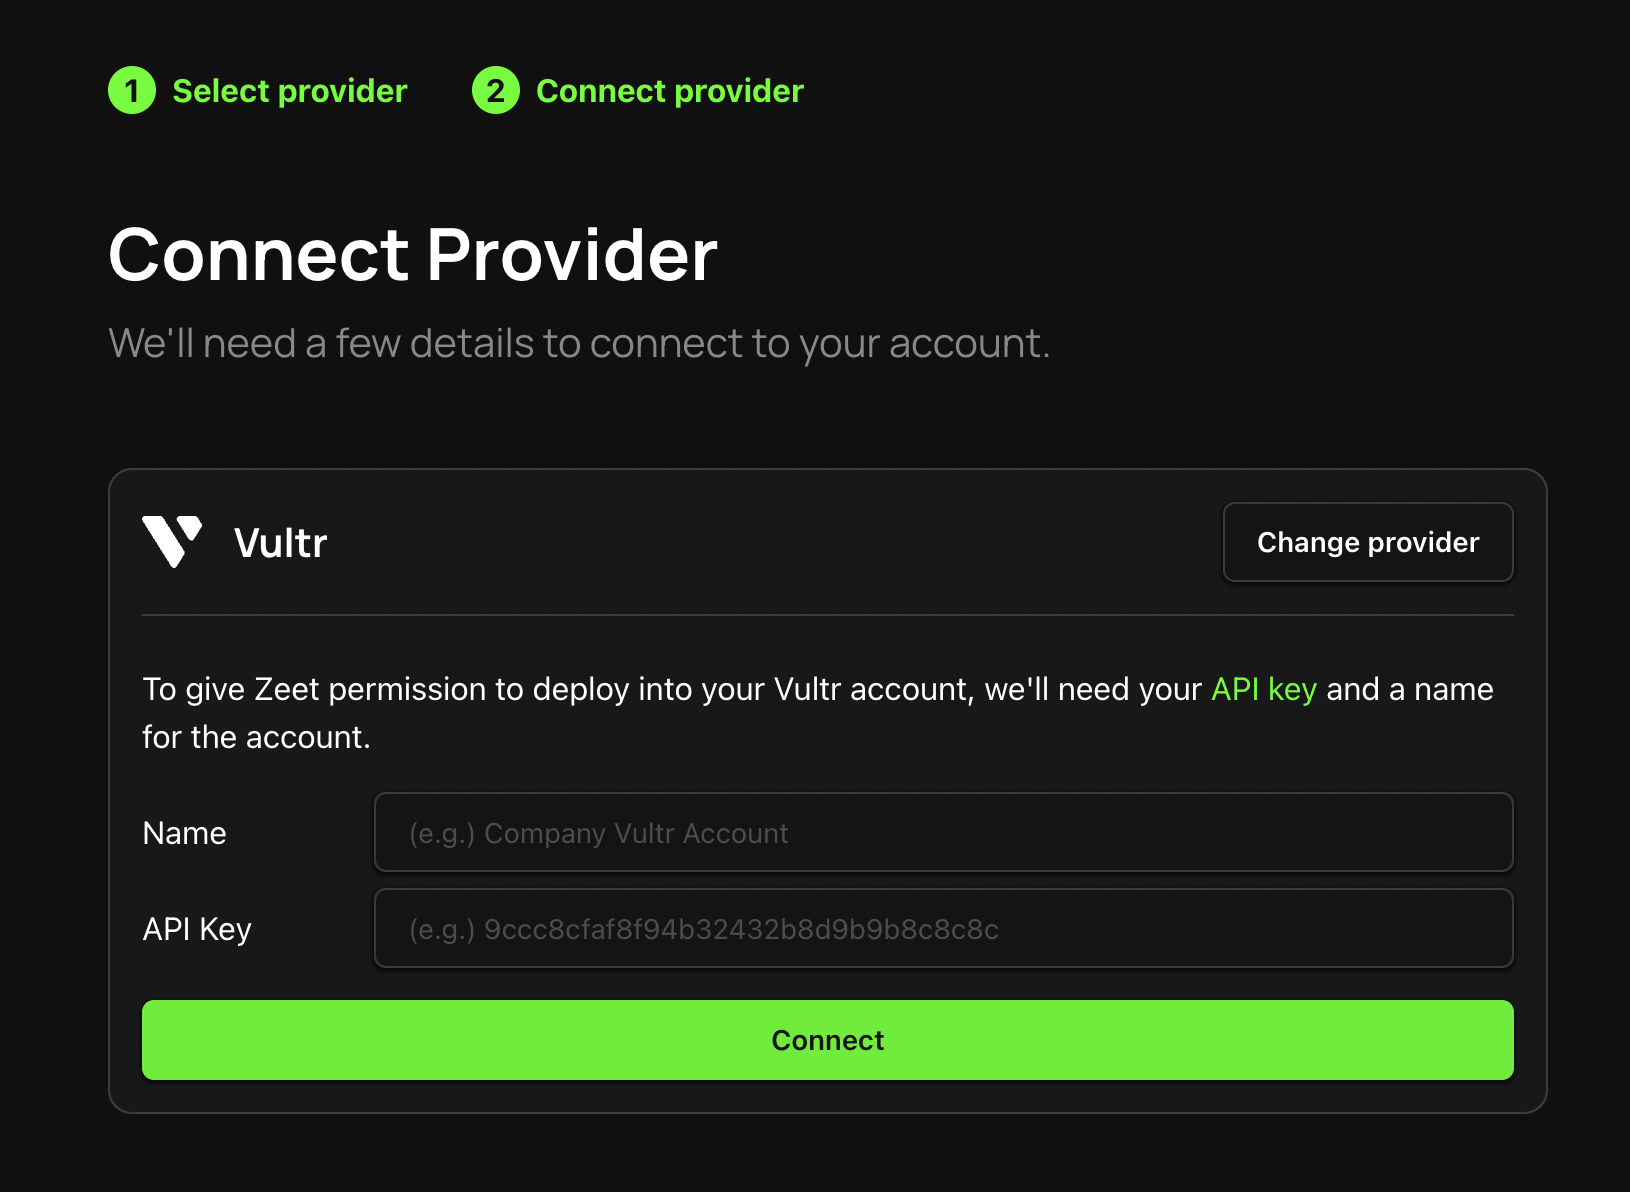
If configured properly, a Green checkmark will appear next to your account!
3. Create a Kubernetes Cluster
Now that we have connected your Vultr account to Zeet, lets create a cluster that to use. Navigate to the Vultr Kubernetes page and create a new Cluster by choosing the "Add Kubernetes" option from the Dropdown.

Here, you can configure your cluster with region, node pools, and explore different plans.
Download Kubeconfig
After creating a cluster with your required configuration, you can download the Kubeconfig for your cluster by clicking the "Download Configuration" button.
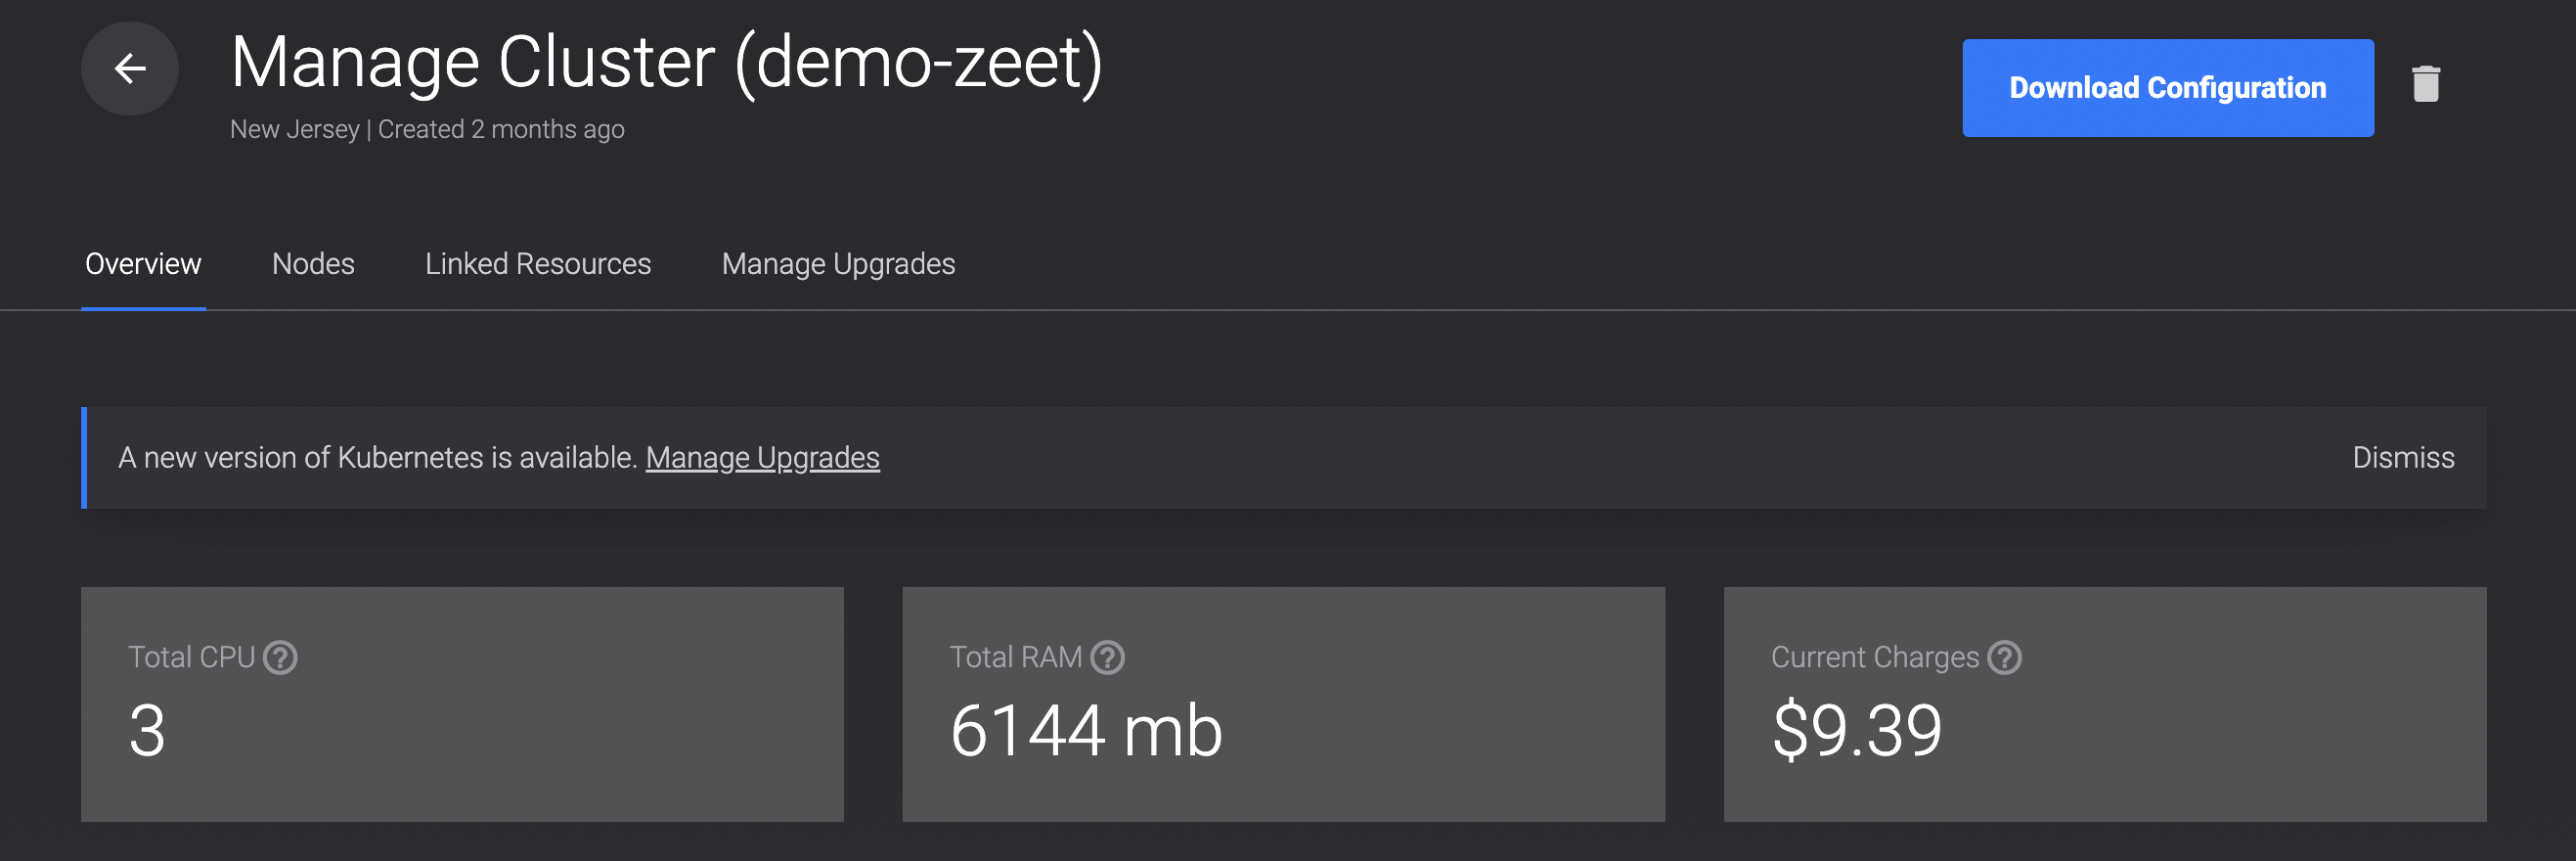
You will need this to connect your cluster to Zeet in the next step.
4. Connect VKE Cluster to Zeet
Upload Kubeconfig
Navigate to the Zeet Cluster Console and upload the Kubeconfig that you downloaded in the previous step.

Link Zeet Cluster to Vultr Account
Once the Cluster has been added to Zeet, you need to link it to the Vultr Account you had previously added. You can do this by using the Link Cloud option in your Cluster Detail page.

Link Container Registry (optional)
In order to deploy a container to a cluster, you need a container registry to store the container image. When deploying a container to a cluster, the image must be pulled from the registry and deployed to the cluster. You can find more information regarding Container Registries on Zeet here.
For multi-cloud/cluster projects, you can add the same registry used in other clusters. Then your vultr cluster will be able to share the same image built in other clusters.
5. Link DNS Domain
In order to deploy web services with url endpoints, you need to link a DNS domain to your cluster.
5.1. Add your own subdomain as a primary zone in Vultr domains
https://www.vultr.com/docs/introduction-to-vultr-dns
5.2. Set up the subdomain nameservers following Vultr instructions
https://www.vultr.com/docs/guides/dns-manager/
To setup Vultr DNS simply add these NS records to your Domain Registrar's DNS settings.
ns1.vultr.com
ns2.vultr.com
Add the delegated subdomain as the Domain for your cluster in the Network Settings section of your Cluster Detail.
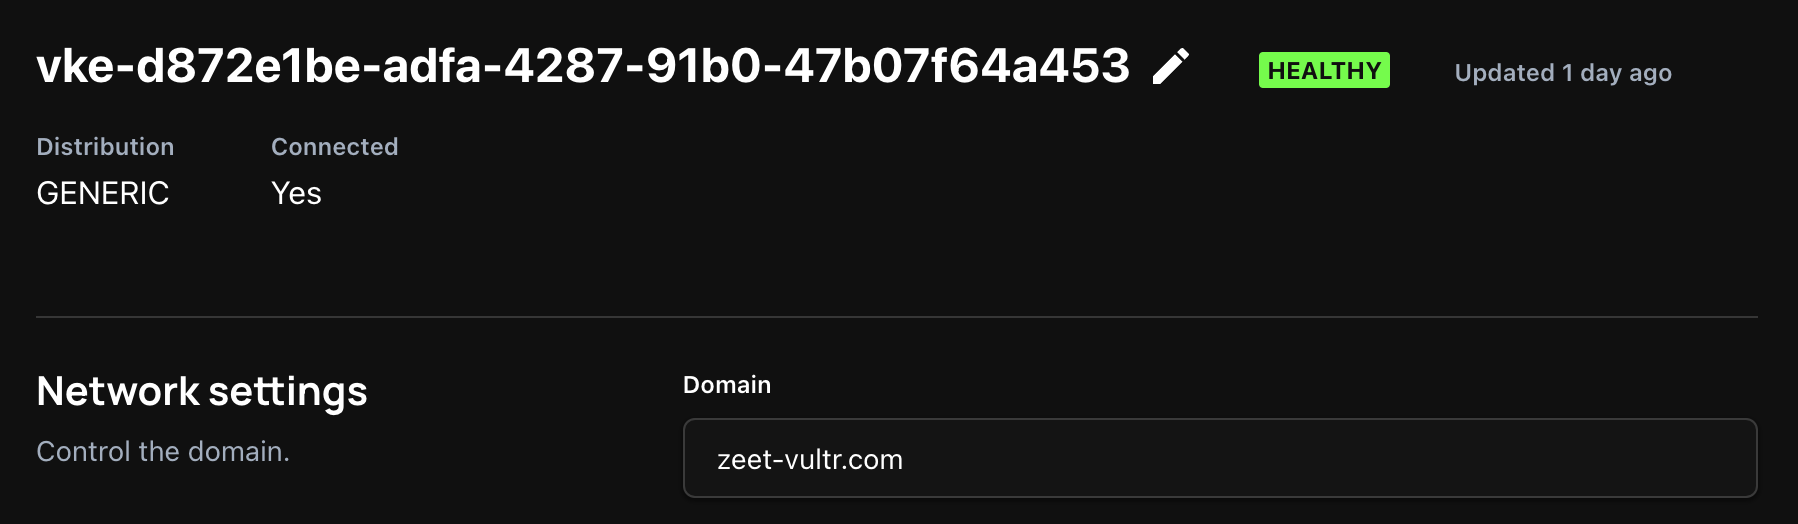
vultr doesn't support auto-delegated zeet.app urls yet due to their security policies.
6. Deploy App to VKE Cluster
You're all set to deploy your first app to Vultr! Navigate to the Zeet Blueprints Menu to find something to deploy.
Resources
Creating a Vultr Account: https://login.vultr.com/signup
Vultr Documentation: https://www.vultr.com/docs/