CoreWeave Cloud
CoreWeave is a modern cloud infrastructure empowering creators, innovators, and tomorrow's world changers with access to the GPU resources they need to work more efficiently.
1. Obtain Access Credentials
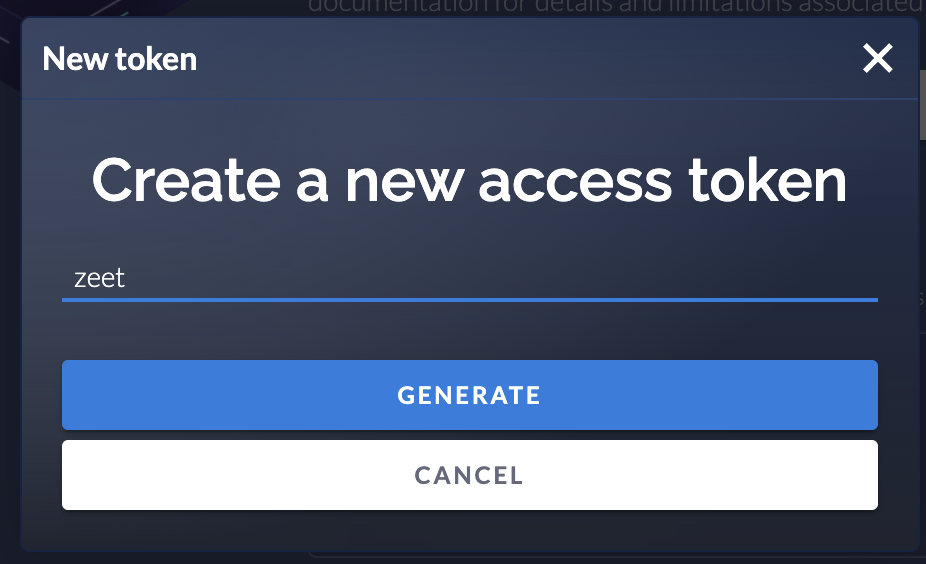
To connect your Coreweave account to Zeet, you must first create a new API Access Token. To do this, you must first navigate to CoreWeave API Settings page.
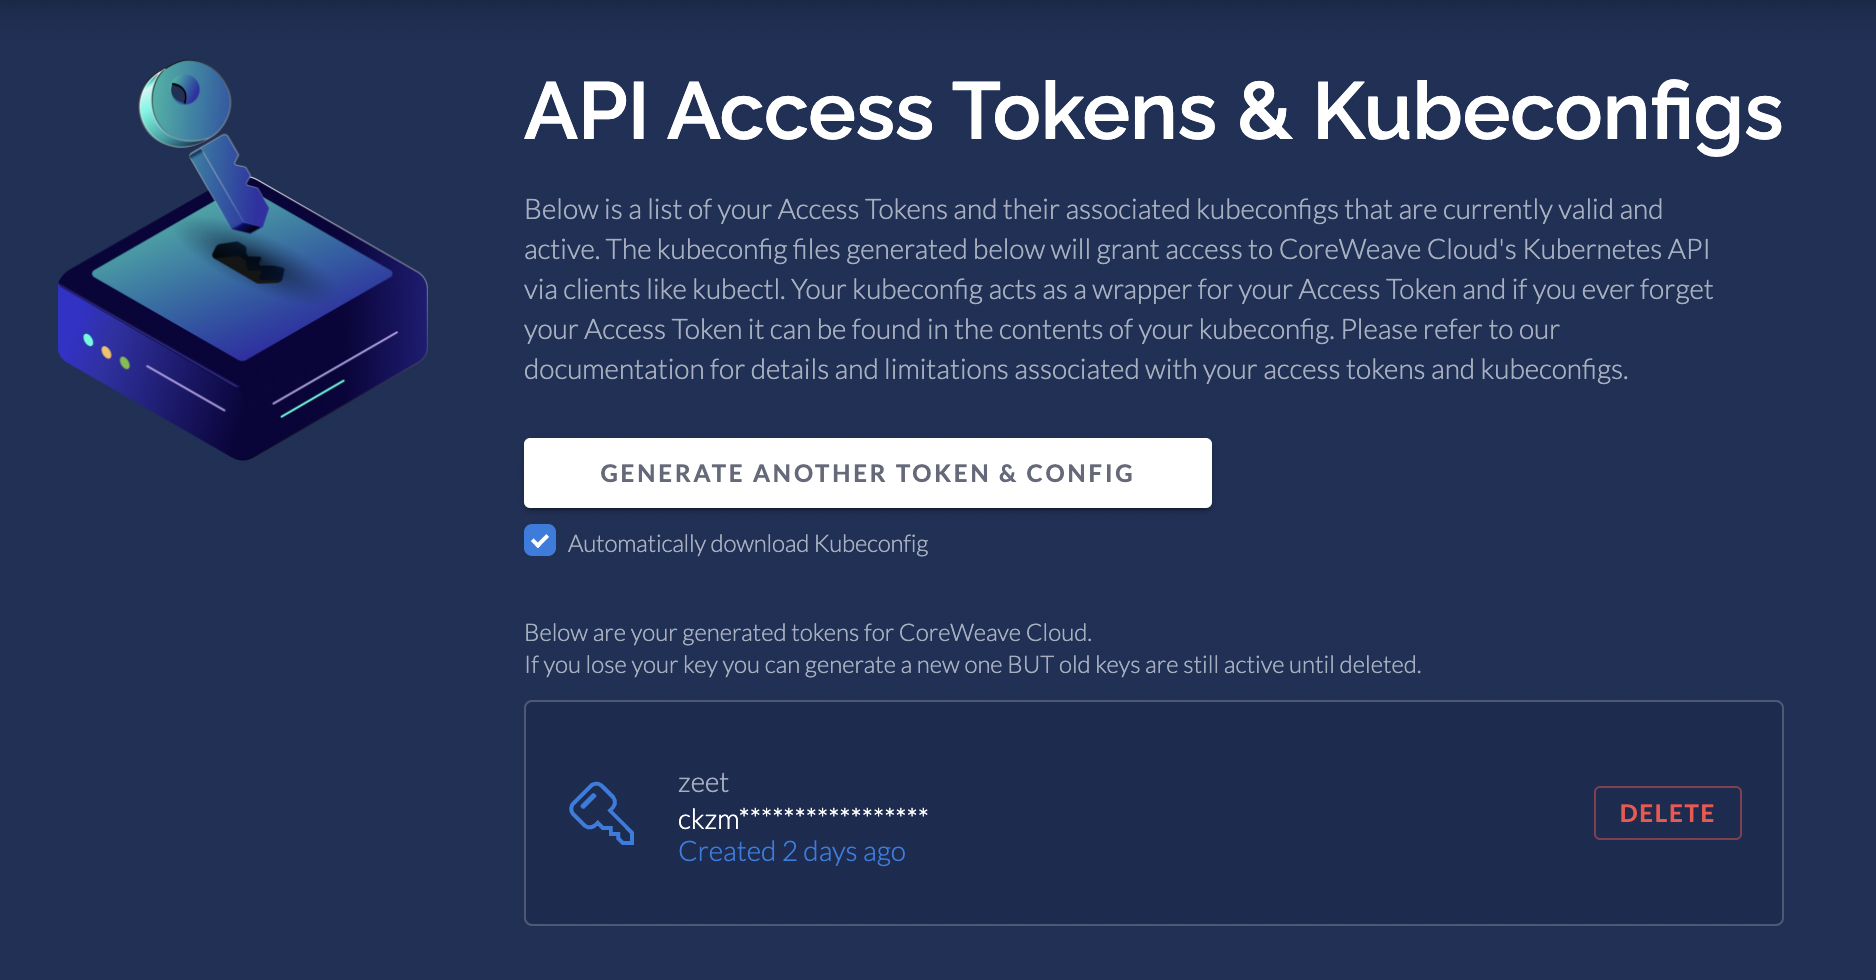
From here, you can generate a new API Access Token and give it a name.
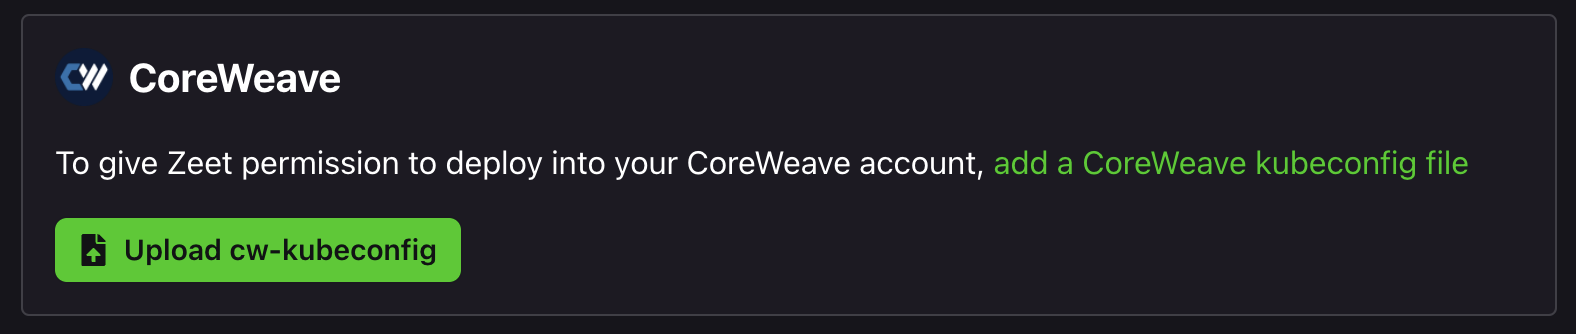
2. Upload CoreWeave cw-kubeconfig to Zeet
Connect CW Cloud
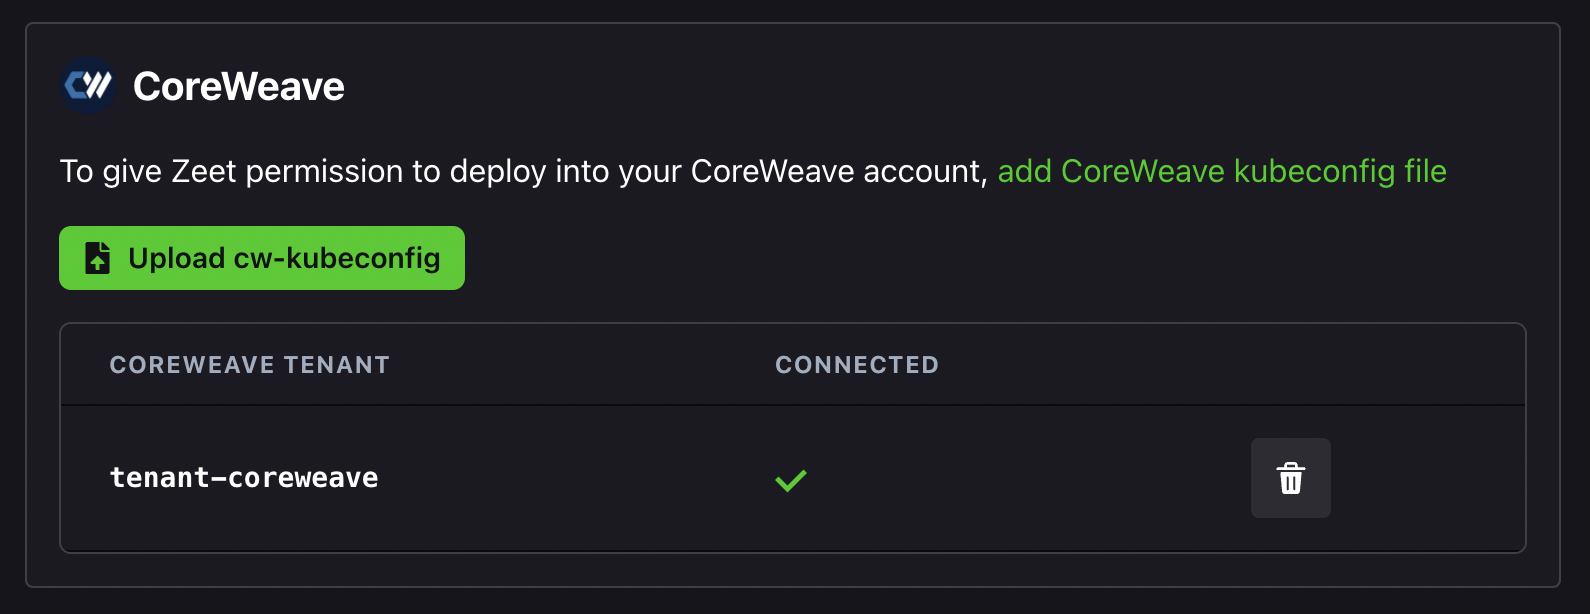
To now connect your CoreWeave account to Zeet, navigate to the Zeet Cloud Console and upload the file downloaded from Step 1.
After the credentials are verified, a green checkmark will appear next to the account.
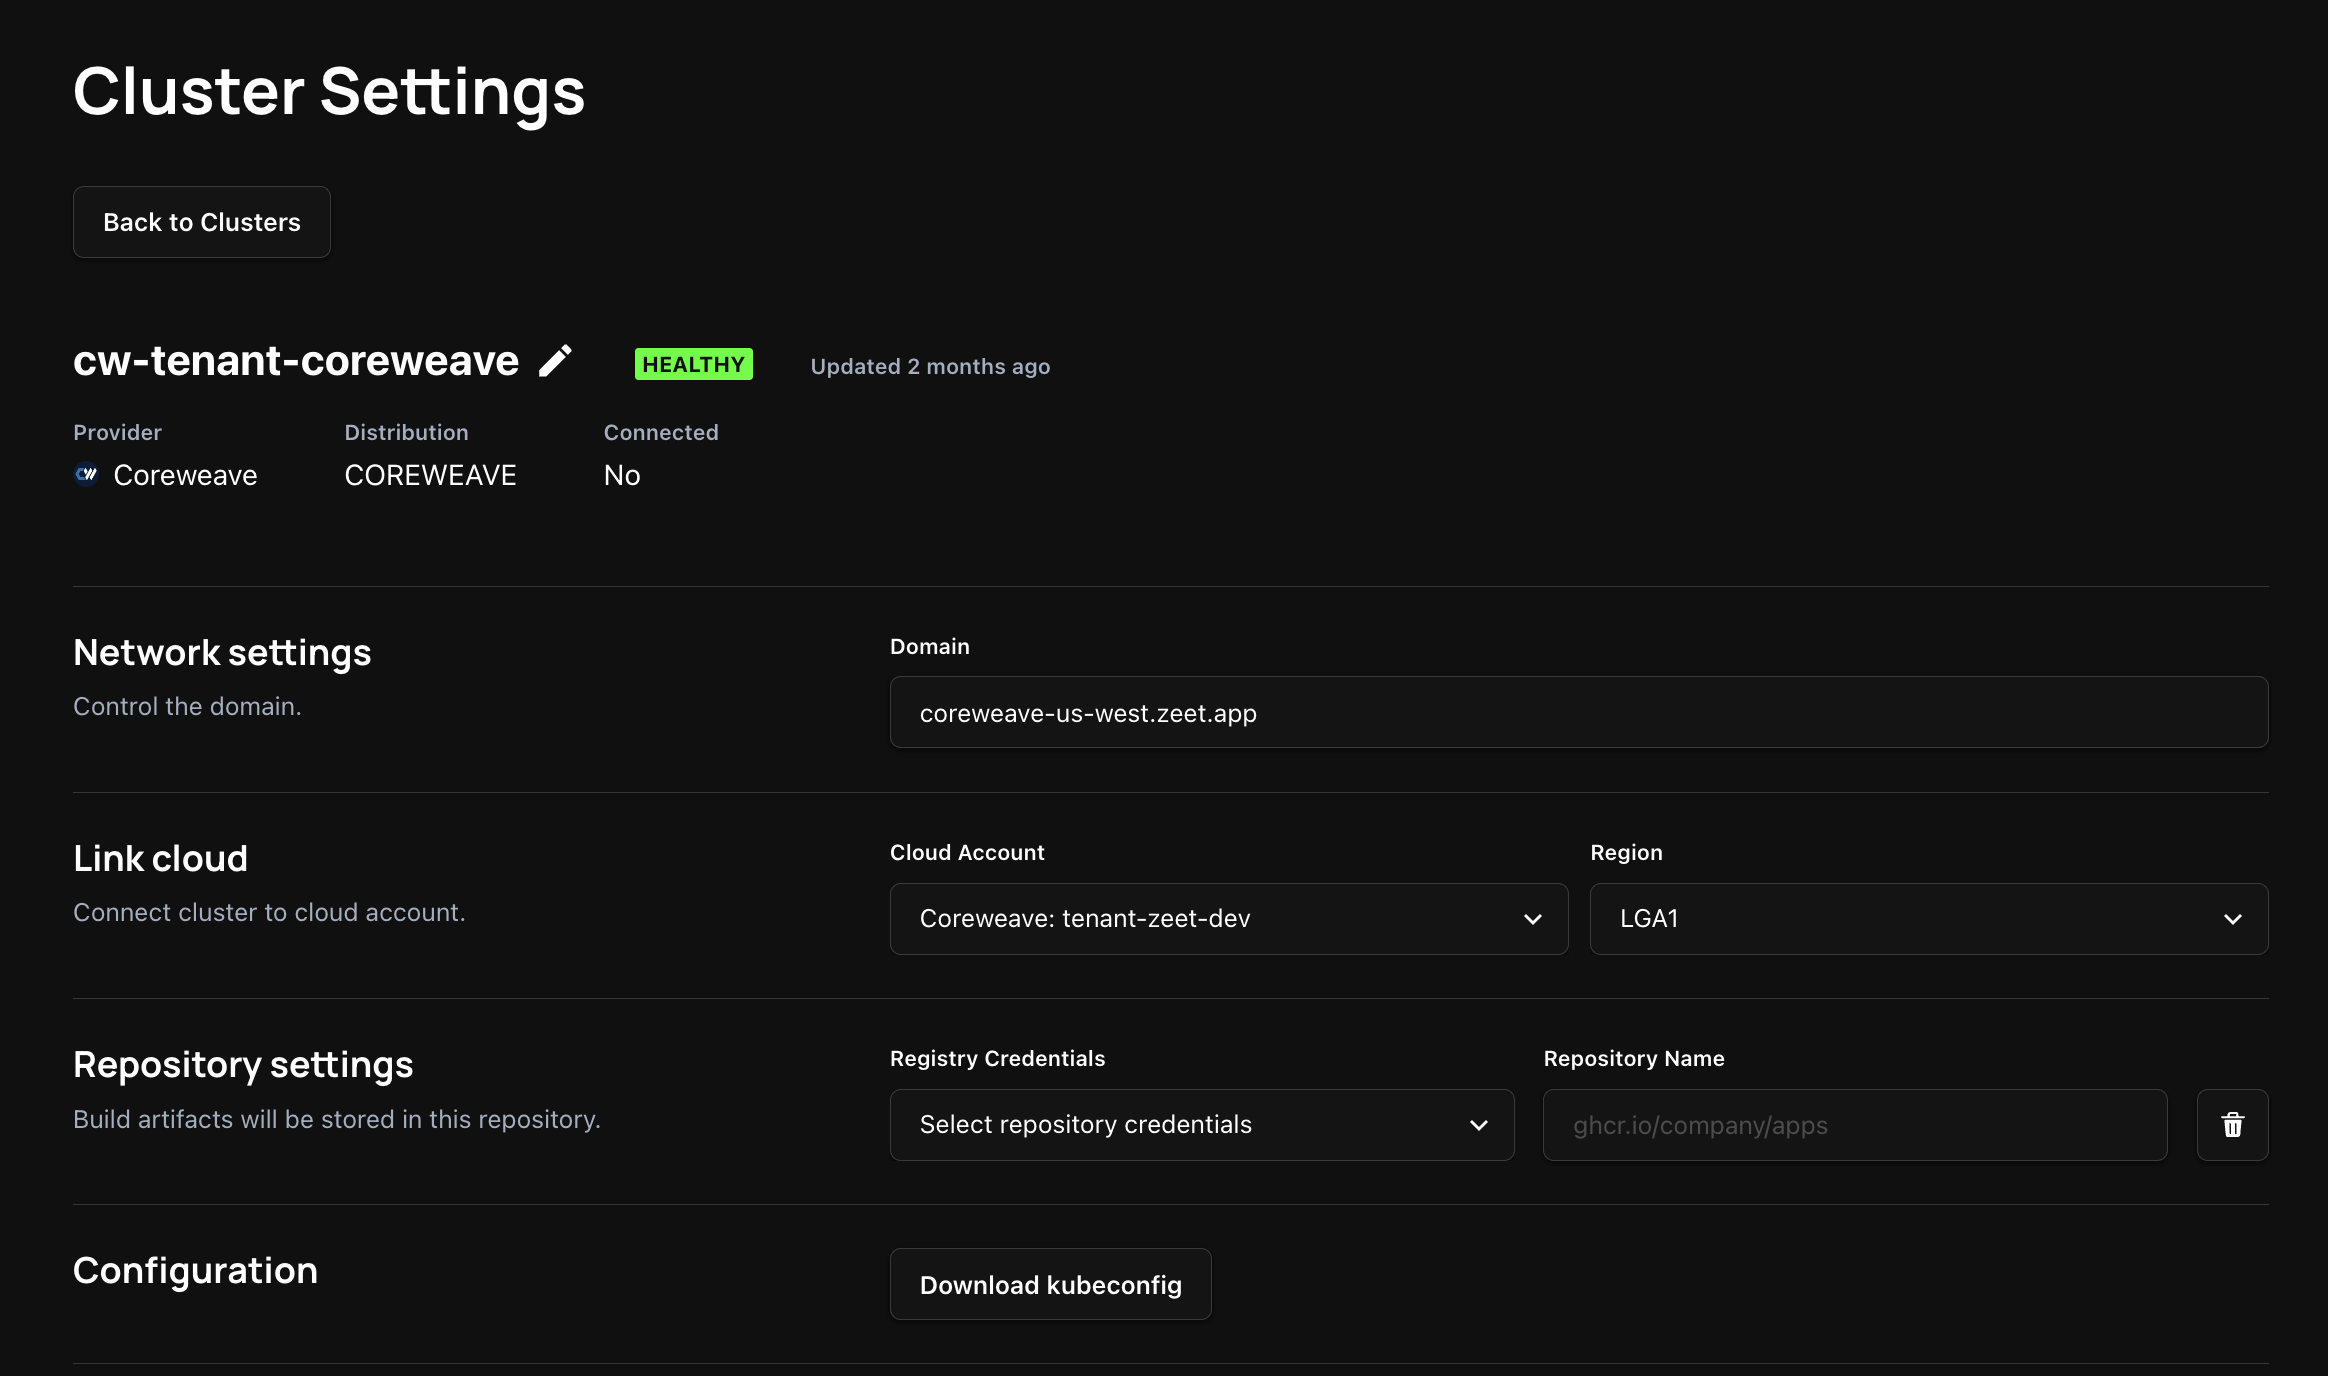
CW Cluster
Once you credentials are verified, your CoreWeave cluster will be automatically connected to Zeet. Navigate to the Zeet Cluster Console to find your CoreWeave cluster.
3. Configure CoreWeave Cluster
This step is only required if you need to build and deploy apps from GitHub.
In order to deploy a container to a cluster, you need a container registry to store the container image. When deploying a container to a cluster, the image must be pulled from the registry and deployed to the cluster.
When using AWS or GCP, Zeet will use ECR or GCR to store the container image. But since CoreWeave offers bare-metal clusters, you need to add a Container Registry for your cluster, which you can do in your Cluster settings.
Here is how you can attach a container registry to your cluster:
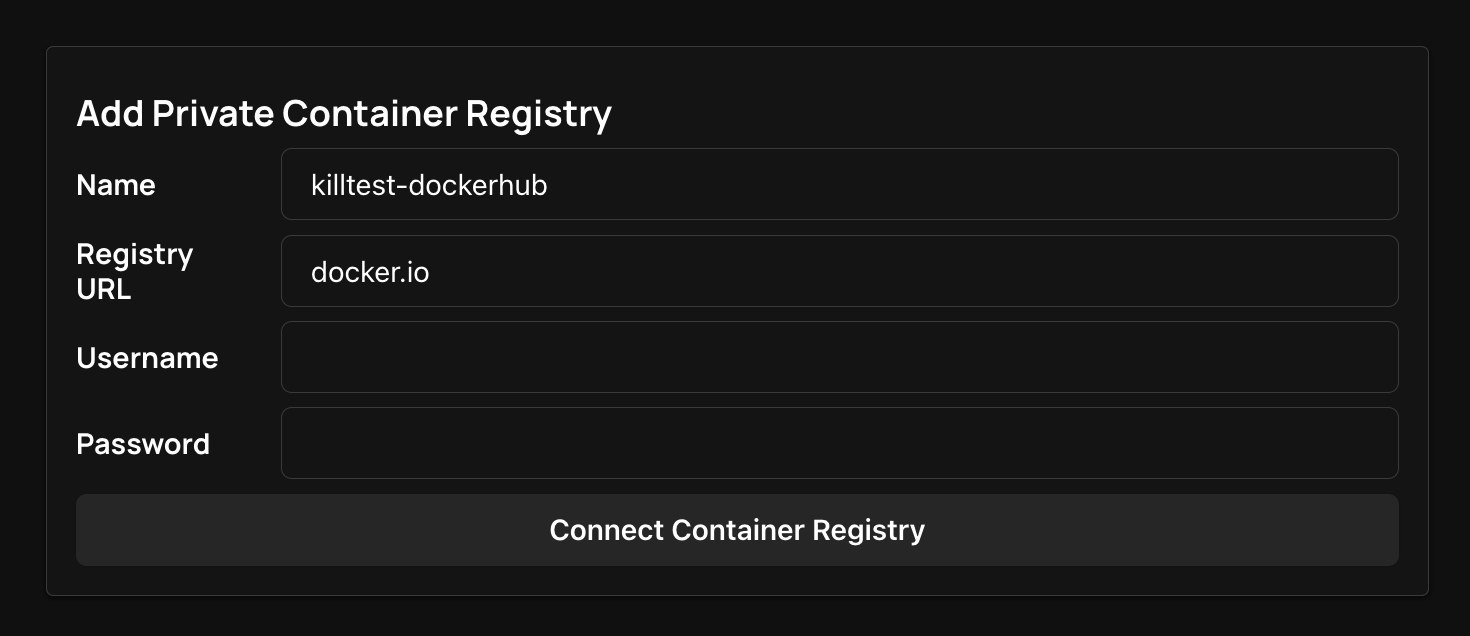
Add a private Container Registry
Navigate to the Container Registries section of your Team Settings. Here, you can add a new container registry that will be used to store all your build artifacts. You can find more information regarding Container Registries on Zeet here.
Attach a default container repository to your CoreWeave cluster
After you add a private Container Registry, you need to link this container registry to your cluster. To do this, navigate to the Zeet Cluster Console and find your new CoreWeave cluster.
Open up your CoreWeave cluster and find the Repository Settings section. Here, you can select your Container Registry from the dropdown.

4. Deploy To CoreWeave
You're all set! You can now deploy Projects to your CoreWeave cluster. Head over to the Blueprints menu and find a Blueprint that suits your project.
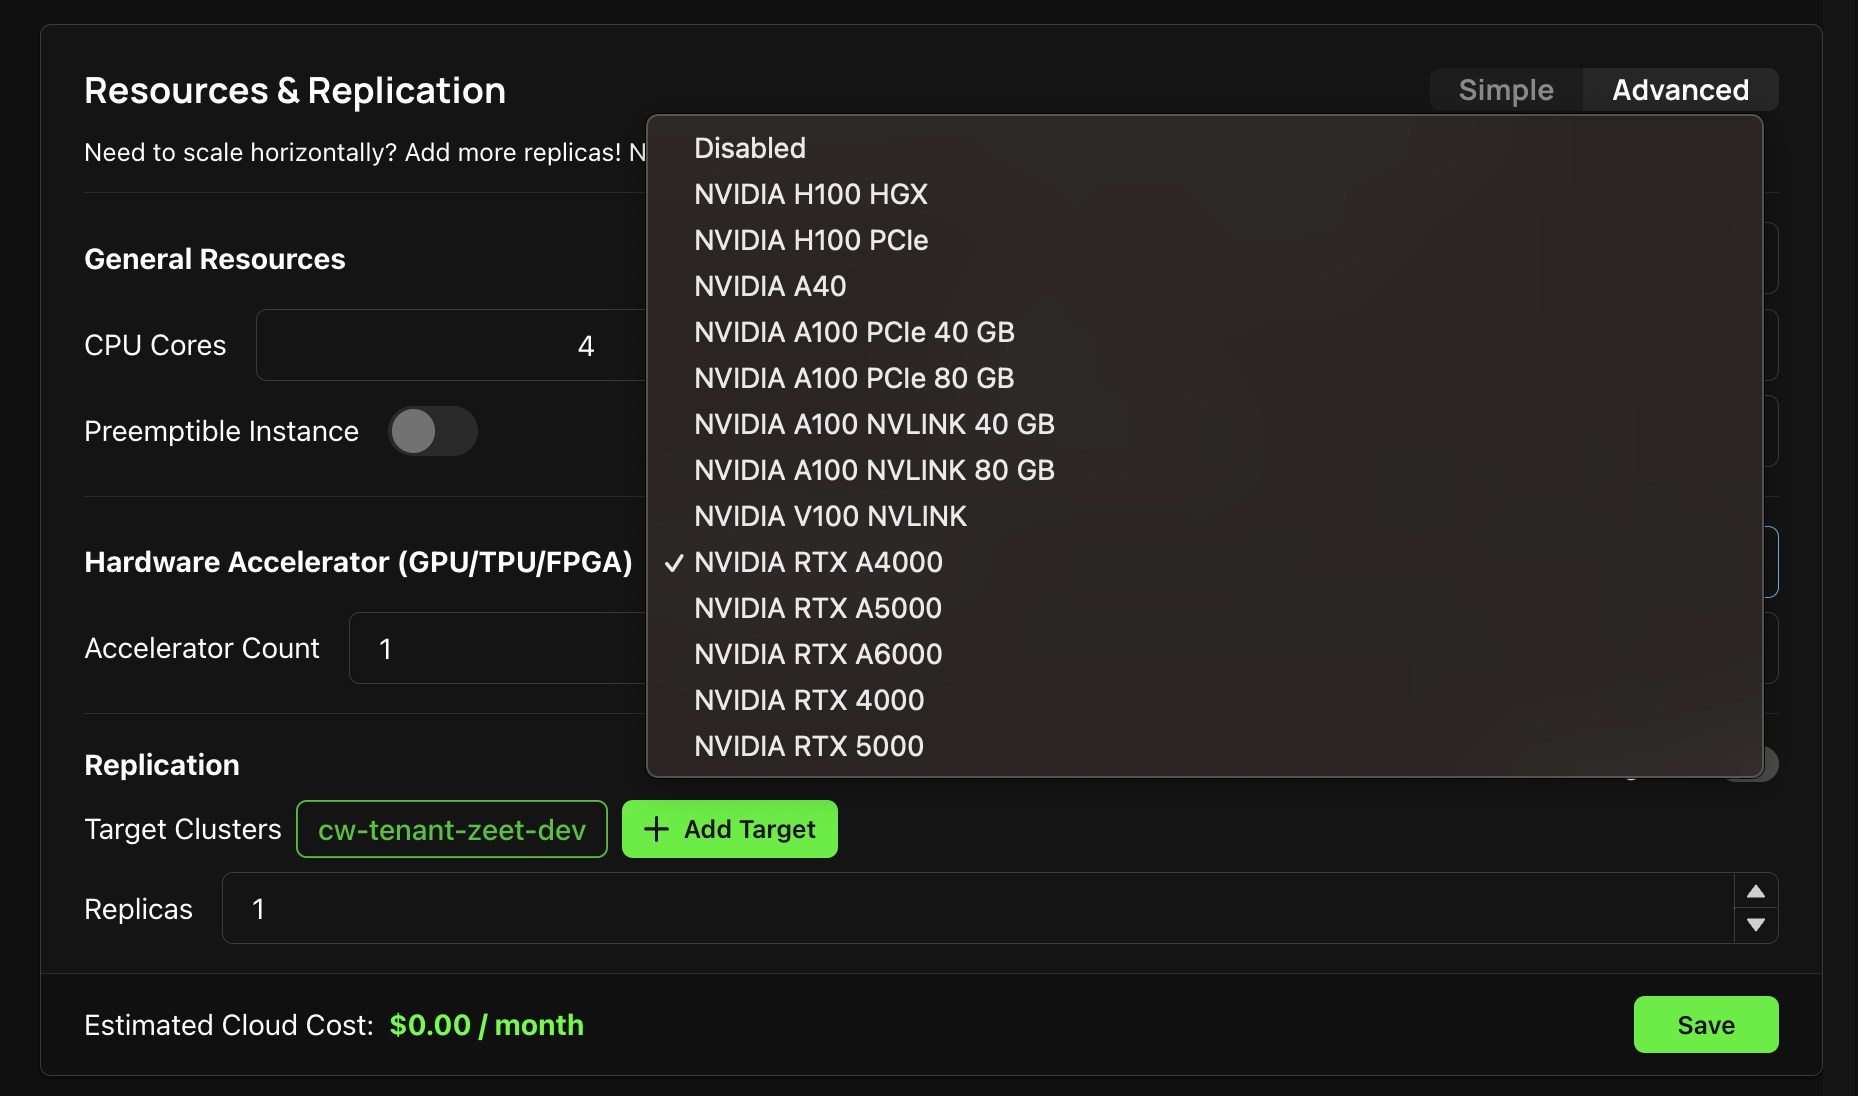
CoreWeave GPU Cloud
To Configure a GPU accelerator for your Project, head to the *Resources & Replications section of your Project settings. Here, you can select the GPU of your choice.
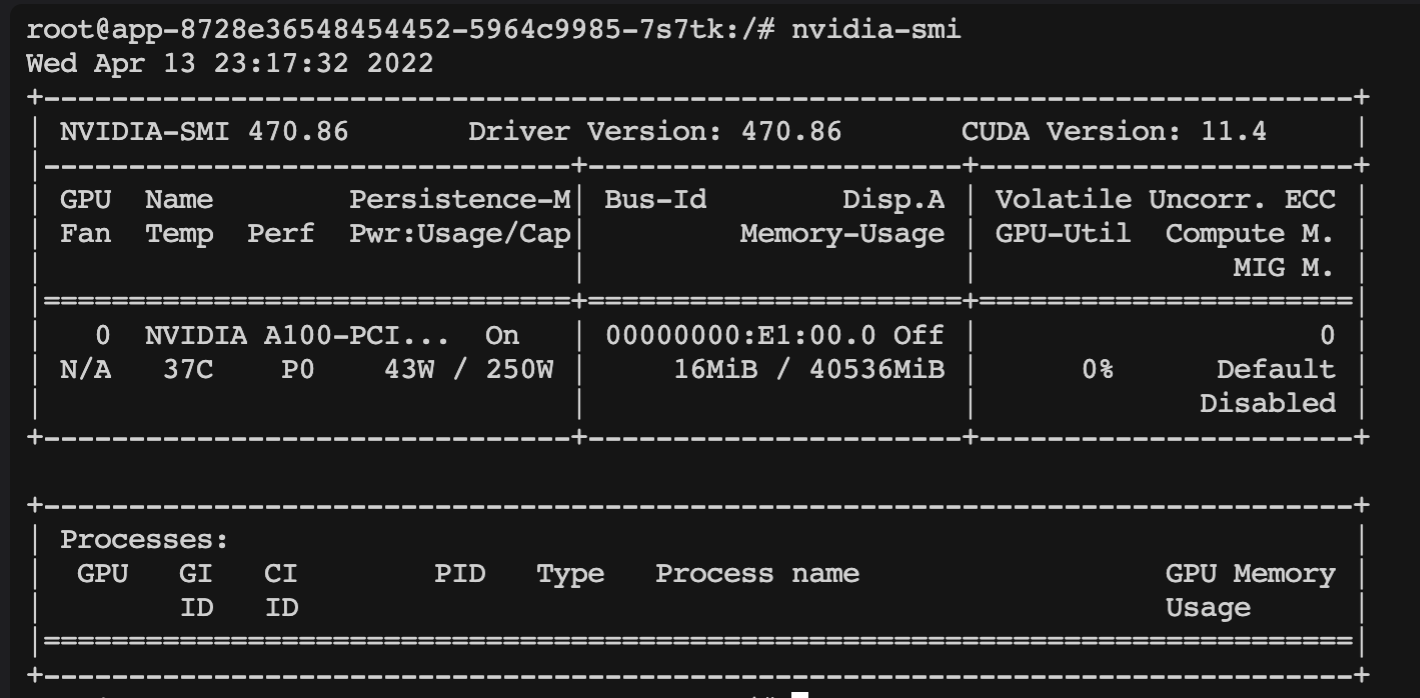
Check GPU Status
To confirm the GPU Status for your deployment, open the terminal in your project overview page.
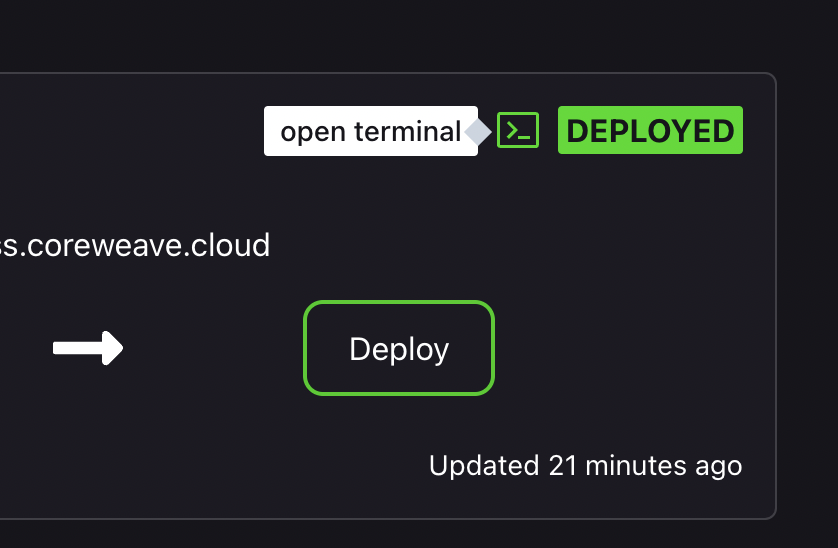
Run the nvidia-smi command to retrieve real-time information and status about the NVIDIA GPUs installed on your deployment.
5. Enable Custom Domain Names (optional)
Adding a Custom Domain to your Project running on CoreWeave required some custom set-up. You can find the required config in this GitHub Repo.
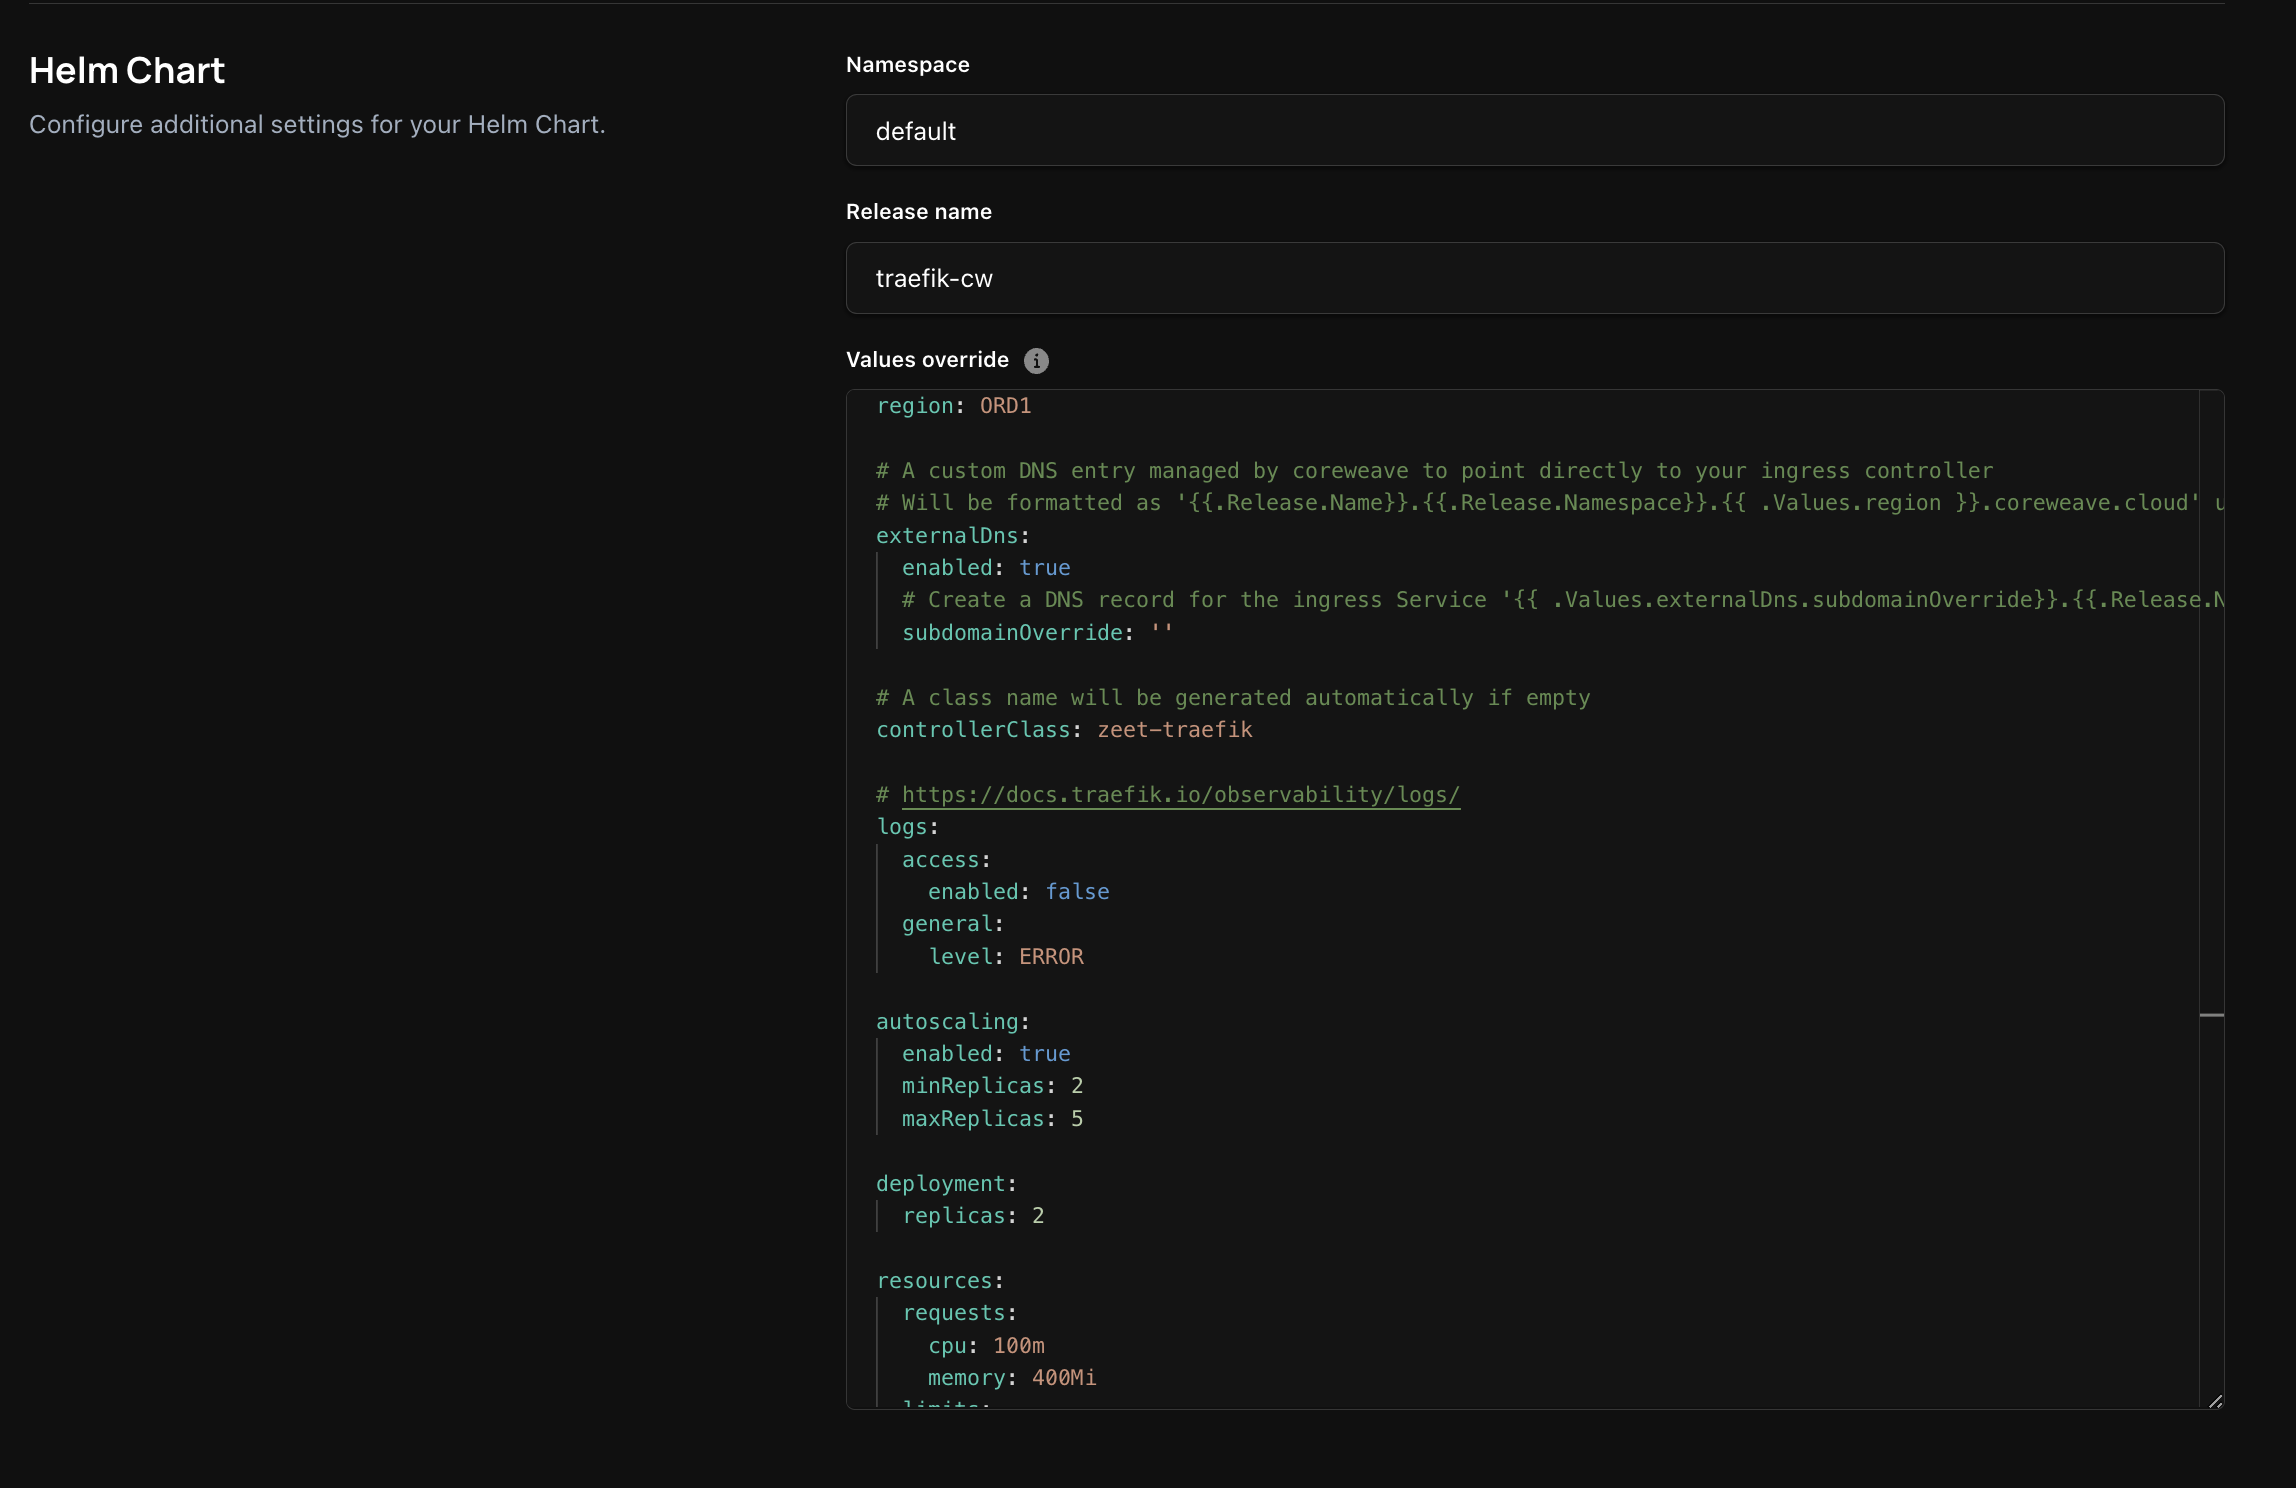
Install Traefik
First, deploy Zeet's official Traefik Deployment. Once deployed, copy over the values from the traefik.yaml file and paste it in the Helm Chart section of your Project settings.
Alternatively, you can do directly on CoreWeave by install traefik on CoreWeave Apps using traefik.yaml config.
Install Cert and Middleware
You also have to additionally load some extra config, which you can do by deploying Zeet's official Traefik Config CW Blueprint .
Add CDN
You should now be able to add a Custom Domain Name for your Project from the Networking tab of your Project settings!
Resources
Coreweave: Official Docs
Coreweave Credentials: CW Docs