Phoenix Framework 
Phoenix is a web framework for building fast and scalable web applications in Elixir. It offers a productive API for handling HTTP requests and responses, along with features for real-time communication and web sockets, making it ideal for building interactive web applications.
Here is how you can deploy your Phoenix App using Zeet Blueprints.
1. Pick a Blueprint
You can deploy your Phoenix app one of two ways:
- Using Serverless (AWS Lambda, GCP Cloud Run)
- Using Docker to deploy to your Cluster
To get started, head over to the Zeet dashboard and choose a Blueprints that suits your needs. You can visit this link to browse Blueprints available to your team.

For this example, we'll go over two different Blueprints:
- AWS Lambda (Serverless)
- Web Service (Cluster)
2. Configure Deployment
After selecting your preferred Blueprint, the next step is to configure your deployment.
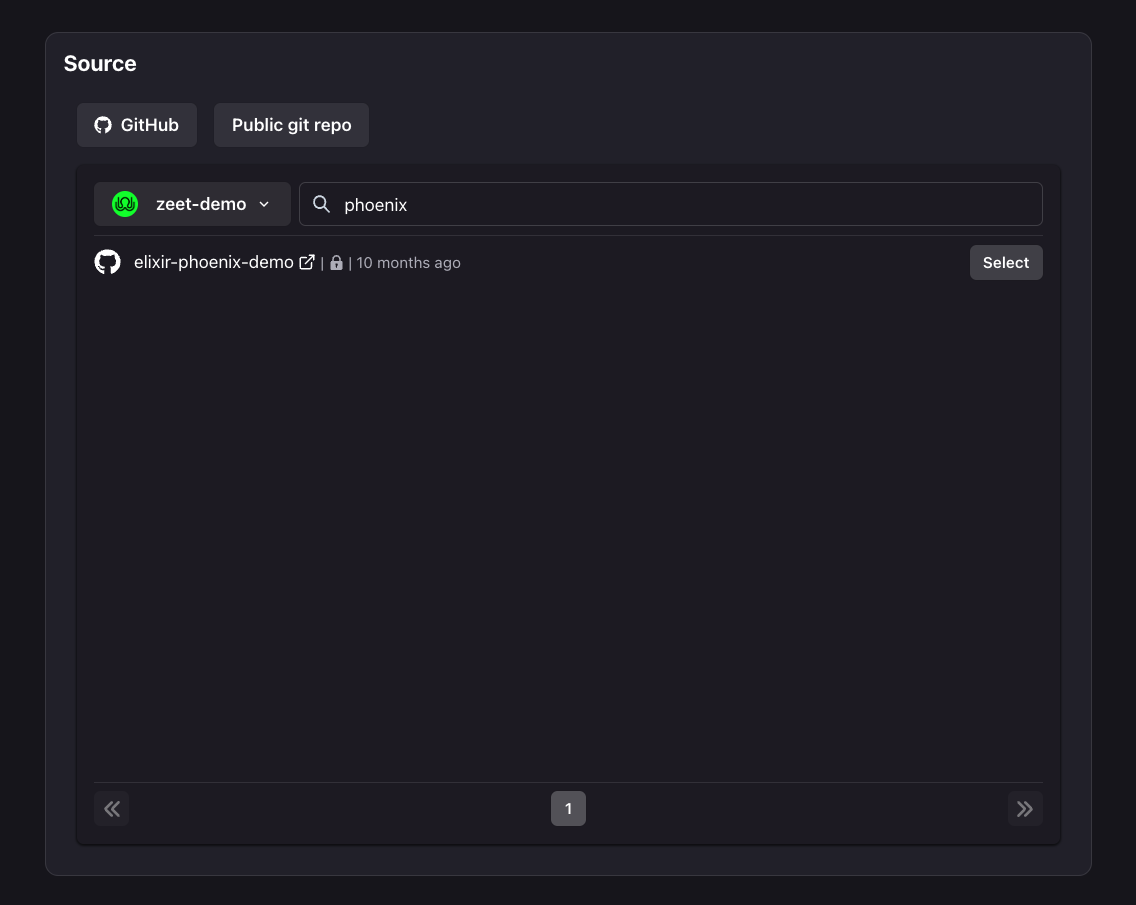
1. Pick your Source
The first step in configuring your deployment is to select your source. You can choose to either select a repository from your connected GitHub account(s) or deploy directly from any public Git repository.
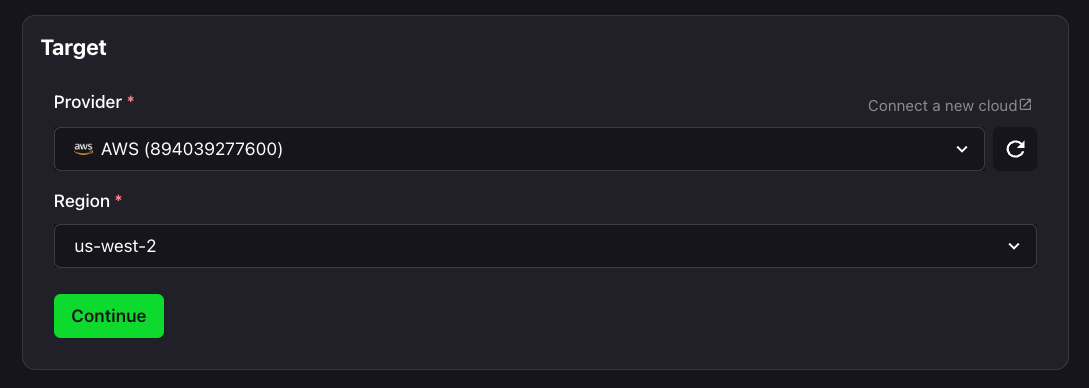
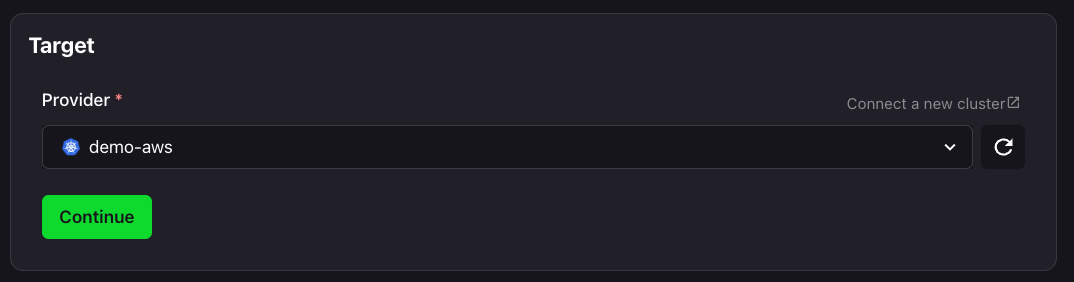
2. Select Target
The next step is to select your Deploy target. If you are using a Serverless Blueprints, you will need to select your AWS or GCP accounts and the region where you want to deploy. For Container-based deployments, you just need to choose your cluster!
For AWS Lambda:
For a Web Service:
3. Configure Inputs
Now that we have your Source and Target, it's time to configure your inputs to get your app running smoothly.

Here, you can configure your Build & Run settings, including your Build Type, Build and Run commands, and your working directory.
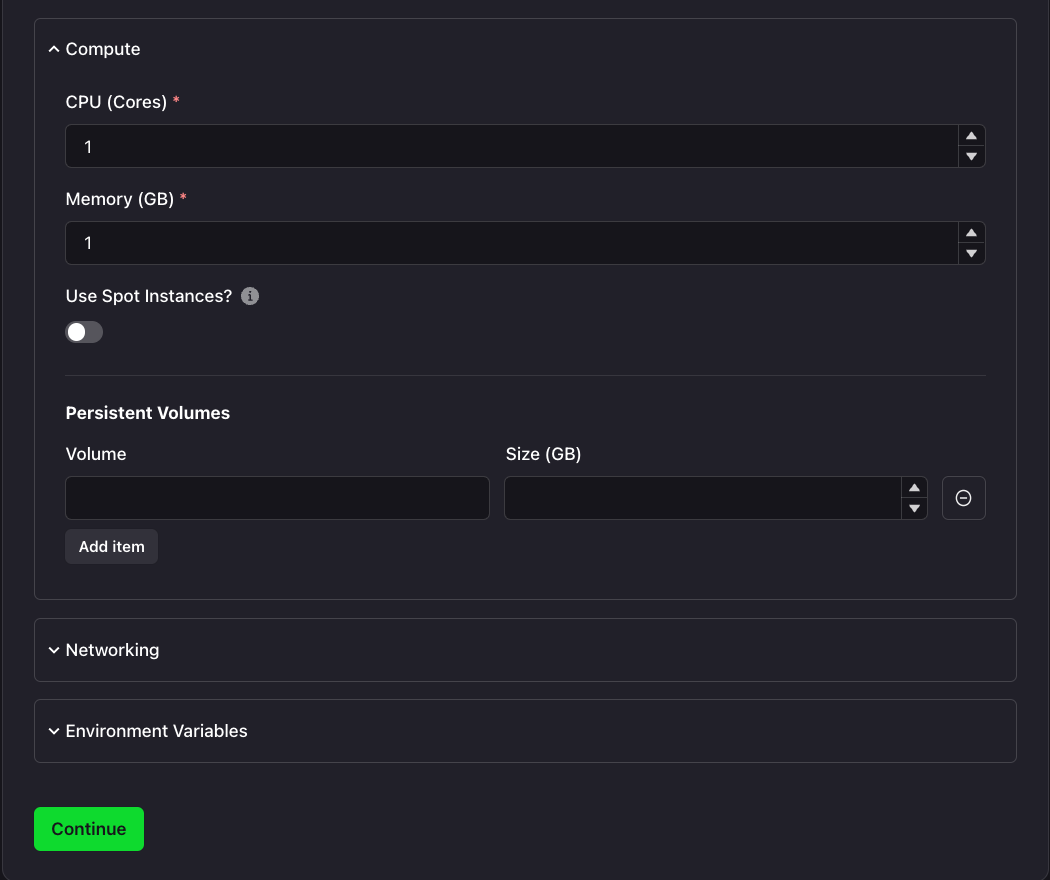
Under the Networking tab, you can expose the port that your Phoenix app listens on.
You can also add any Environment variables that your app would require during build-time and run-time.
For Docker based deployments only, you will see another tab called Compute. Here you can configure your CPU and Memory requirements, Persistent Volumes, and choose whether you want to use spot-instances.
4. Organize and Deploy!
You're (almost) good to go! Final step here is to give your Project a name and a place to belong. Select the Group and Sub-Group your Project should live in, or create new ones here.

After your new Project has a name and a home, you can Deploy it, or save it as a draft to come back and Deploy when the time is right!