Serverless Function
Serverless Compute is an on-demand execution model that dynamically creates and scales computing instances in response to requests, enabling developers to run code without the need for manual server provisioning or maintenance.
Serverless Functions provide a great low-cost option for stateless web services or event-driven workloads with variable traffic.
Zeet supports Serverless Function deployments using AWS Lambda and Google Cloud Run.
Note that AWS Lambda and Google Cloud Run each have runtime restrictions imposed by your cloud provider, which may limit the compatible use cases. Notably, AWS Lambda functions cannot run for more than 15 minutes of concurrent execution time, and do not have write access to the filesystem. Google Cloud Run Functions are limited to <= 8 vCPUs, <= 32 GB of RAM, and <= 32 GiB of Disk Storage.
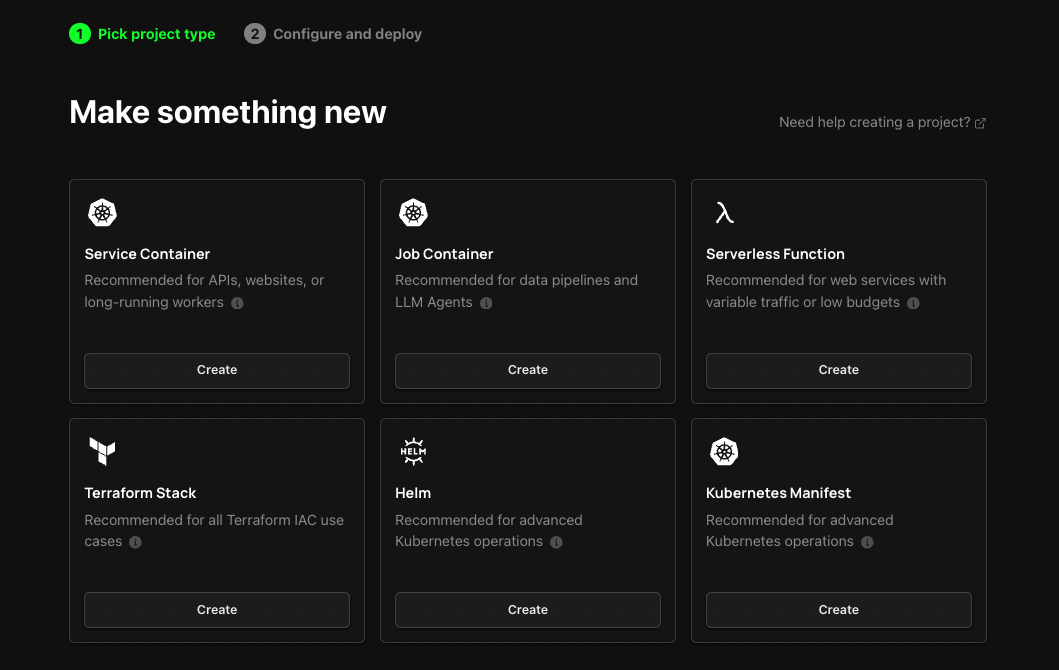
1. Select Serverless Function Project Type
To get started, head over to the Zeet dashboard and navigate to the Create New menu. Here, select the Serverless Function Project Type.

2. Configure Project
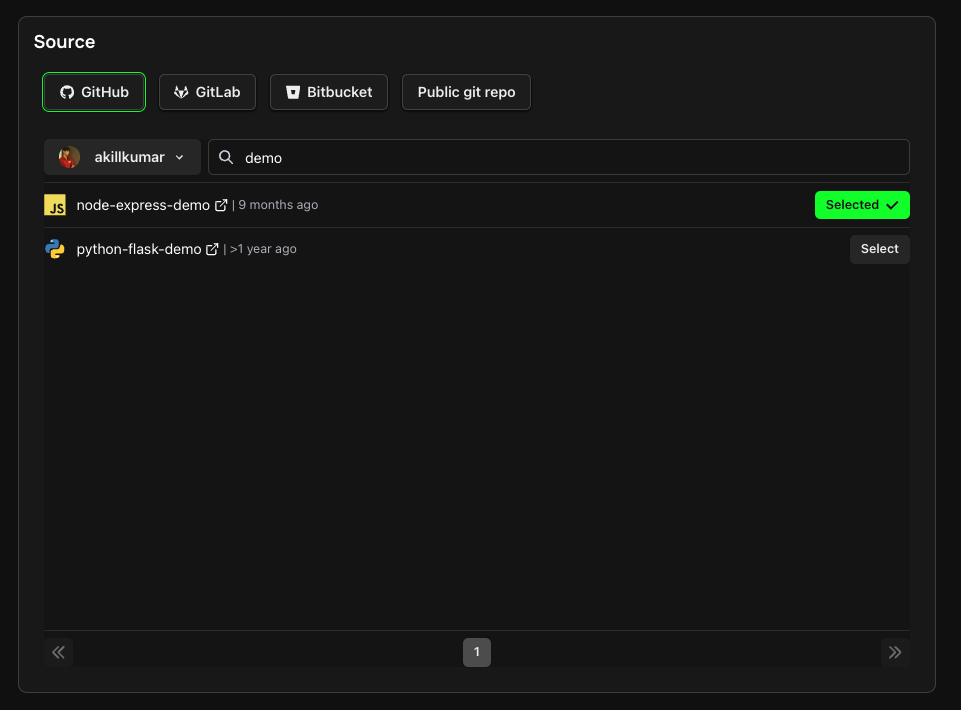
1. Pick your Source
The first step in configuring your deployment is to select your Project source. Select a repository from your connected GitHub/ GitLab/ BitBucket account or deploy directly from any public git repository.

2. Select Target
The next step is selecting your Deploy target. For a Serverless Function, this would mean selecting your AWS or GCP cloud account. If you don't already have a cloud account connected, follow the link here to link a new AWS or GCP account. Your runtime will be determined by the Target you select.

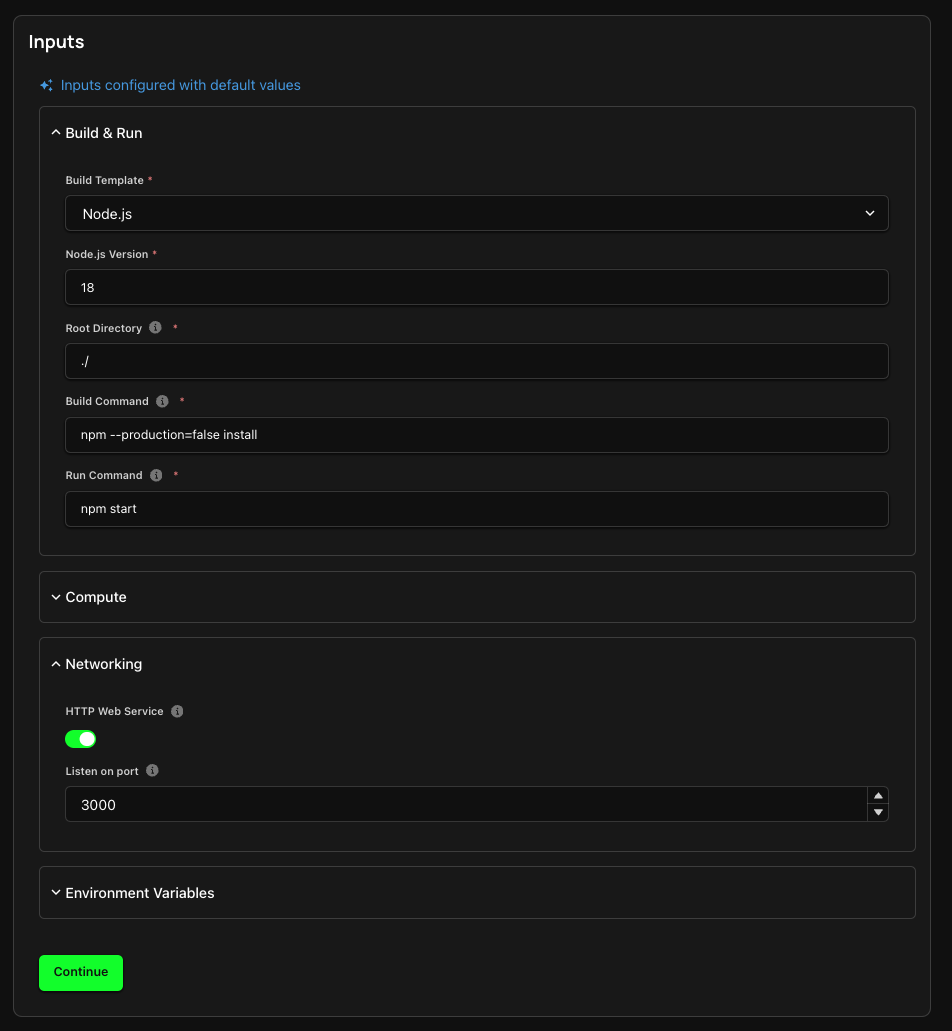
3. Configure Inputs
You've got the source and target covered, now it's time to configure the inputs for your Project.

- Here, you can configure your Build & Run settings, including your Build Type, Build and Run commands, and your working directory.
- Under the Networking tab, you can expose the port that your Serverless Function listens on.
- You can also add any Environment variables that your function would require during build-time and run-time.
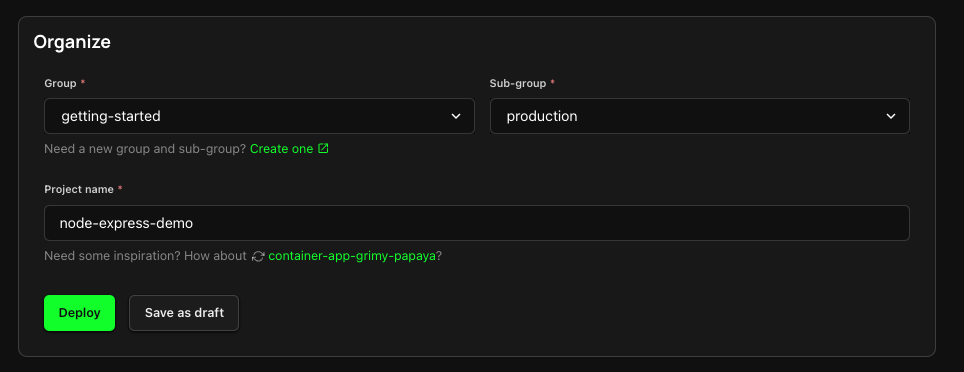
4. Finalize and Deploy!
You're almost there! Give your new Project a name and organize it within a Group and Sub-Group. You can deploy your Project right away, or choose to save it as a draft to deploy later.
