BitBucket
Setup BitBucket Integration
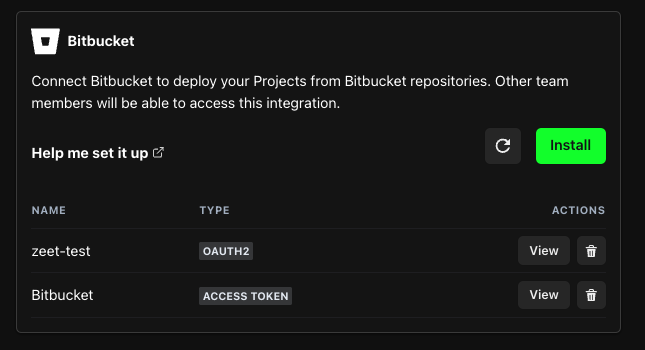
You can setup Zeet's BitBucket Integration in the Integrations tab of your Team Settings.
Zeet supports integrating with BitBucket one of two ways:
- Quick Setup via OAuth
- Advanced Setup via Access Tokens
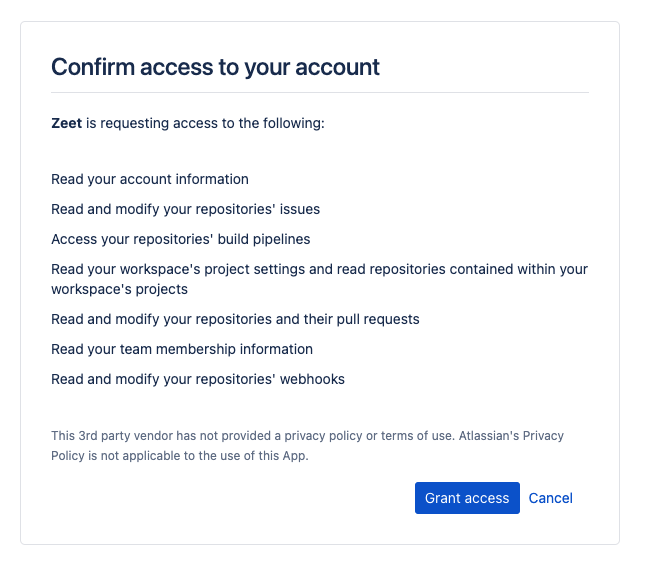
1. Quick Setup via OAuth
We recommend using the Quick Setup option for most general use cases. Simply click on Continue and you will be prompted to give Zeet access to your repositories and pipelines.
2. Advanced Setup via Access Tokens
For fine-grained control over what Zeet can access, you can utilize Workspace Access Tokens. Workspace Access Tokens are single-purpose access tokens with access to a single workspace with limited permissions.
Note that Workspace Access Tokens are a BitBucket Premium feature. If you are unable to create an Access Token for your Workspace, please contact your admins.
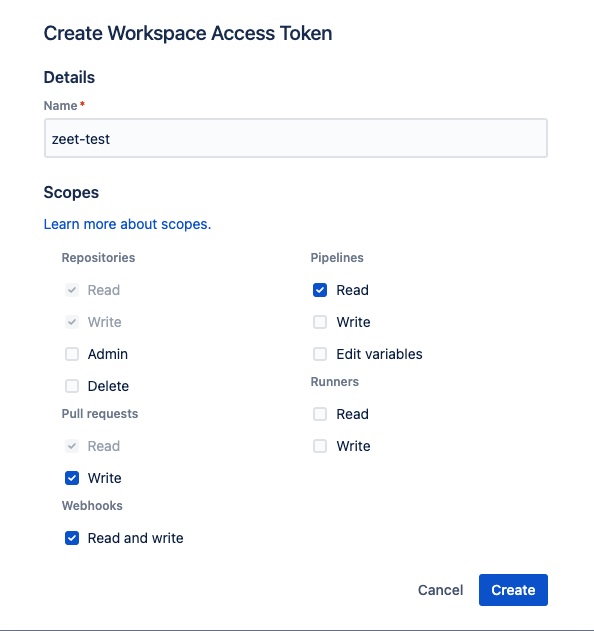
1. Create Access Token
Follow BitBucket's Docs for creating an Access Token.
While creating the Access Token for your Workspace, please ensure that you have enabled the following:
- Write permissions for Repositories
- Write permissions for Pull Requests
- Read permissions for Pipelines
- Read and Write permissions for Webhooks
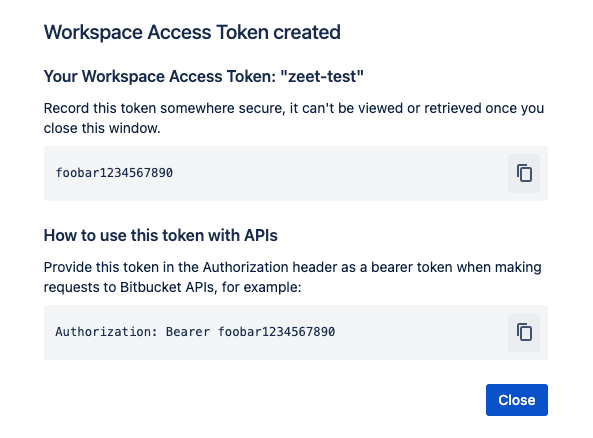
2. Copy Access Token
Once created, copy the created access token. You will need to provide this in the next step to complete the integration.
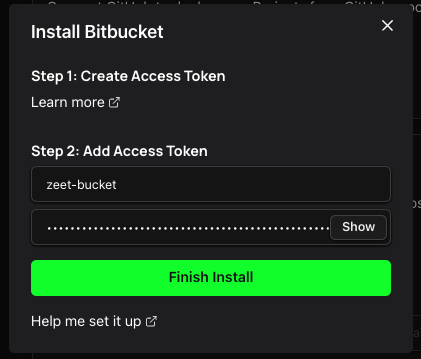
3. Create Integration in Zeet
In the Integrations tab, paste in the API token and give it a friendly identifier.
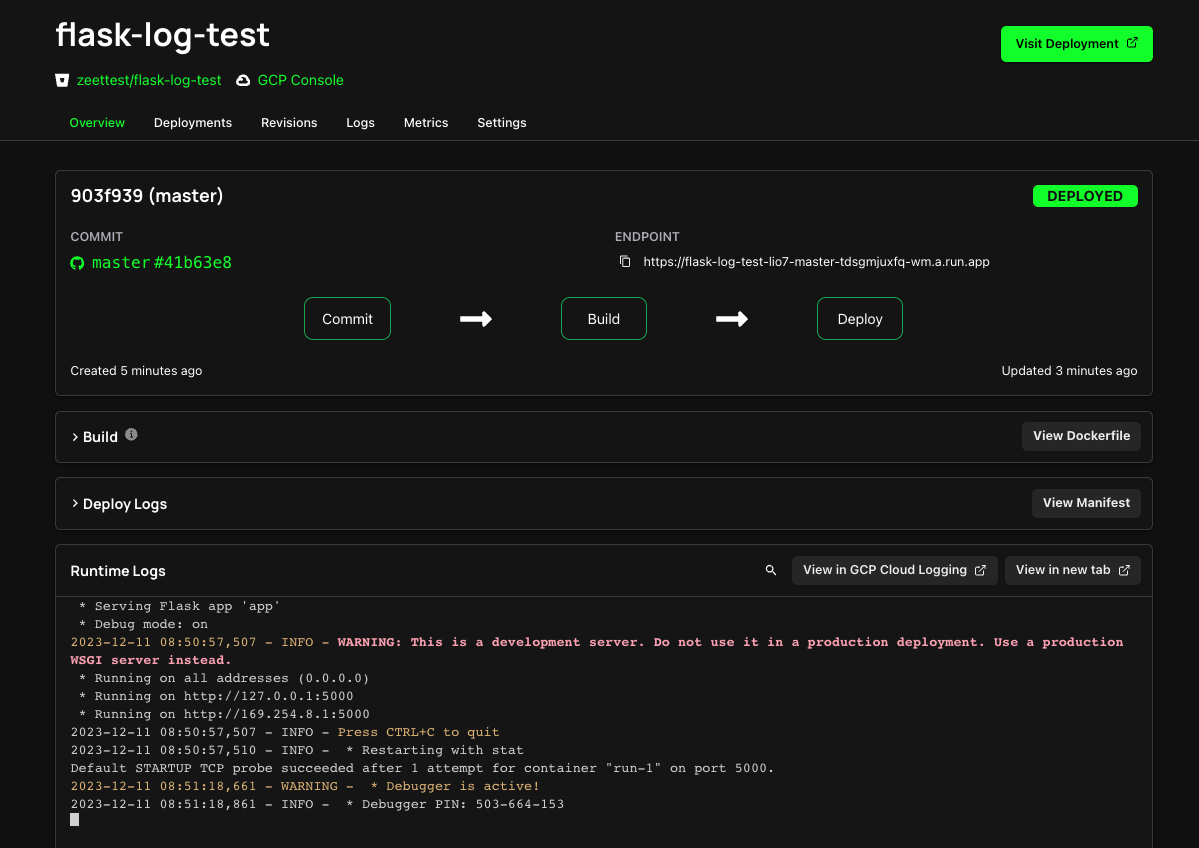
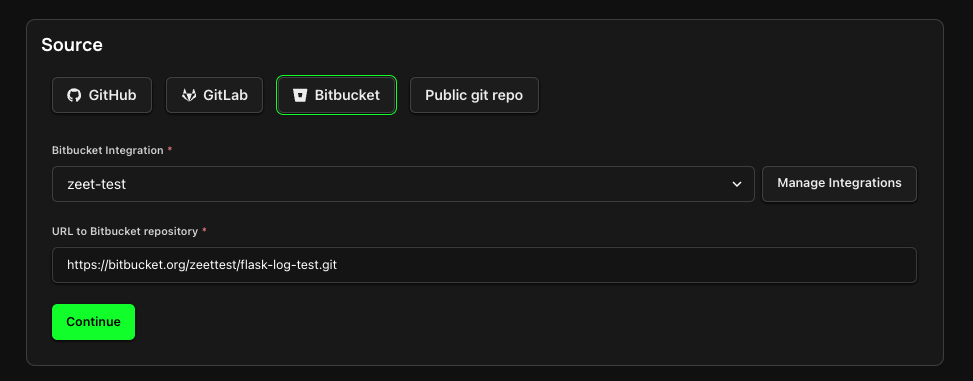
Deploy Repository using Zeet
Now that everything has been set up, it's time to actually deploy your project to your cloud using Zeet!
All Done!
You should now see your new BitBucket Project being built and deployed.