GitLab
Zeet has support for GitLab through Webhooks. Webhooks enable GitLab to send notifications to Zeet in response to an event in your repo. This guide details how you can setup Zeet's GitLab integration and deploy a GitLab repository.
Setup GitLab Integration
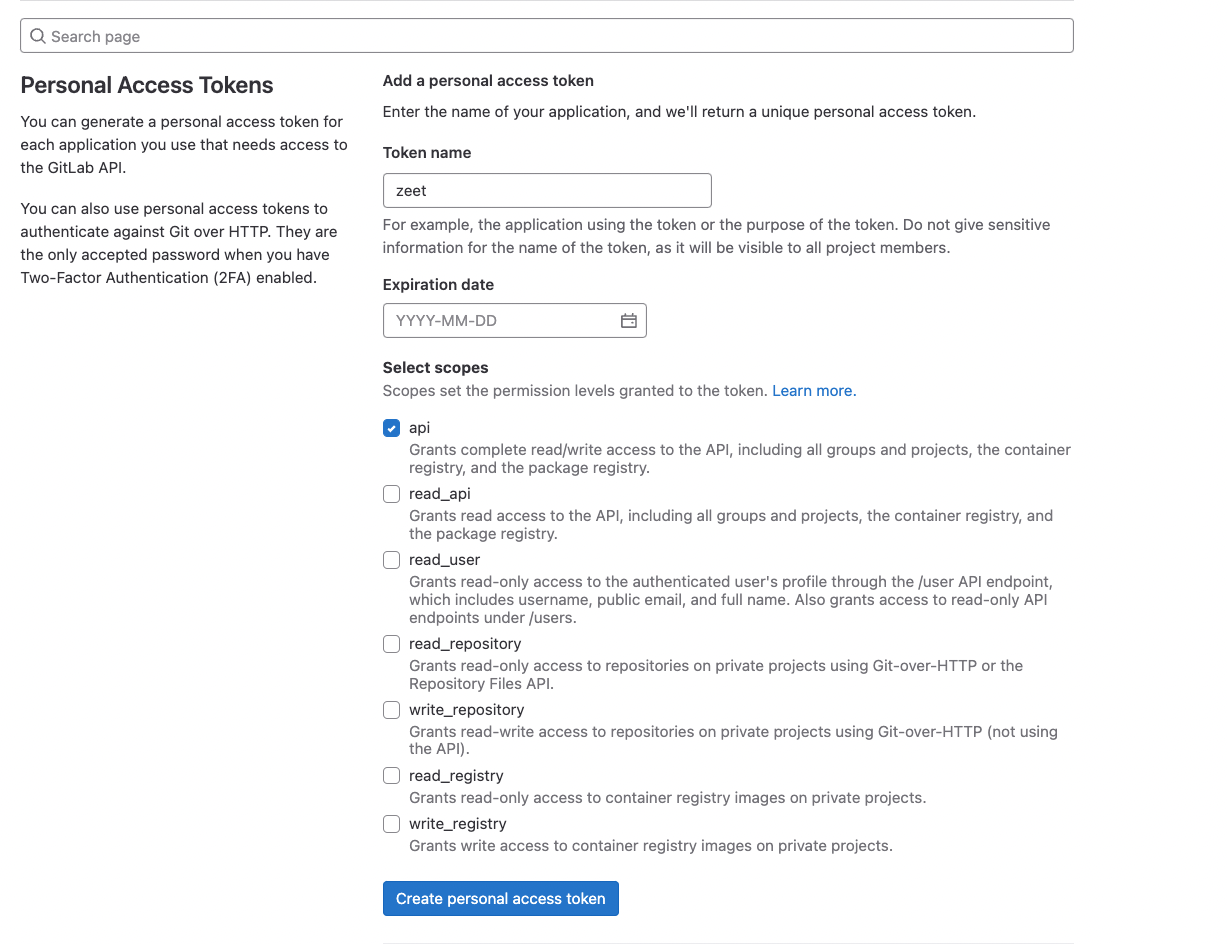
1. Create a GitLab Access token
First, navigate to Access Tokens under User Settings. Here, you can create a new Access Token. Let's call it zeet and under scopes, select api.
Alternatively, if you have one, you can use a Group Access Token as a valid Access Token and skip step 2.
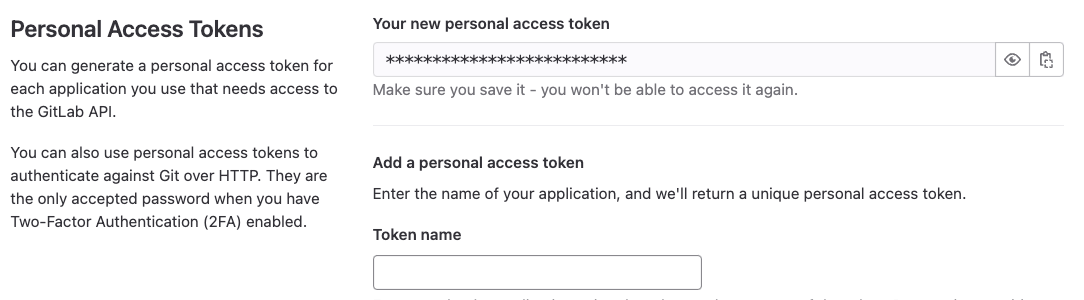
2. Copy Access token
Now, you should see your brand new zeet Access Token. In the top of your screen, you should be able to see and copy the actual value of your token. Let's grab this onto our clipboard and head over to Zeet.
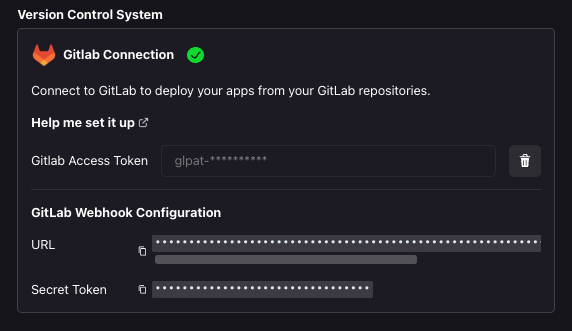
3. Create a new Integration on Zeet
Head over to the integrations section under Team Settings -> Integrations and paste in the copied Access Token. If successful, you should be able to see a URL and Secret token for your new GitLab webhook integration!
4. Add Webhook to your project
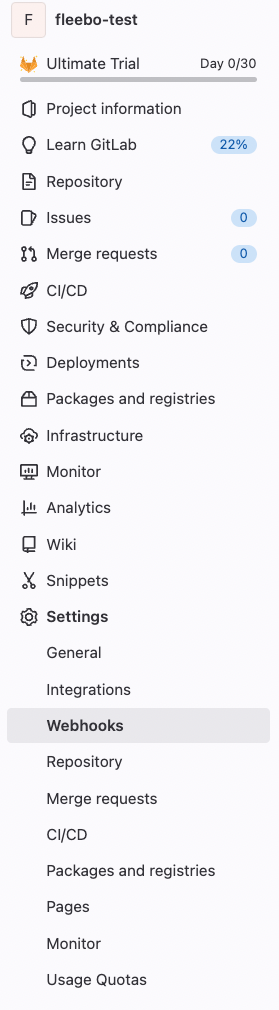
Now that we have created the GitLab webhook, the next step is to add this to your GitLab project. For your project, navigate to Settings -> Webhook as shown in the image below.
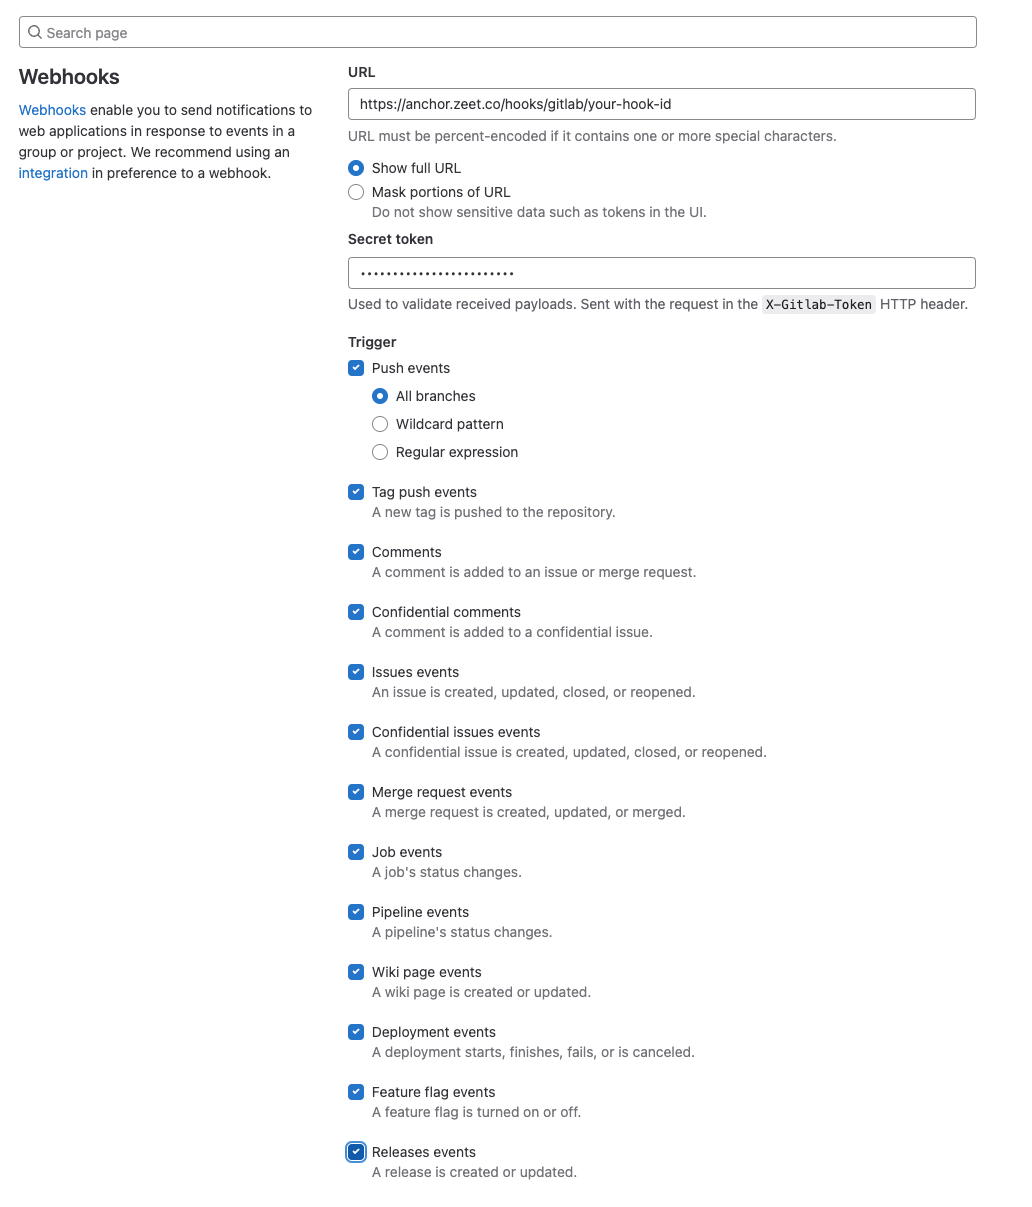
Here, you can copy and paste the URL and Secret token from Step 3 and select all the fields for the webhook scope, as well as have SSL verification on and then press the "Add webhook" button.
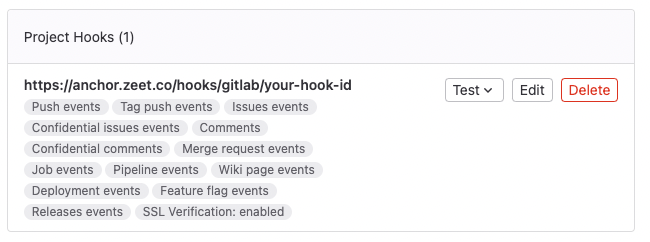
You should now be able to see your Zeet <-> GitLab Webhook Integration.
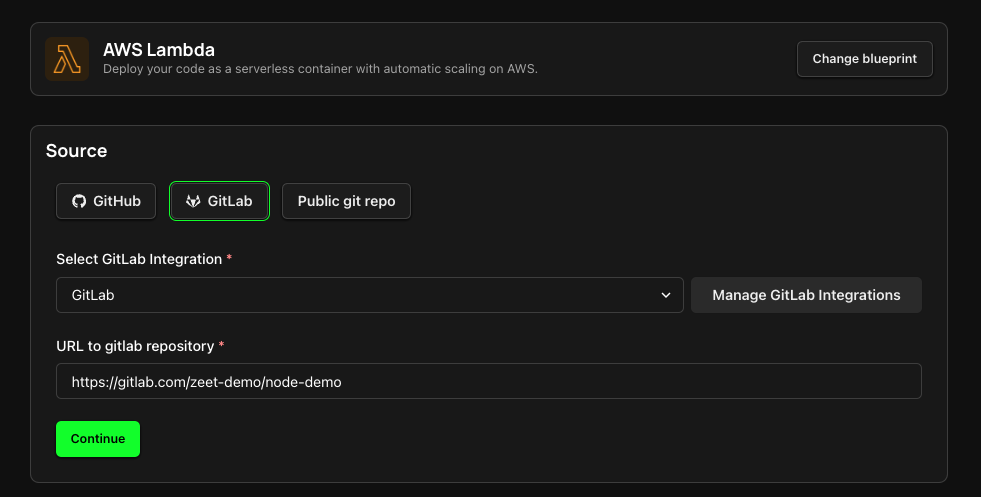
Deploy project using Zeet
Now that everything has been set up, it's time to actually deploy your project to your cloud using Zeet!
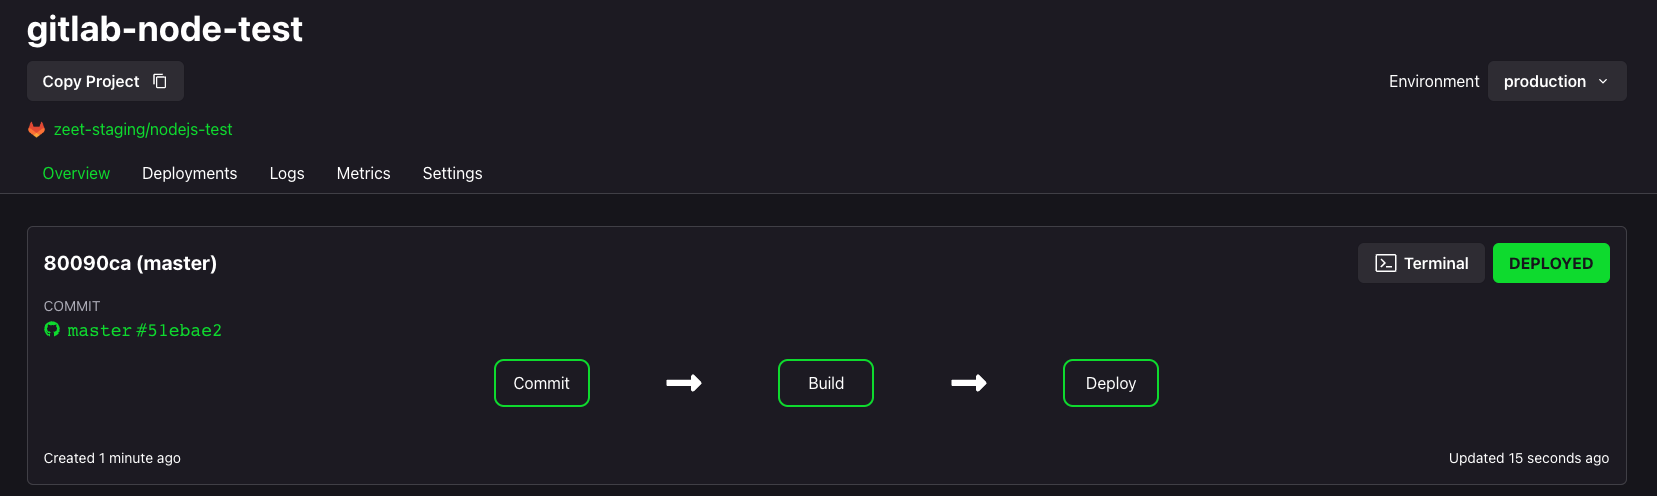
All done!
You should now see your project being built and deployed to your cluster.